Chapter 12: Customizing the Development Environment

365

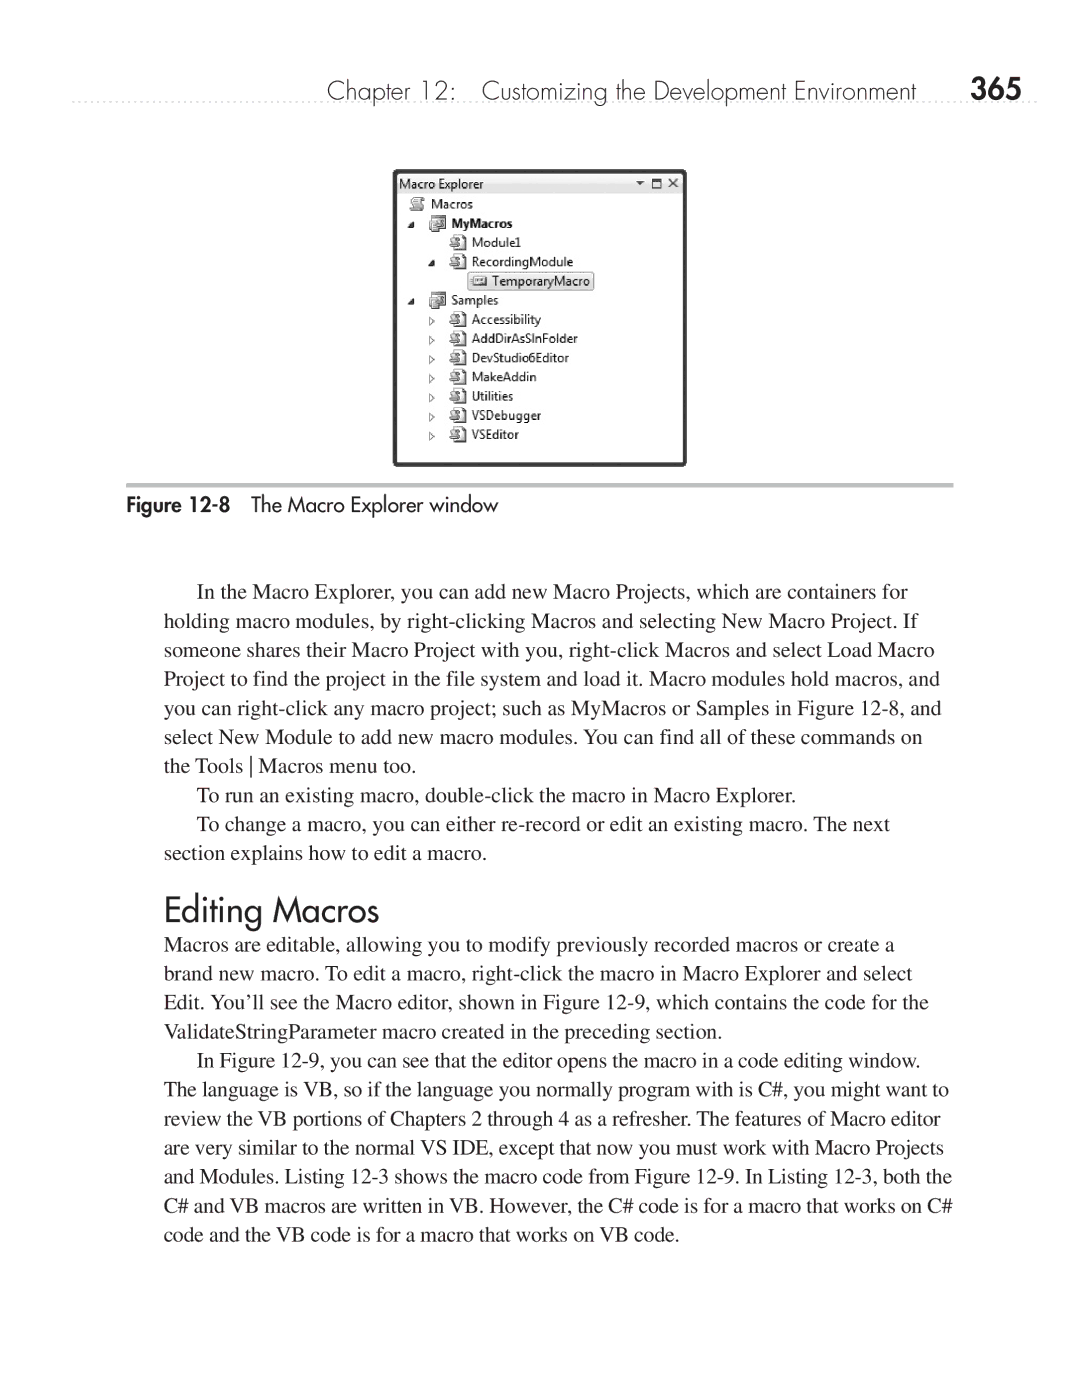
Figure 12-8 The Macro Explorer window

In the Macro Explorer, you can add new Macro Projects, which are containers for holding macro modules, by right-clicking Macros and selecting New Macro Project. If someone shares their Macro Project with you, right-click Macros and select Load Macro Project to find the project in the file system and load it. Macro modules hold macros, and you can right-click any macro project; such as MyMacros or Samples in Figure 12-8, and select New Module to add new macro modules. You can find all of these commands on the Tools Macros menu too.

To run an existing macro, double-click the macro in Macro Explorer.

To change a macro, you can either re-record or edit an existing macro. The next section explains how to edit a macro.

Editing Macros

Macros are editable, allowing you to modify previously recorded macros or create a brand new macro. To edit a macro, right-click the macro in Macro Explorer and select Edit. You’ll see the Macro editor, shown in Figure 12-9, which contains the code for the ValidateStringParameter macro created in the preceding section.

In Figure 12-9, you can see that the editor opens the macro in a code editing window. The language is VB, so if the language you normally program with is C#, you might want to review the VB portions of Chapters 2 through 4 as a refresher. The features of Macro editor are very similar to the normal VS IDE, except that now you must work with Macro Projects and Modules. Listing 12-3 shows the macro code from Figure 12-9. In Listing 12-3, both the C# and VB macros are written in VB. However, the C# code is for a macro that works on C# code and the VB code is for a macro that works on VB code.

Page 388
Image 388
Microsoft 9GD00001 manual Editing Macros, 365