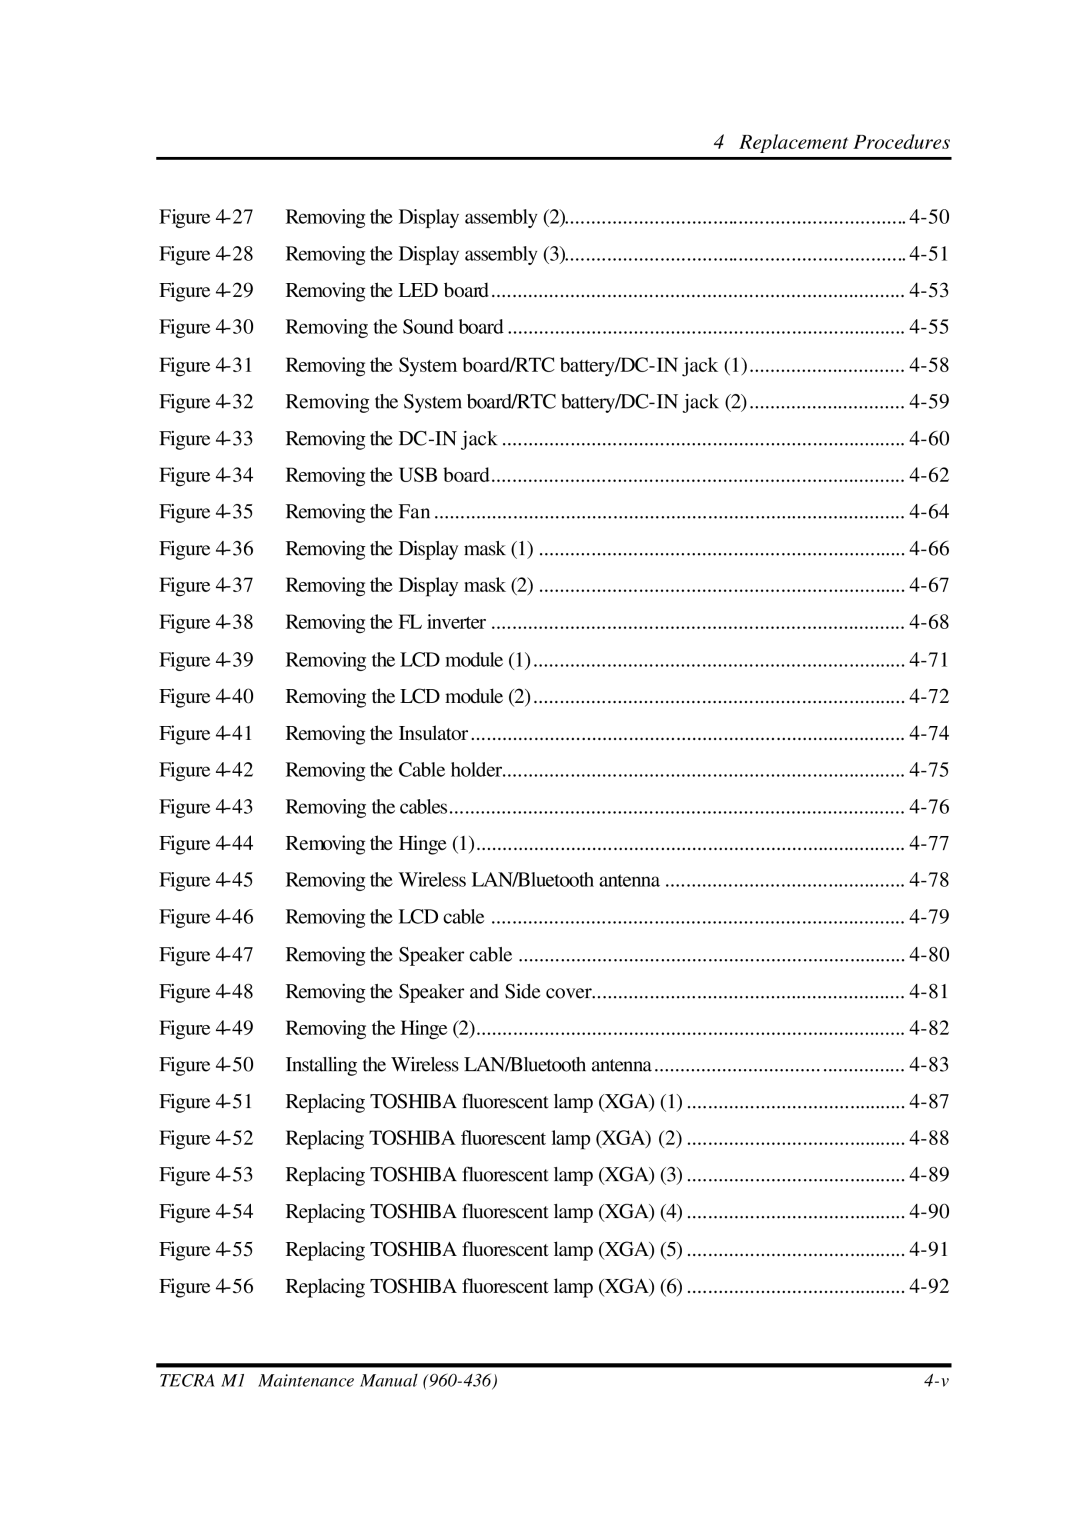
4 Replacement Procedures

Figure 4-27 Removing the Display assembly (2)

4-50

Figure 4-28 Removing the Display assembly (3)

4-51

Figure 4-29

Removing the LED board

4-53

Figure 4-30 Removing the Sound board

4-55

Figure 4-31 Removing the System board/RTC battery/DC-IN jack (1)

4-58

Figure 4-32 Removing the System board/RTC battery/DC-IN jack (2)

4-59

Figure 4-33

Removing the DC-IN jack

4-60

Figure 4-34

Removing the USB board

4-62

Figure 4-35

Removing the Fan

4-64

Figure 4-36 Removing the Display mask (1)

4-66

Figure 4-37 Removing the Display mask (2)

4-67

Figure 4-38

Removing the FL inverter

4-68

Figure 4-39 Removing the LCD module (1)

4-71

Figure 4-40 Removing the LCD module (2)

4-72

Figure 4-41

Removing the Insulator

4-74

Figure 4-42

Removing the Cable holder

4-75

Figure 4-43 Removing the cables

4-76

Figure 4-44

Removing the Hinge (1)

4-77

Figure 4-45 Removing the Wireless LAN/Bluetooth antenna

4-78

Figure 4-46

Removing the LCD cable

4-79

Figure 4-47

Removing the Speaker cable

4-80

Figure 4-48 Removing the Speaker and Side cover

4-81

Figure 4-49 Removing the Hinge (2)

4-82

Figure 4-50 Installing the Wireless LAN/Bluetooth antenna

4-83

Figure 4-51 Replacing TOSHIBA fluorescent lamp (XGA) (1)

4-87

Figure 4-52

Replacing TOSHIBA fluorescent lamp (XGA) (2)

4-88

Figure 4-53 Replacing TOSHIBA fluorescent lamp (XGA) (3)

4-89

Figure 4-54 Replacing TOSHIBA fluorescent lamp (XGA) (4)

4-90

Figure 4-55 Replacing TOSHIBA fluorescent lamp (XGA) (5)

4-91

Figure 4-56 Replacing TOSHIBA fluorescent lamp (XGA) (6)

4-92

TECRA M1 Maintenance Manual (960-436)

4-v

Page 229
Image 229
Toshiba M1 manual Removing the Display assembly