2 Troubleshooting Procedures | 2.3 Power Supply Troubleshooting |
2.3Power Supply Troubleshooting
The power supply controls many functions and components. To determine if the power supply is functioning properly, start with Procedure 1 and continue with the other Procedures as instructed. The procedures described in this section are:
Procedure 1: Icons in the Sub LCD Check
Procedure 2: Error Code Check
Procedure 3: Connection Check
Procedure 4: Charge Check
Procedure 5: Replacement Check
Procedure 1 Icons in the LCD Check
The following Icons in the LCD indicate the power supply status:
q Battery icon q DC IN icon
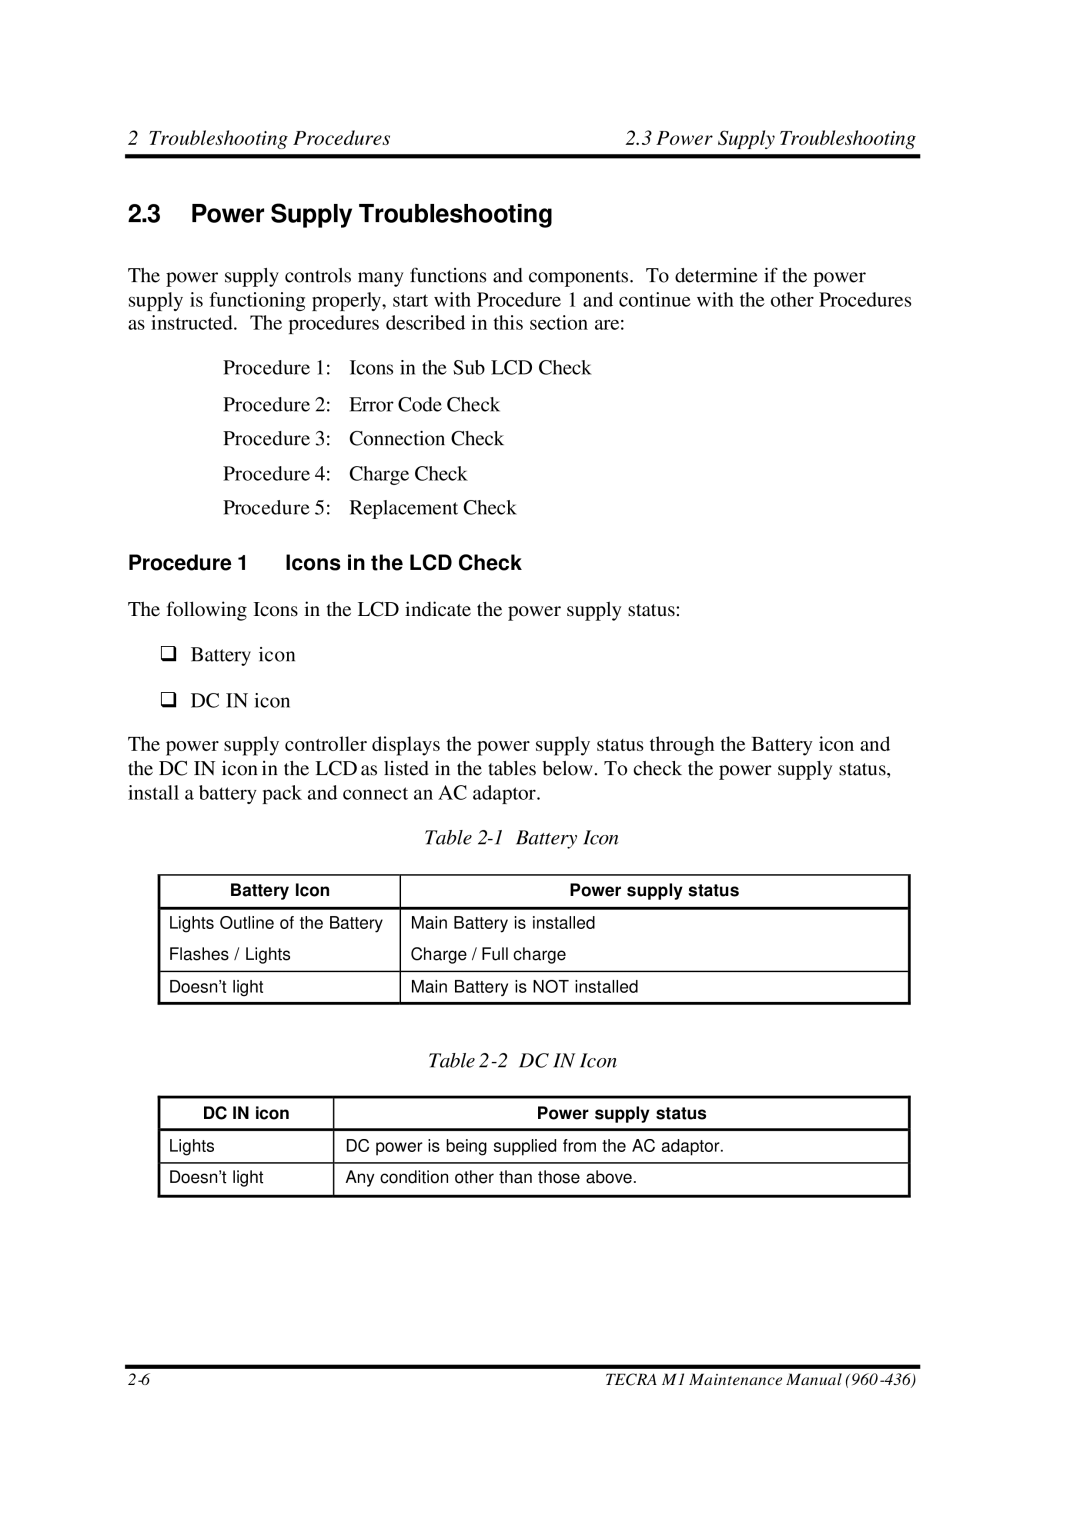
The power supply controller displays the power supply status through the Battery icon and the DC IN icon in the LCD as listed in the tables below. To check the power supply status, install a battery pack and connect an AC adaptor.
| Table |
|
|
Battery Icon | Power supply status |
|
|
Lights Outline of the Battery | Main Battery is installed |
Flashes / Lights | Charge / Full charge |
|
|
Doesn’t light | Main Battery is NOT installed |
|
|
| Table |
|
|
DC IN icon | Power supply status |
|
|
Lights | DC power is being supplied from the AC adaptor. |
|
|
Doesn’t light | Any condition other than those above. |
|
|
TECRA M1 Maintenance Manual (960 |
