4.25 Fluorescent Lamp | 4 Replacement Procedure |
2.Assembling
1)Remove the release paper of the
2)Light up the backlight.
3)Make sure there is no dust, alien substance or scratch on the backlight. Then make sure there is nothing wrong with the back of cell, install the
NOTE: 1) When installing the
2) Be careful not to damage the TAB.
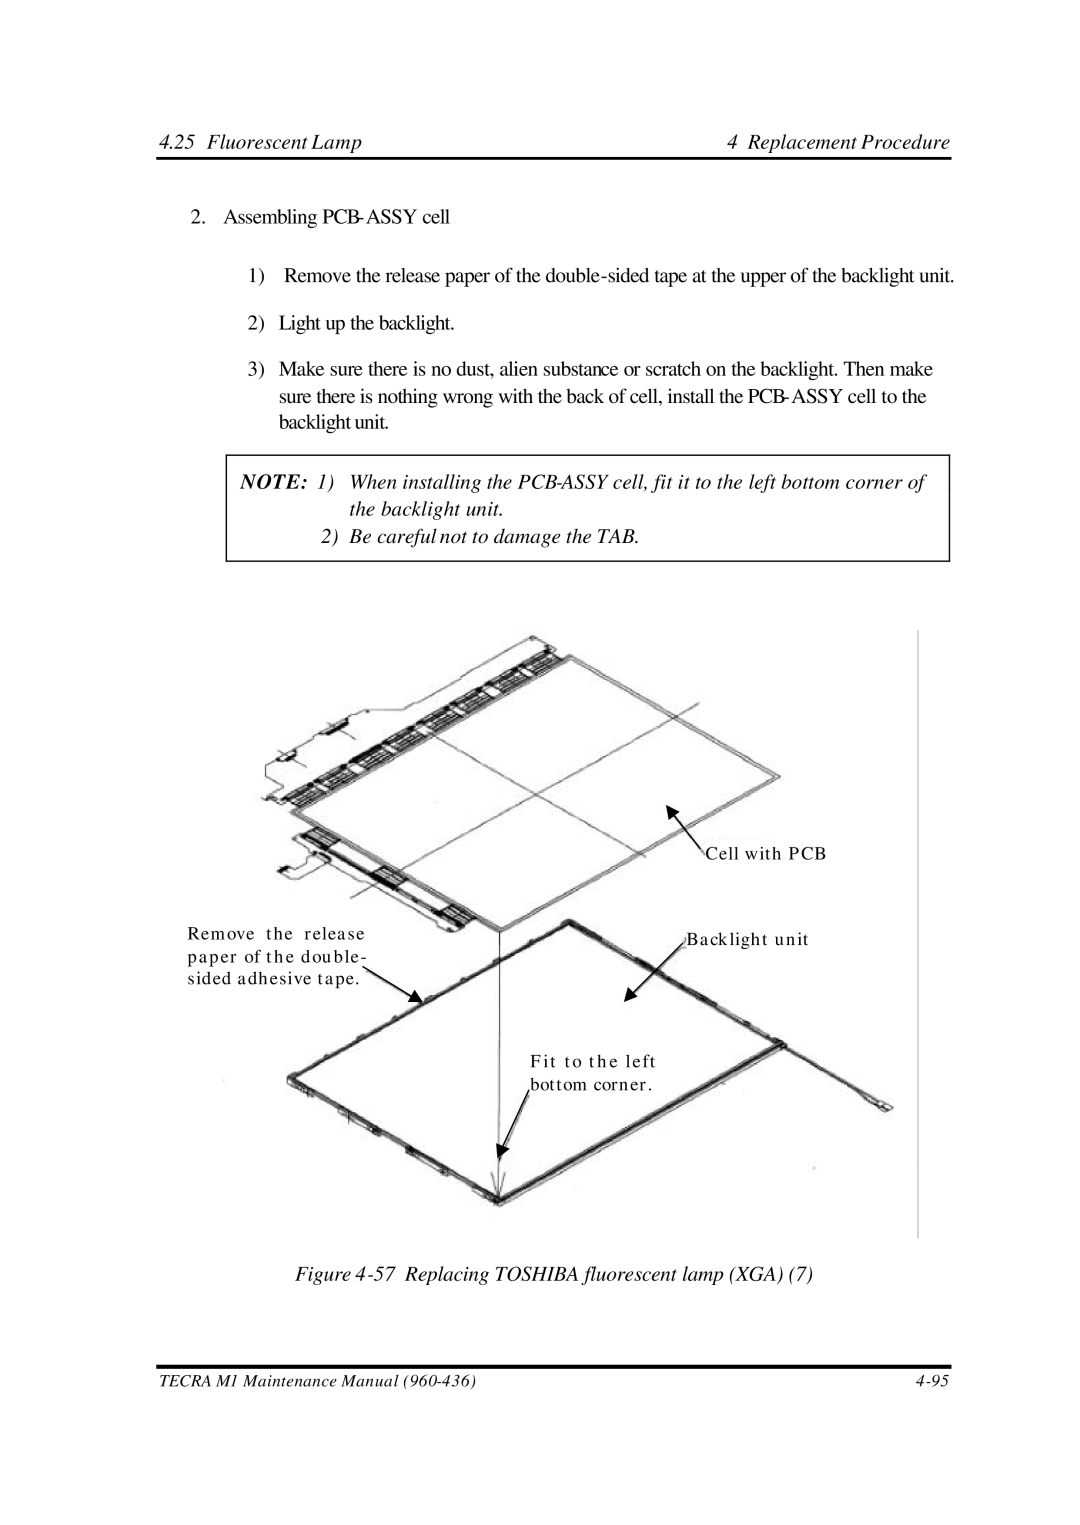
Remove the release paper of the double- sided adhesive tape. ![]()
Cell with PCB
Backlight unit
Fit to the left bottom corner.
Figure 4-57 Replacing TOSHIBA fluorescent lamp (XGA) (7)
TECRA M1 Maintenance Manual |