6. Press <Start Copy> to begin copying.
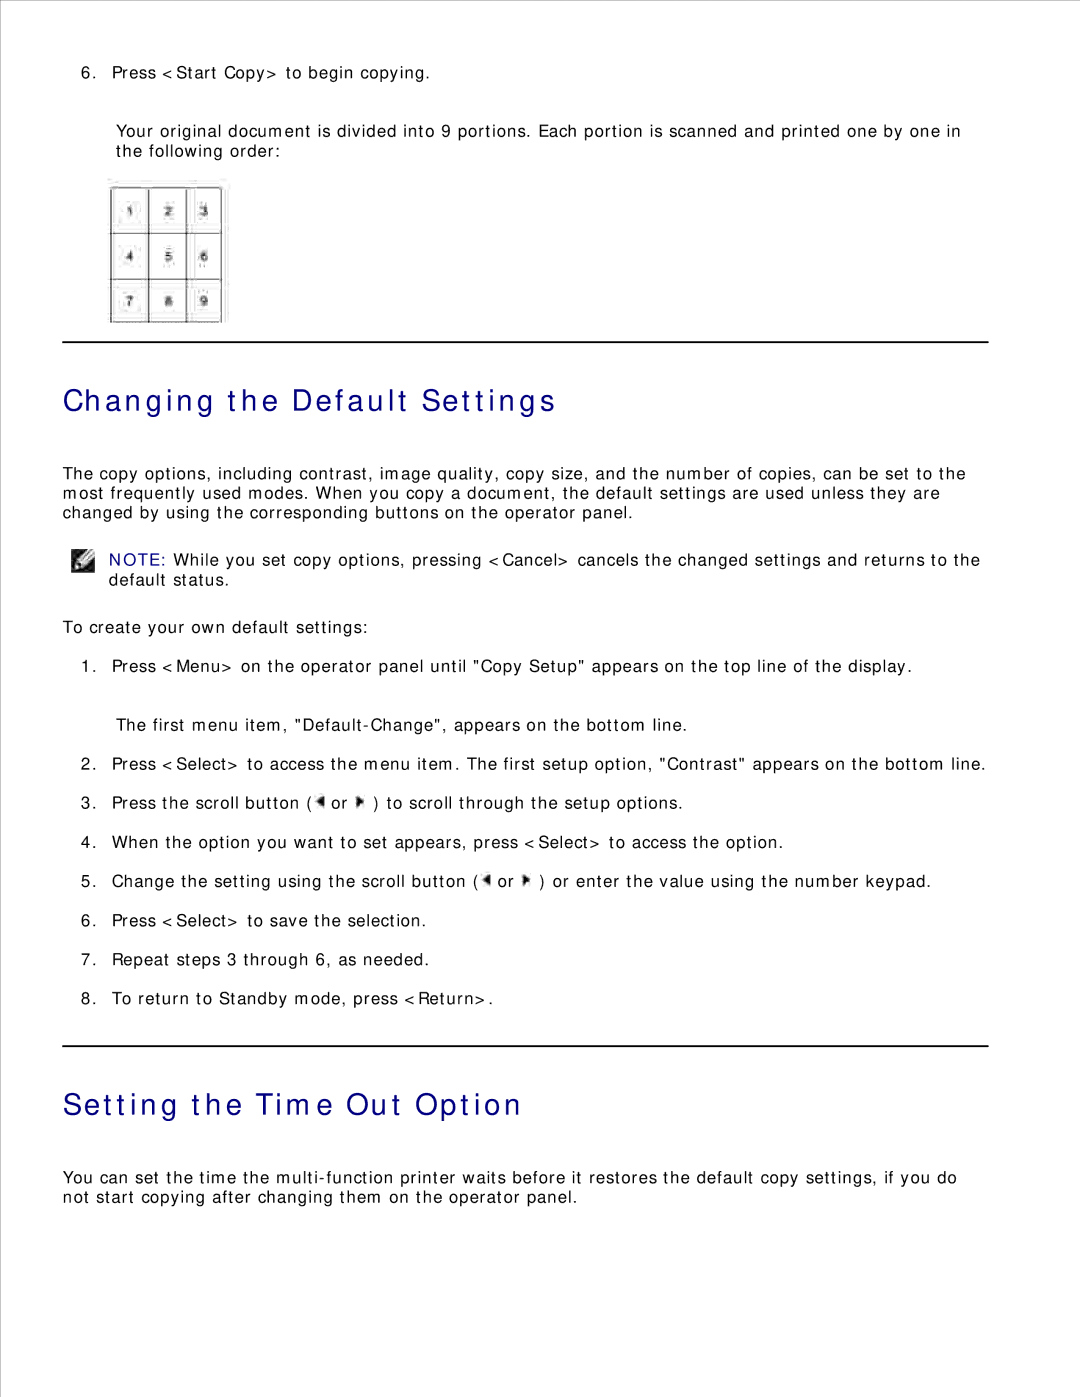
Your original document is divided into 9 portions. Each portion is scanned and printed one by one in the following order:
Changing the Default Settings
The copy options, including contrast, image quality, copy size, and the number of copies, can be set to the most frequently used modes. When you copy a document, the default settings are used unless they are changed by using the corresponding buttons on the operator panel.
NOTE: While you set copy options, pressing <Cancel> cancels the changed settings and returns to the default status.
To create your own default settings:
1. Press <Menu> on the operator panel until "Copy Setup" appears on the top line of the display.
The first menu item,
2.Press <Select> to access the menu item. The first setup option, "Contrast" appears on the bottom line.
3.Press the scroll button (![]() or
or ![]() ) to scroll through the setup options.
) to scroll through the setup options.
4.When the option you want to set appears, press <Select> to access the option.
5.Change the setting using the scroll button (![]() or
or ![]() ) or enter the value using the number keypad.
) or enter the value using the number keypad.
6.Press <Select> to save the selection.
7.Repeat steps 3 through 6, as needed.
8.To return to Standby mode, press <Return>.
Setting the Time Out Option
You can set the time the