Scanning
Scanning Overview
Scanning From Operator Panel
Scanning Using the Windows Image Acquisition (WIA) Driver
Scanning Overview
Use your Dell Laser
PaperPort is the scanning program provided with your
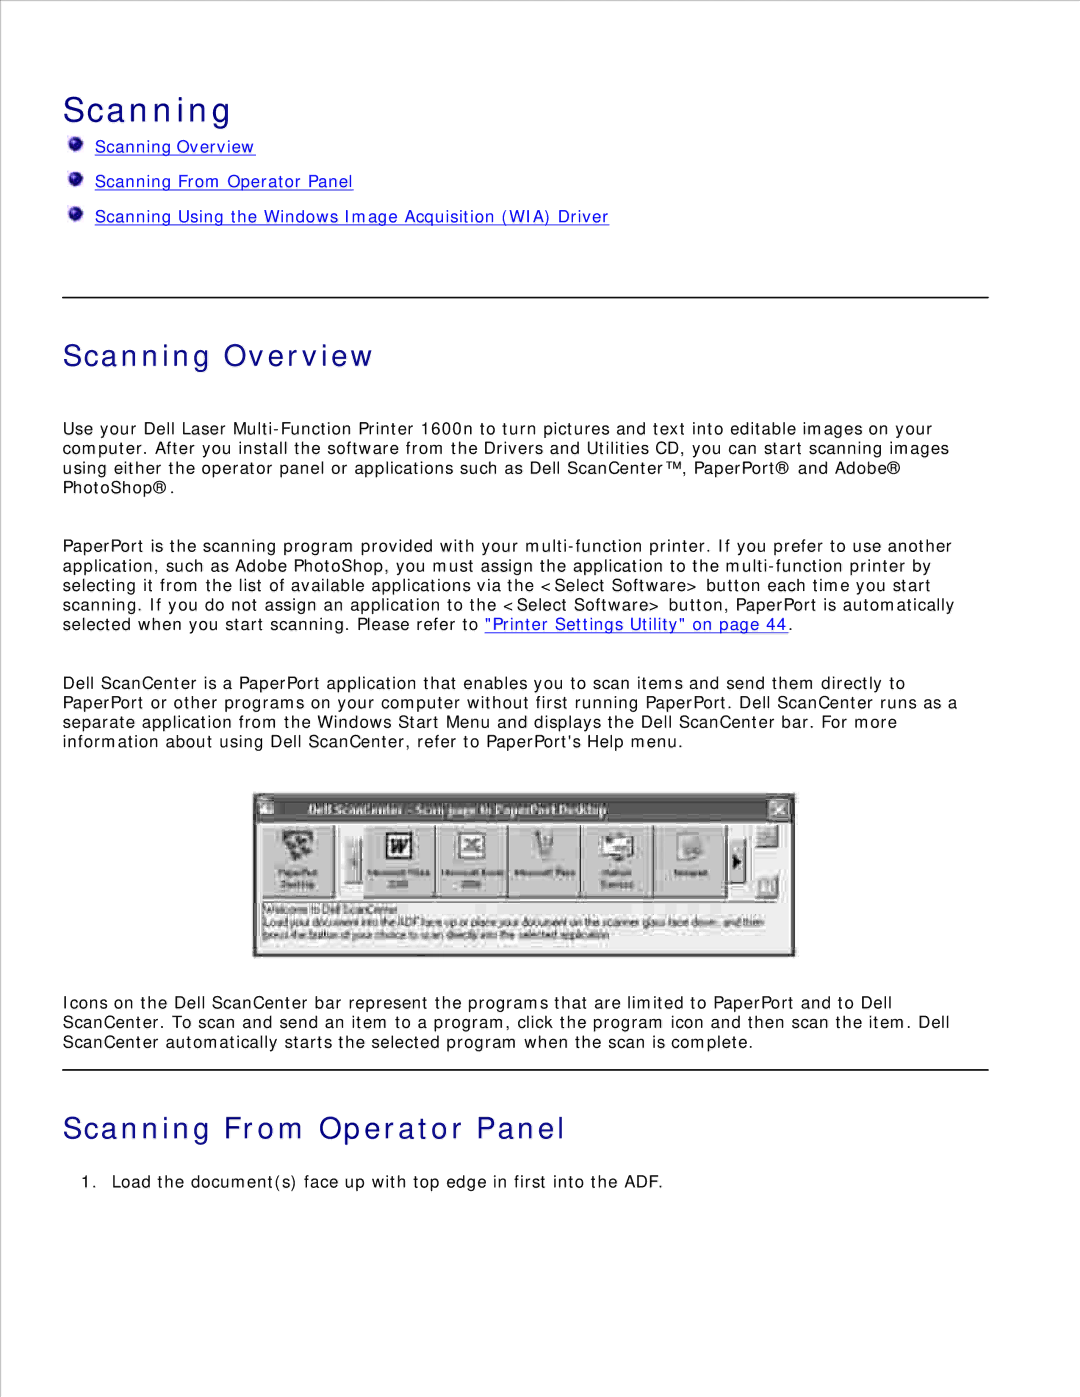
Dell ScanCenter is a PaperPort application that enables you to scan items and send them directly to PaperPort or other programs on your computer without first running PaperPort. Dell ScanCenter runs as a separate application from the Windows Start Menu and displays the Dell ScanCenter bar. For more information about using Dell ScanCenter, refer to PaperPort's Help menu.
Icons on the Dell ScanCenter bar represent the programs that are limited to PaperPort and to Dell ScanCenter. To scan and send an item to a program, click the program icon and then scan the item. Dell ScanCenter automatically starts the selected program when the scan is complete.
Scanning From Operator Panel
1. Load the document(s) face up with top edge in first into the ADF.