3 |
View Current Settings Screen—Serial-to-Serial Example
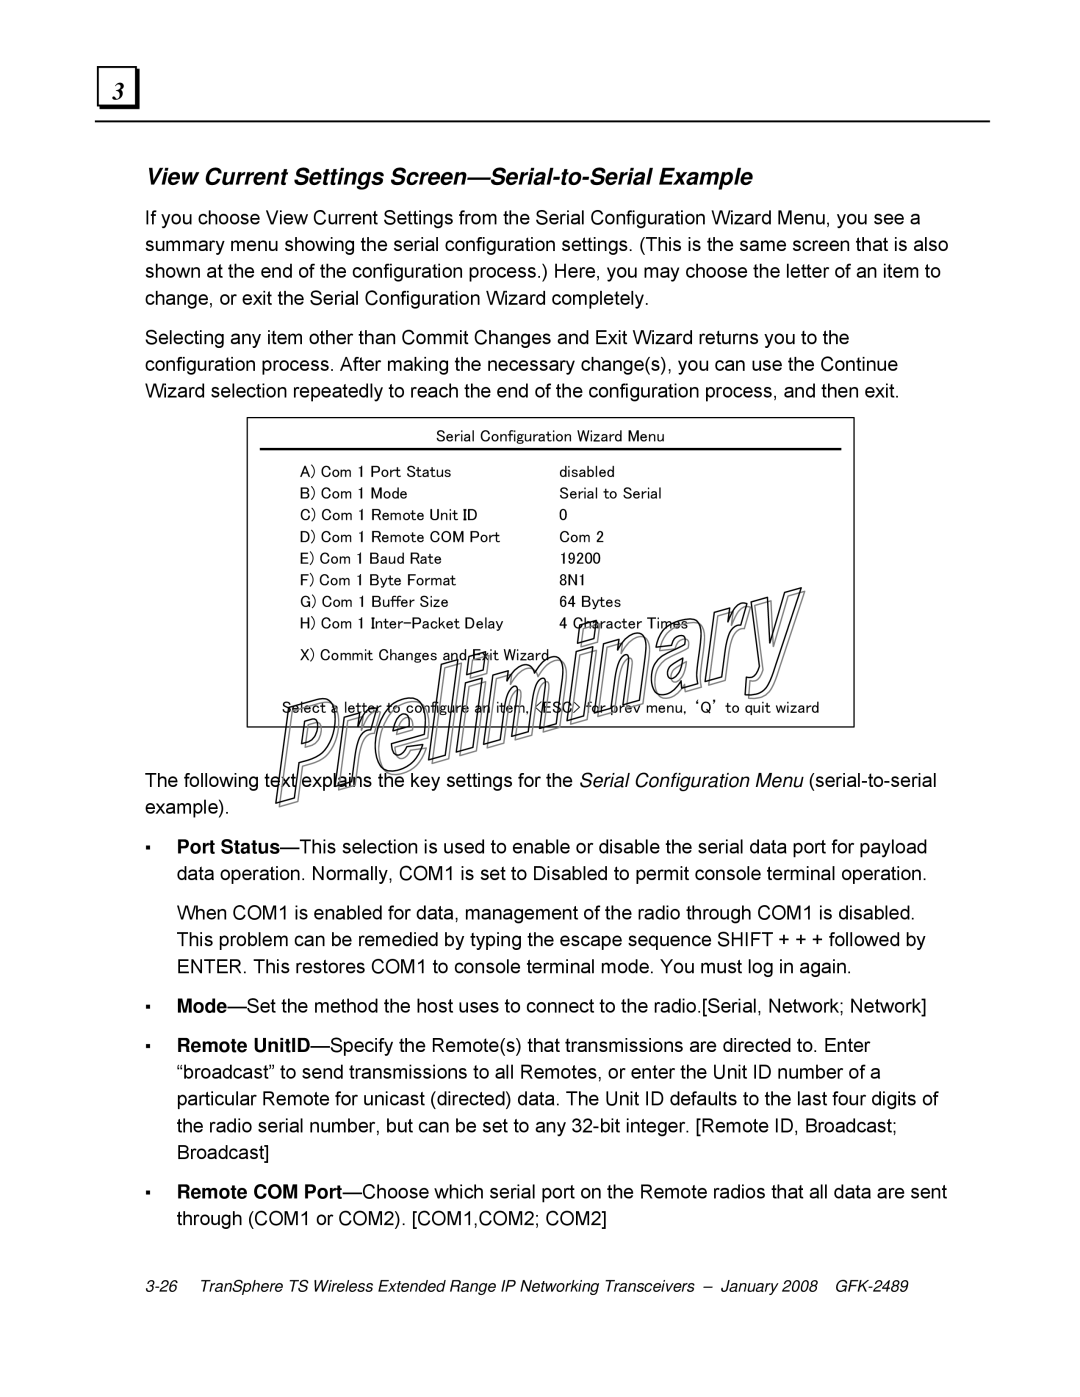
If you choose View Current Settings from the Serial Configuration Wizard Menu, you see a summary menu showing the serial configuration settings. (This is the same screen that is also shown at the end of the configuration process.) Here, you may choose the letter of an item to change, or exit the Serial Configuration Wizard completely.
Selecting any item other than Commit Changes and Exit Wizard returns you to the configuration process. After making the necessary change(s), you can use the Continue Wizard selection repeatedly to reach the end of the configuration process, and then exit.
Serial Configuration Wizard Menu
A) Com 1 Port Status | disabled |
B) Com 1 Mode | Serial to Serial |
C) Com 1 Remote Unit ID | 0 |
D) Com 1 Remote COM Port | Com 2 |
E) Com 1 Baud Rate | 19200 |
F) Com 1 Byte Format | 8N1 |
G) Com 1 Buffer Size | 64 Bytes |
H) Com 1 | 4 Character Times |
X) Commit Changes and Exit Wizard |
|
Select a letter to configure an item, <ESC> for prev menu, ‘Q’ to quit wizard
The following text explains the key settings for the Serial Configuration Menu
▪Port
When COM1 is enabled for data, management of the radio through COM1 is disabled. This problem can be remedied by typing the escape sequence SHIFT + + + followed by ENTER. This restores COM1 to console terminal mode. You must log in again.
▪
▪Remote
▪Remote COM
