Litho Installation Instructions
These instructions apply to installing either a rotating or a static litho in the rotating litho wheel. Improper installation can result in damage to the litho.
•Custom
•Etched pattern, no texture (LithoPatterns lithos): the coated side of the litho must face away from the lamp; face the uncoated (glass) side toward the lamp.
•Textured pattern (flat unglazed Art Glass, or Fusion Fire): the textured side must face away from the lamp; face the non- textured (smooth) side toward the lamp.
Replacing a Static Litho
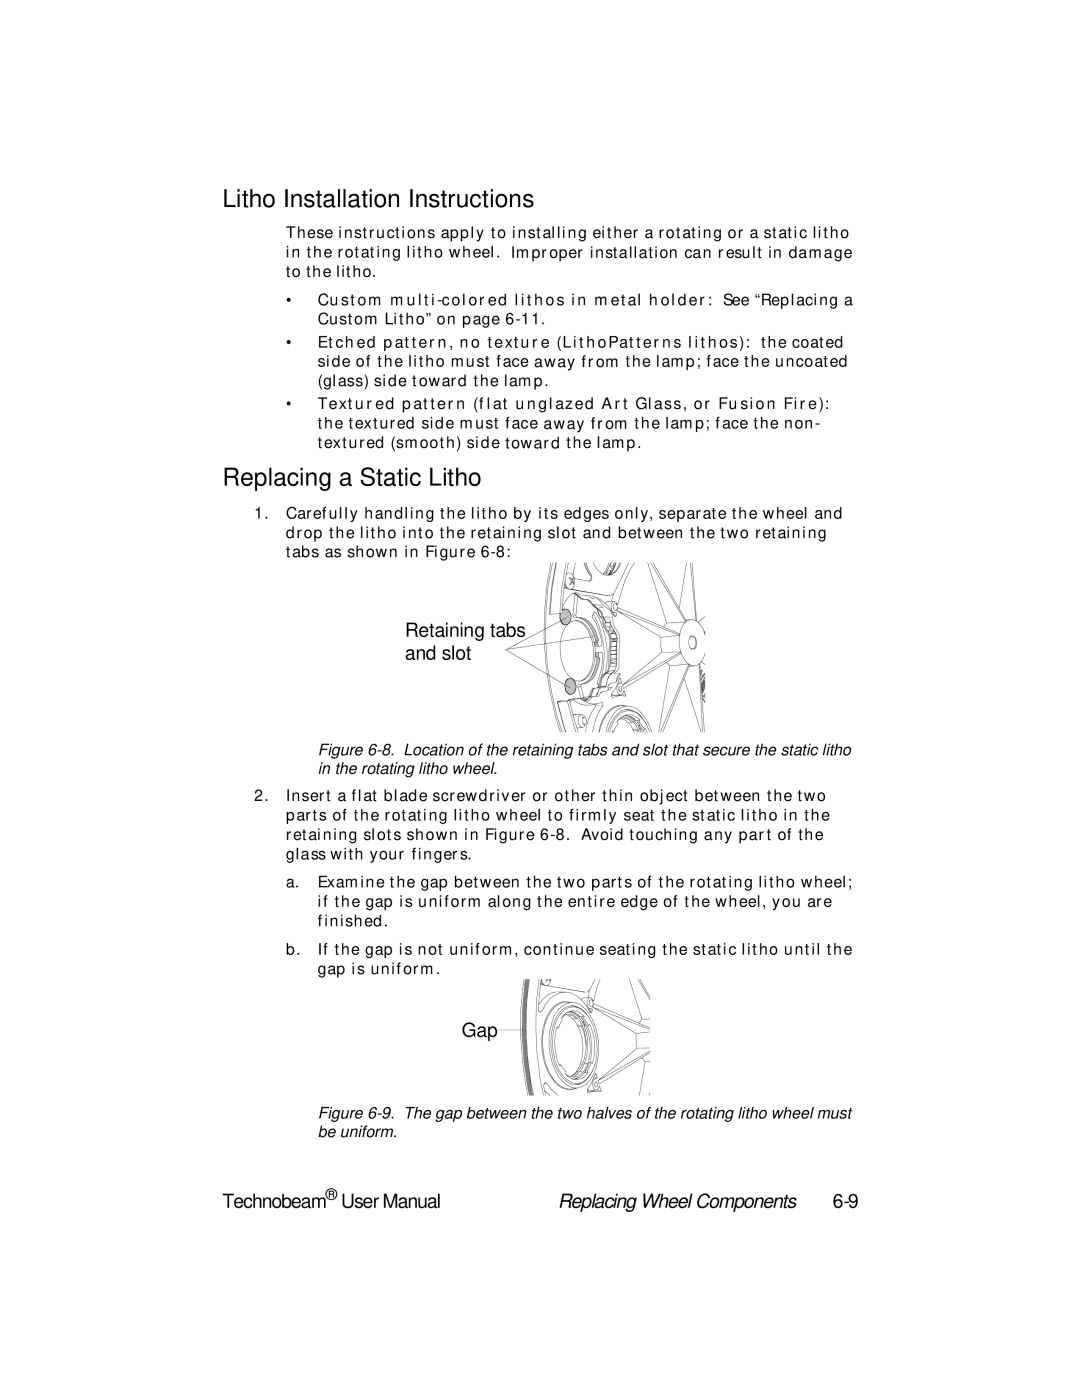
1.Carefully handling the litho by its edges only, separate the wheel and drop the litho into the retaining slot and between the two retaining tabs as shown in Figure
Retaining tabs and slot
Figure 6-8. Location of the retaining tabs and slot that secure the static litho in the rotating litho wheel.
2.Insert a flat blade screwdriver or other thin object between the two parts of the rotating litho wheel to firmly seat the static litho in the retaining slots shown in Figure
a.Examine the gap between the two parts of the rotating litho wheel; if the gap is uniform along the entire edge of the wheel, you are finished.
b.If the gap is not uniform, continue seating the static litho until the gap is uniform.
Gap
Figure 6-9. The gap between the two halves of the rotating litho wheel must be uniform.
Technobeam® User Manual | Replacing Wheel Components |