6.Write down the position of each of the lenses in the lens tube. (Each position is numbered both on the lens tube cover and on the inside of the lens tube.)
7.Handle each lens carefully by its edges only. Use a soft,
8.Replace the lenses in the lens tube in the same positions as you removed them. Refer to Table
9.Replace the cover on the lens tube. Make sure all four latches are fastened securely.
10.Use a Phillips screwdriver to loosen (but do not remove) the screw on the hot mirror tab, shown in Figure
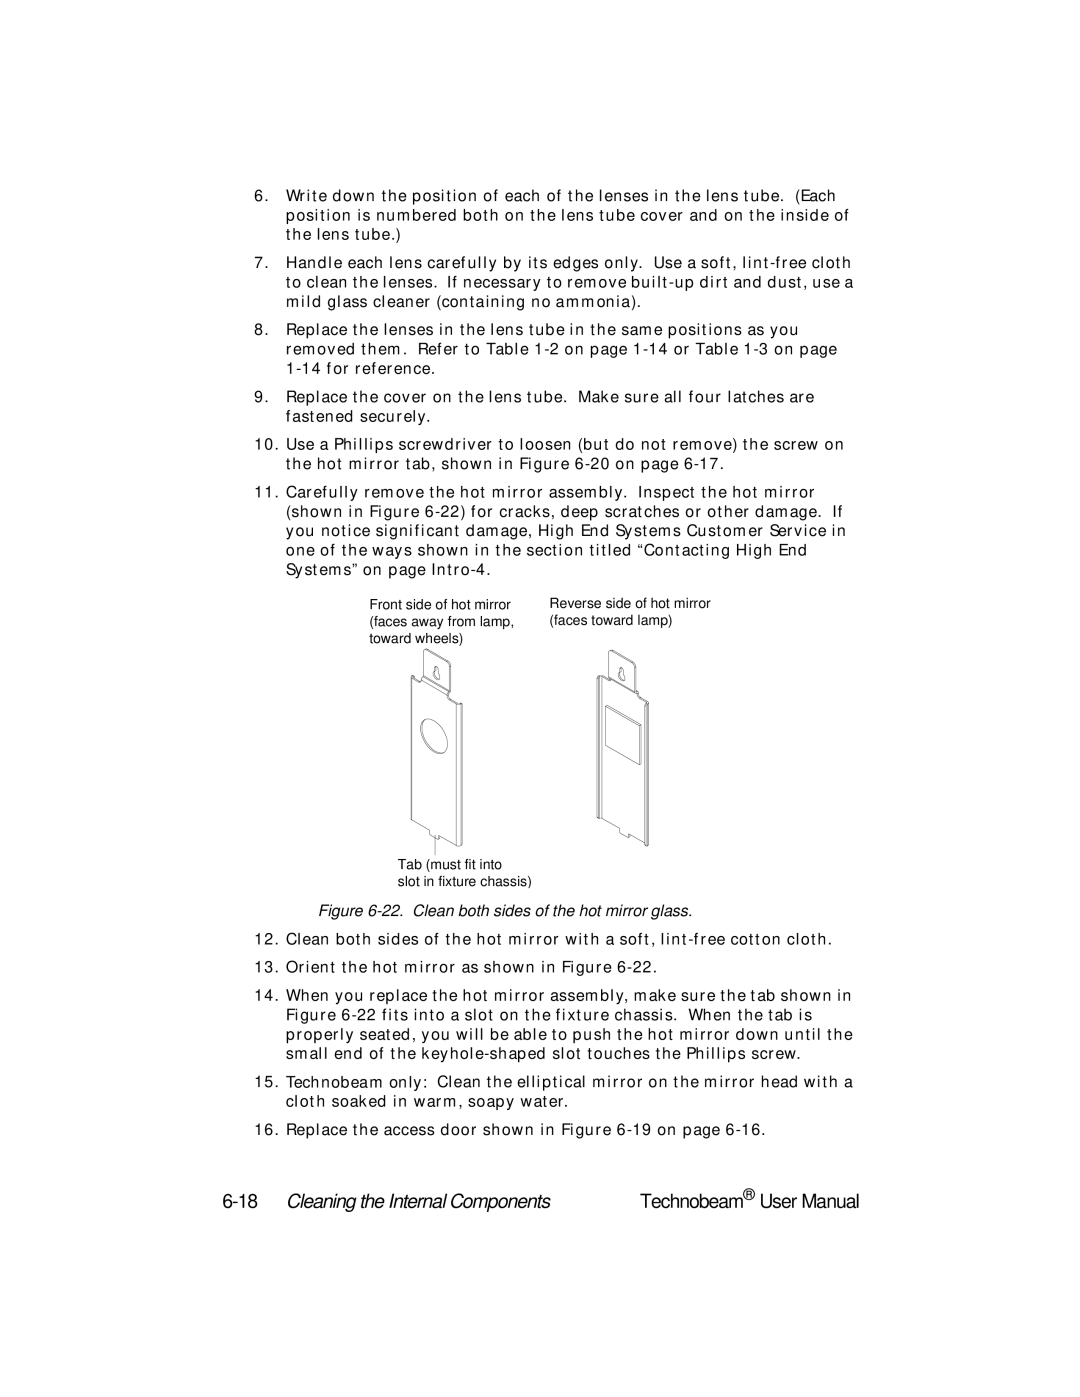
11.Carefully remove the hot mirror assembly. Inspect the hot mirror (shown in Figure
Front side of hot mirror (faces away from lamp, toward wheels)
Reverse side of hot mirror (faces toward lamp)
Tab (must fit into
slot in fixture chassis)
Figure 6-22. Clean both sides of the hot mirror glass.
12.Clean both sides of the hot mirror with a soft,
13.Orient the hot mirror as shown in Figure
14.When you replace the hot mirror assembly, make sure the tab shown in Figure
15.Technobeam only: Clean the elliptical mirror on the mirror head with a cloth soaked in warm, soapy water.
16.Replace the access door shown in Figure
| Technobeam® User Manual |
