Alignment Procedure
The alignment procedure that follows takes advantage of Technobeam’s
1.Follow the instructions in Chapter 1 to select a voltage setting and install a power cord cap, if you have not already done so.
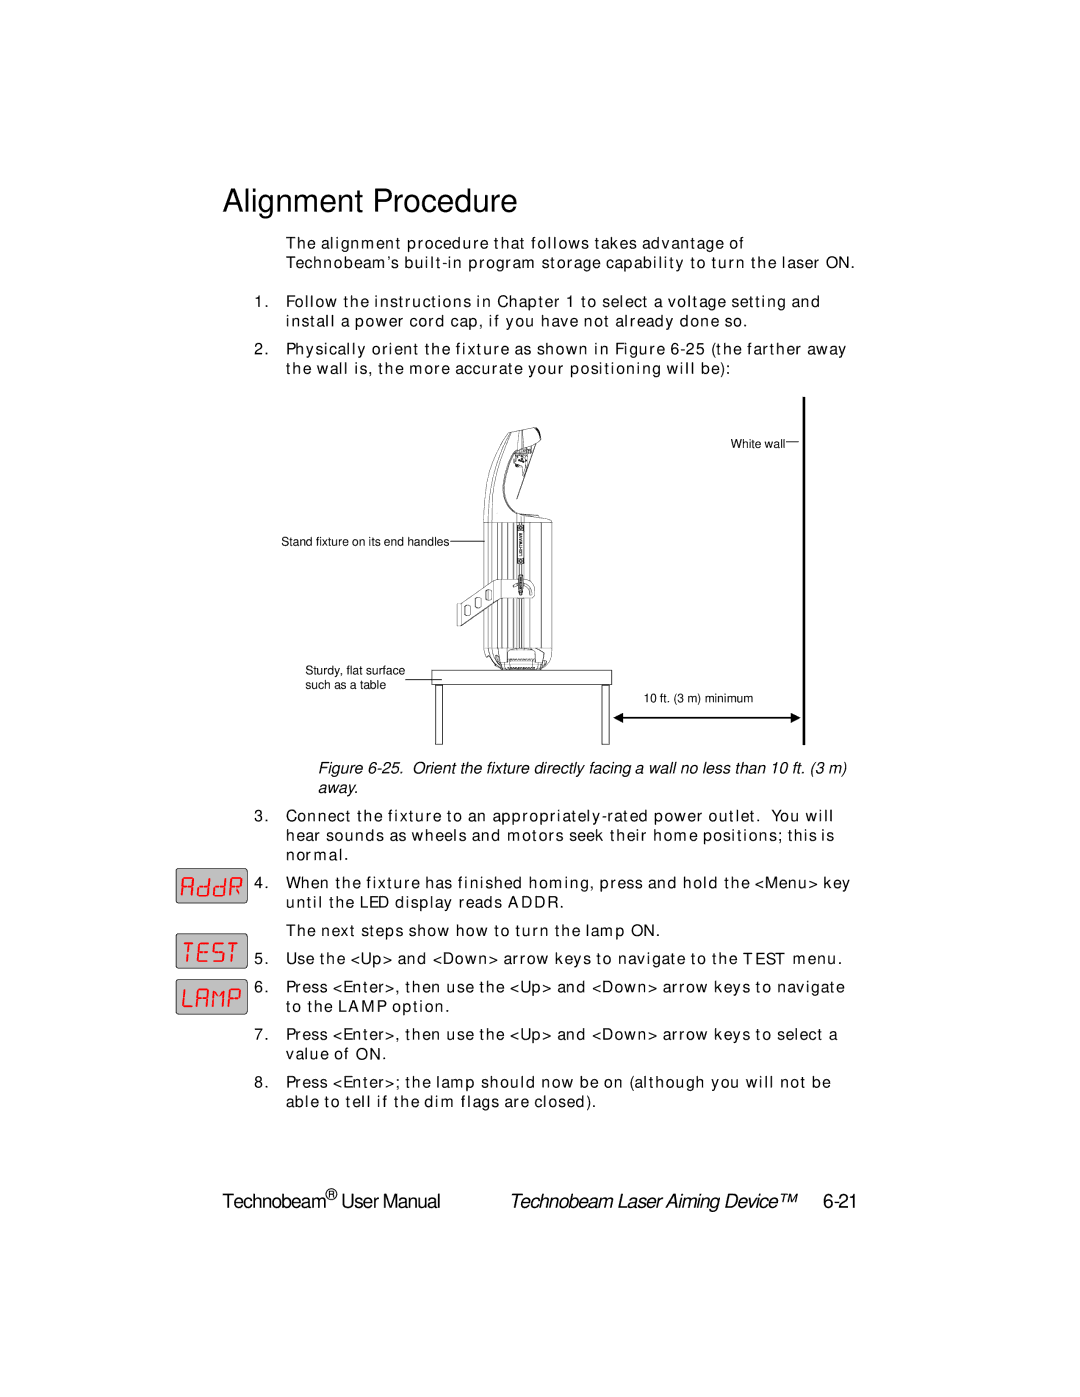
2.Physically orient the fixture as shown in Figure
White wall
Stand fixture on its end handles
Sturdy, flat surface such as a table
10 ft. (3 m) minimum
Figure 6-25. Orient the fixture directly facing a wall no less than 10 ft. (3 m) away.
3.Connect the fixture to an
4. When the fixture has finished homing, press and hold the <Menu> key until the LED display reads ADDR.
The next steps show how to turn the lamp ON.
5. Use the <Up> and <Down> arrow keys to navigate to the TEST menu.
6.Press <Enter>, then use the <Up> and <Down> arrow keys to navigate
to the LAMP option.
7.Press <Enter>, then use the <Up> and <Down> arrow keys to select a value of ON.
8.Press <Enter>; the lamp should now be on (although you will not be able to tell if the dim flags are closed).
Technobeam® User Manual | Technobeam Laser Aiming Device™ |