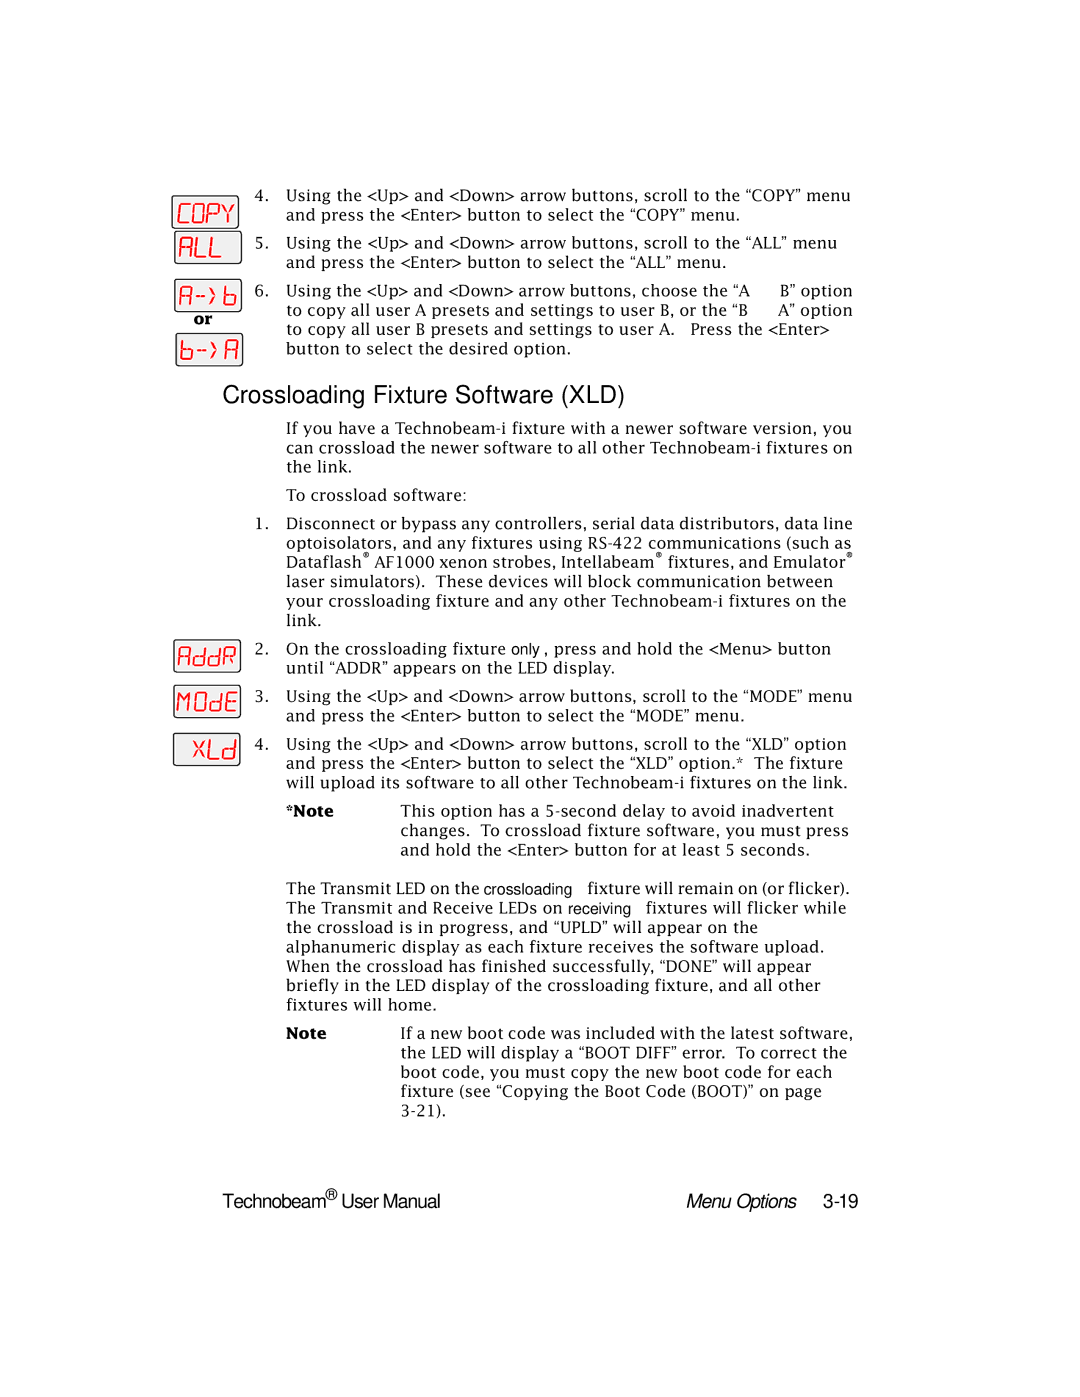
4.Using the <Up> and <Down> arrow buttons, scroll to the “COPY” menu
and press the <Enter> button to select the “COPY” menu.
5. Using the <Up> and <Down> arrow buttons, scroll to the “ALL” menu and press the <Enter> button to select the “ALL” menu.
| 6. Using the <Up> and <Down> arrow buttons, choose the “A → | B” option | |
or | to copy all user A presets and settings to user B, or the “B → | A” option | |
to copy all user B presets and settings to user A. Press the <Enter> | |||
| |||
button to select the desired option.
Crossloading Fixture Software (XLD)
If you have a
To crossload software:
1.Disconnect or bypass any controllers, serial data distributors, data line
optoisolators, and any fixtures using
2. On the crossloading fixture only, press and hold the <Menu> button until “ADDR” appears on the LED display.
3. Using the <Up> and <Down> arrow buttons, scroll to the “MODE” menu and press the <Enter> button to select the “MODE” menu.
4. Using the <Up> and <Down> arrow buttons, scroll to the “XLD” option and press the <Enter> button to select the “XLD” option.* The fixture will upload its software to all other
*Note | This option has a |
| changes. To crossload fixture software, you must press |
| and hold the <Enter> button for at least 5 seconds. |
The Transmit LED on the crossloading fixture will remain on (or flicker). The Transmit and Receive LEDs on receiving fixtures will flicker while the crossload is in progress, and “UPLD” will appear on the alphanumeric display as each fixture receives the software upload. When the crossload has finished successfully, “DONE” will appear briefly in the LED display of the crossloading fixture, and all other fixtures will home.
Note | If a new boot code was included with the latest software, |
| the LED will display a “BOOT DIFF” error. To correct the |
| boot code, you must copy the new boot code for each |
| fixture (see “Copying the Boot Code (BOOT)” on page |
|
Technobeam® User Manual | Menu Options |