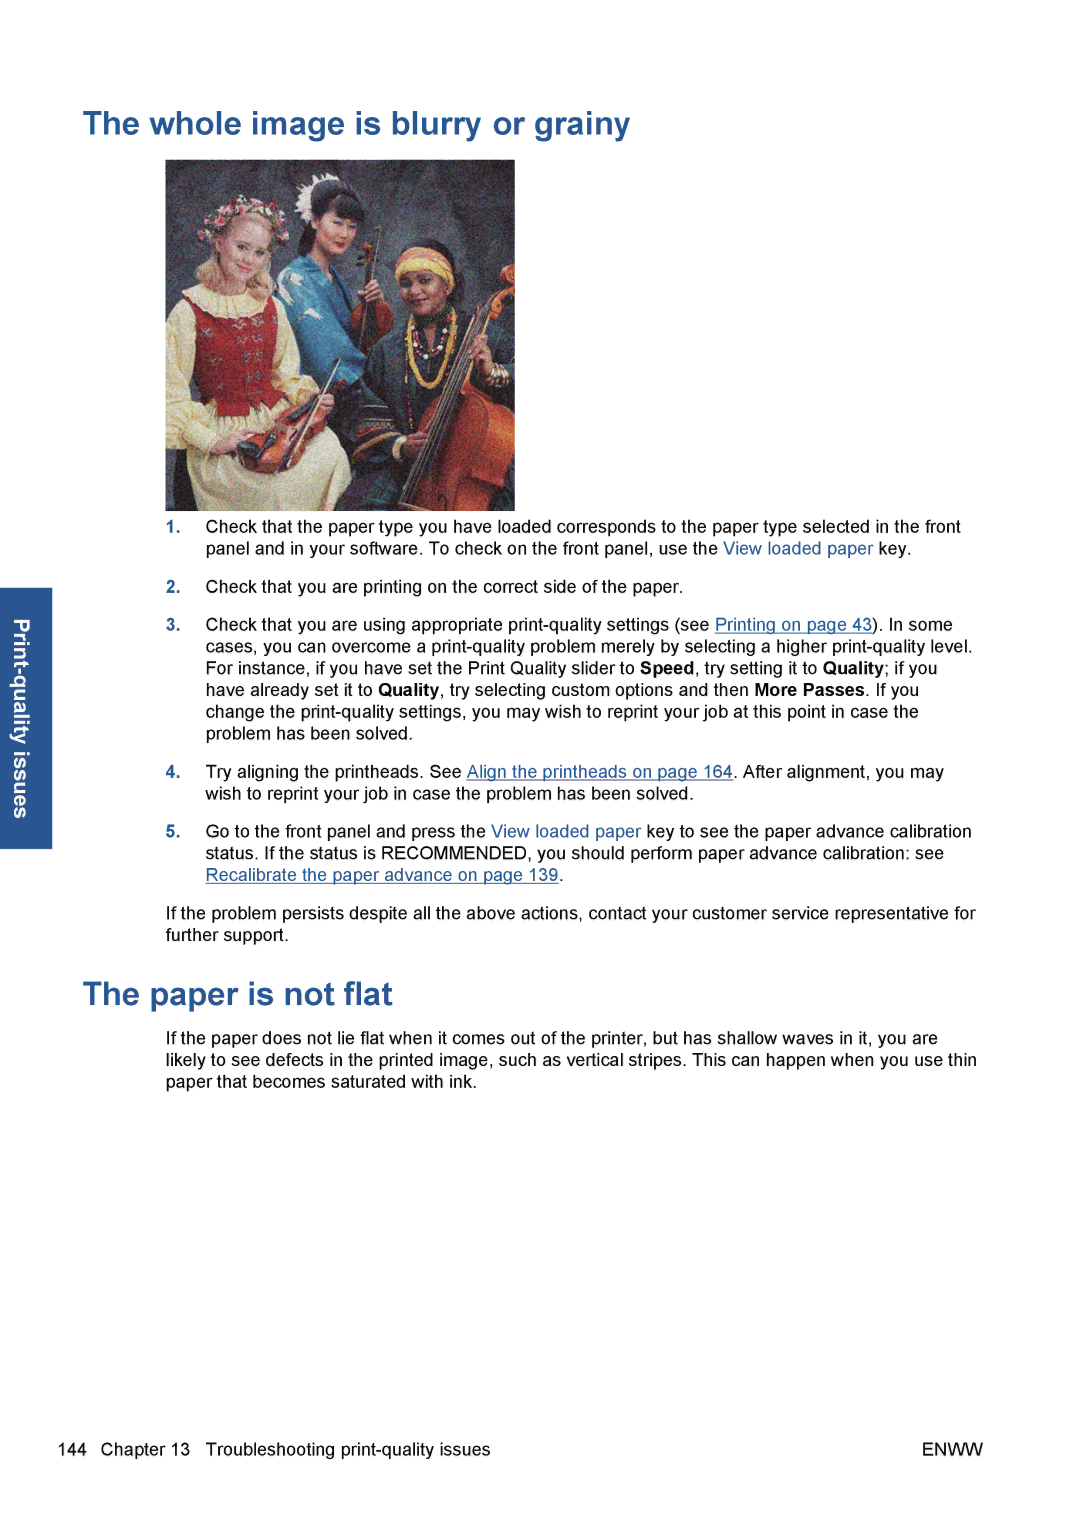
The whole image is blurry or grainy
1.Check that the paper type you have loaded corresponds to the paper type selected in the front panel and in your software. To check on the front panel, use the View loaded paper key.
2.Check that you are printing on the correct side of the paper.
3.Check that you are using appropriate
4.Try aligning the printheads. See Align the printheads on page 164. After alignment, you may wish to reprint your job in case the problem has been solved.
5.Go to the front panel and press the View loaded paper key to see the paper advance calibration status. If the status is RECOMMENDED, you should perform paper advance calibration: see Recalibrate the paper advance on page 139.
If the problem persists despite all the above actions, contact your customer service representative for further support.
The paper is not flat
If the paper does not lie flat when it comes out of the printer, but has shallow waves in it, you are likely to see defects in the printed image, such as vertical stripes. This can happen when you use thin paper that becomes saturated with ink.
144 Chapter 13 Troubleshooting | ENWW |