Paper handling
8.Select your paper category and type.
TIP: If you have loaded a paper type whose name does not appear in the paper list, see The paper type is not in the driver on page 134.
9.The printer checks the alignment and measures the width. It cuts a strip off the leading edge of glossy or satin paper to ensure perfect quality; other paper types are not cut.
10.Look at the front panel; you may find some instructions there.
11.When the roll is aligned, the front panel displays the Ready message and the printer is ready to print. If the roll is not aligned, follow the instructions on the
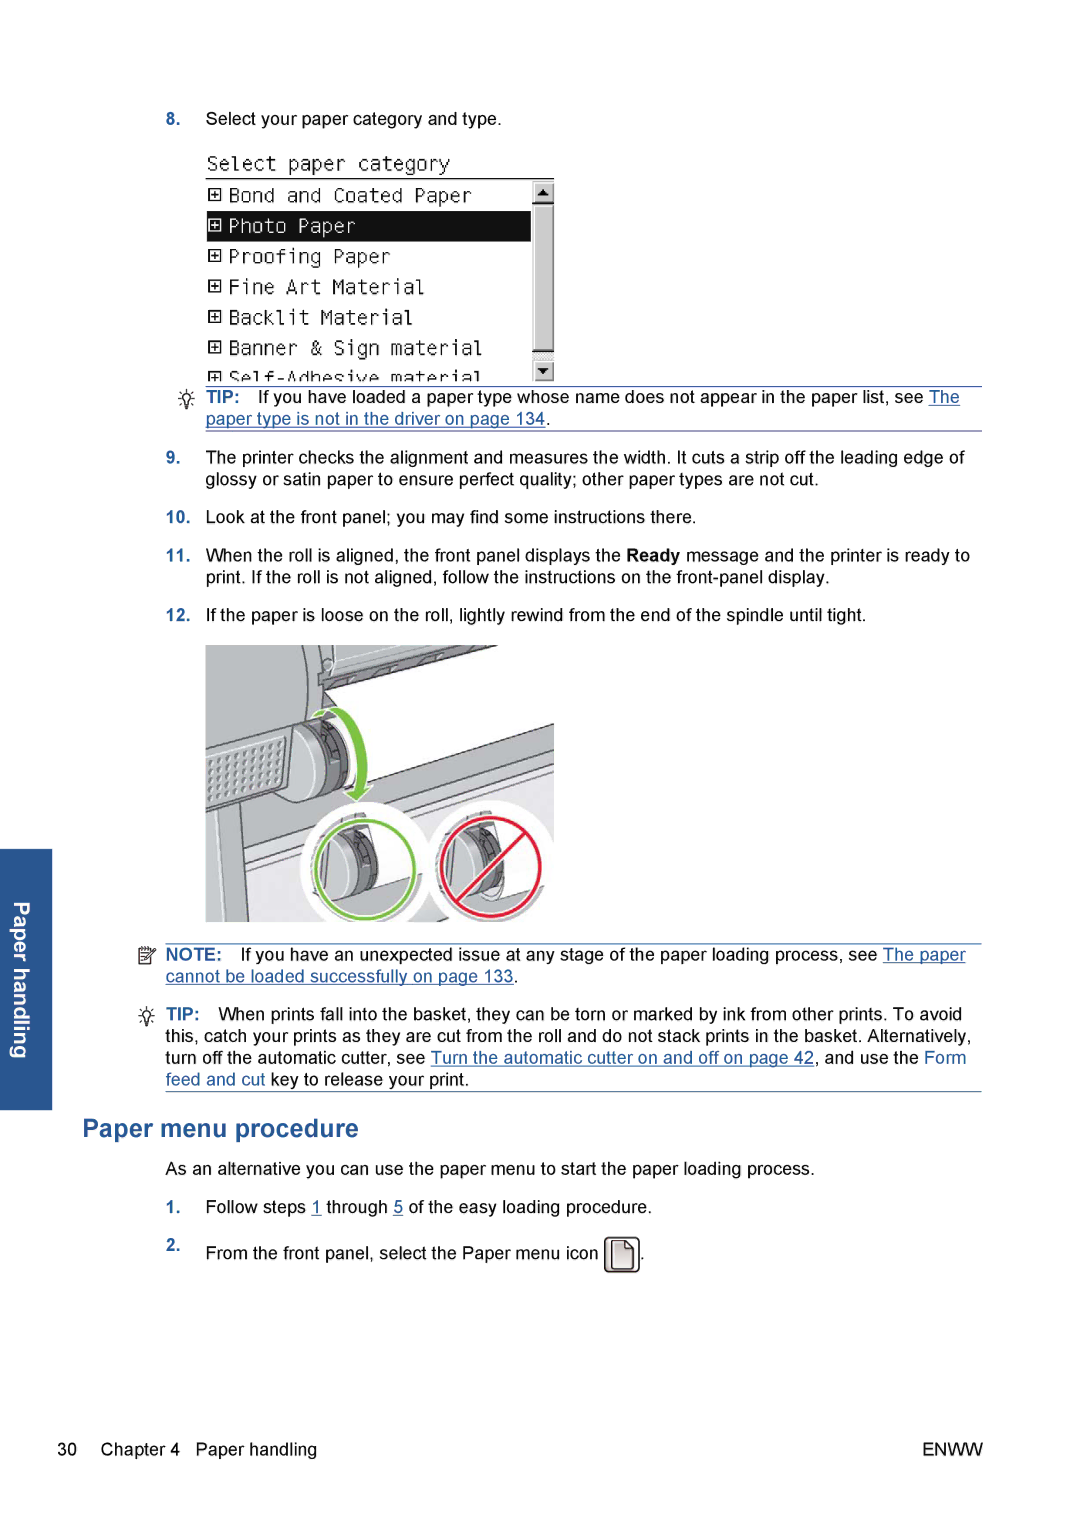
12.If the paper is loose on the roll, lightly rewind from the end of the spindle until tight.
![]() NOTE: If you have an unexpected issue at any stage of the paper loading process, see The paper cannot be loaded successfully on page 133.
NOTE: If you have an unexpected issue at any stage of the paper loading process, see The paper cannot be loaded successfully on page 133.
TIP: When prints fall into the basket, they can be torn or marked by ink from other prints. To avoid this, catch your prints as they are cut from the roll and do not stack prints in the basket. Alternatively, turn off the automatic cutter, see Turn the automatic cutter on and off on page 42, and use the Form feed and cut key to release your print.
Paper menu procedure
As an alternative you can use the paper menu to start the paper loading process.
1.Follow steps 1 through 5 of the easy loading procedure.
2.From the front panel, select the Paper menu icon ![]() .
.
30 Chapter 4 Paper handling | ENWW |