Beyond the Basics
Cover page
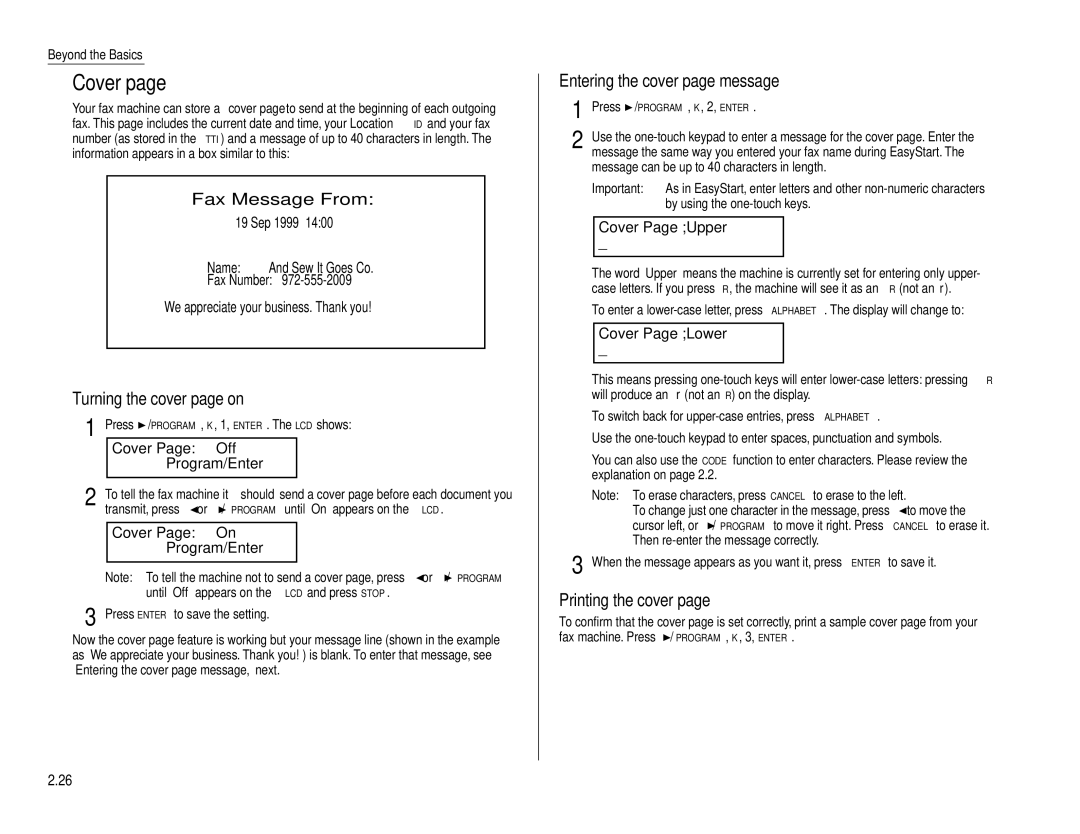
Your fax machine can store a cover page to send at the beginning of each outgoing fax. This page includes the current date and time, your Location ID and your fax number (as stored in the TTI) and a message of up to 40 characters in length. The information appears in a box similar to this:
Fax Message From:
19 Sep 1999 14:00
Name: | And Sew It Goes Co. |
Fax Number: |
We appreciate your business. Thank you!
Turning the cover page on
1 Press ![]() /PROGRAM, K, 1, ENTER. The LCD shows:
/PROGRAM, K, 1, ENTER. The LCD shows:
Cover Page: Off
Program/Enter
2 To tell the fax machine it should send a cover page before each document you transmit, press ![]() or
or ![]() /PROGRAM until “On” appears on the LCD.
/PROGRAM until “On” appears on the LCD.
Cover Page: On
Program/Enter
Note: To tell the machine not to send a cover page, press ![]() or
or ![]() /PROGRAM until “Off” appears on the LCD and press STOP.
/PROGRAM until “Off” appears on the LCD and press STOP.
3 Press ENTER to save the setting.
Now the cover page feature is working but your message line (shown in the example as “We appreciate your business. Thank you!”) is blank. To enter that message, see “Entering the cover page message,” next.
Entering the cover page message
1 Press ![]() /PROGRAM, K, 2, ENTER.
/PROGRAM, K, 2, ENTER.
2 Use the
Important: As in EasyStart, enter letters and other
Cover Page ;Upper
_
The word “Upper” means the machine is currently set for entering only upper- case letters. If you press R, the machine will see it as an R (not an r).
To enter a
Cover Page ;Lower
_
This means pressing
To switch back for
Use the
You can also use the CODE function to enter characters. Please review the explanation on page 2.2.
Note: To erase characters, press CANCEL to erase to the left.
To change just one character in the message, press ![]() to move the cursor left, or
to move the cursor left, or ![]() /PROGRAM to move it right. Press CANCEL to erase it. Then
/PROGRAM to move it right. Press CANCEL to erase it. Then
3 When the message appears as you want it, press ENTER to save it.
Printing the cover page
To confirm that the cover page is set correctly, print a sample cover page from your fax machine. Press ![]() /PROGRAM, K, 3, ENTER.
/PROGRAM, K, 3, ENTER.
2.26