Getting started
Attaching the parts
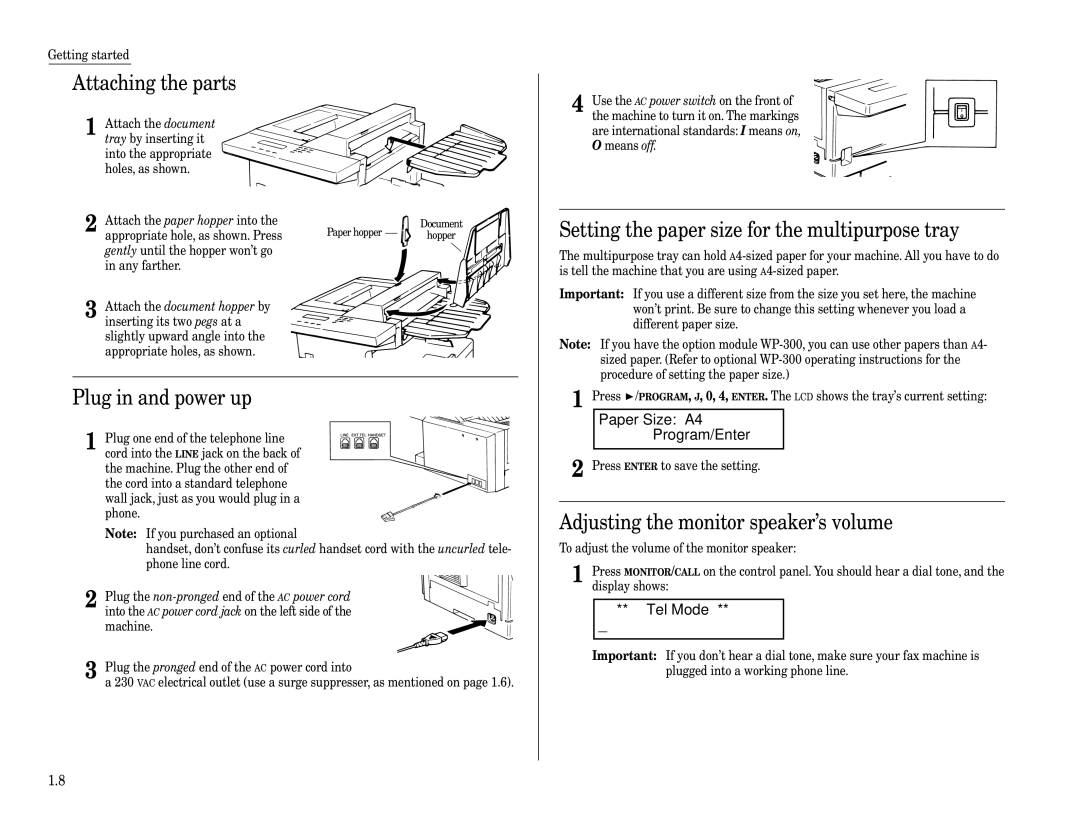
1 Attach the document tray by inserting it into the appropriate holes, as shown.
Attach the paper hopper into the |
|
| Document |
2 appropriate hole, as shown. Press | Paper hopper |
| hopper |
| |||
gently until the hopper won’t go |
|
|
|
in any farther. |
|
|
|
3 Attach the document hopper by inserting its two pegs at a slightly upward angle into the appropriate holes, as shown.
Plug in and power up
1 Plug one end of the telephone line cord into the LINE jack on the back of the machine. Plug the other end of the cord into a standard telephone wall jack, just as you would plug in a phone.
Note: If you purchased an optional
handset, don’t confuse its curled handset cord with the uncurled tele- phone line cord.
2 Plug the
3 Plug the pronged end of the AC power cord into
a 230 VAC electrical outlet (use a surge suppresser, as mentioned on page 1.6).
4 Use the AC power switch on the front of the machine to turn it on. The markings are international standards: I means on, O means off.
Setting the paper size for the multipurpose tray
The multipurpose tray can hold
Important: If you use a different size from the size you set here, the machine won’t print. Be sure to change this setting whenever you load a different paper size.
Note: If you have the option module
1 Press ![]() /PROGRAM, J, 0, 4, ENTER. The LCD shows the tray’s current setting:
/PROGRAM, J, 0, 4, ENTER. The LCD shows the tray’s current setting:
Paper Size: A4
Program/Enter
2 Press ENTER to save the setting.
Adjusting the monitor speaker’s volume
To adjust the volume of the monitor speaker:
1 | Press MONITOR/CALL on the control panel. You should hear a dial tone, and the | ||
| display shows: | ||
|
| ** Tel Mode ** |
|
|
| _ |
|
|
|
|
|
| Important: If you don’t hear a dial tone, make sure your fax machine is | ||
|
| plugged into a working phone line. | |
1.8