Beyond the Basics
Setting the reports: TCRs and RCRs
Your fax machine can print reports of transmissions and receptions.
There are two different reports: a transmit confirmation report (TCR) and a receive confirmation report (RCR). You can receive a TCR after sending a fax to any Group 3 fax machine, but the RCR function works only when you send a fax to a compatible Muratec machine. (Consult your authorised Muratec dealer with any questions about such compatibility.) Choose the type of report you want, based on the fax machines to which you’re transmitting.
What the reports tell you
TCR
The TCR lists the following information for each communication:
•Date and time of the TCR’s printout
•Remote location called
•Resolution mode
•Starting date and time
•Duration, in minutes and seconds
•Length, in number of pages
•Result of the call
•Any special operations — For example, a fax call made using an optional handset will appear as “Manual”
•Sample of the document — An image of the first page of the document
If an error occurs, the TCR tells you the remote location which was called, the error code and error message (see pages
RCR
The RCR lists the following information for each communication:
•Date and time
•Remote location called
•Assigned number, starting each day at 001
•Resolution mode
•Duration, in minutes and seconds
•Length, in number of pages
•Result of the call — Either “OK” or an error code (see pages
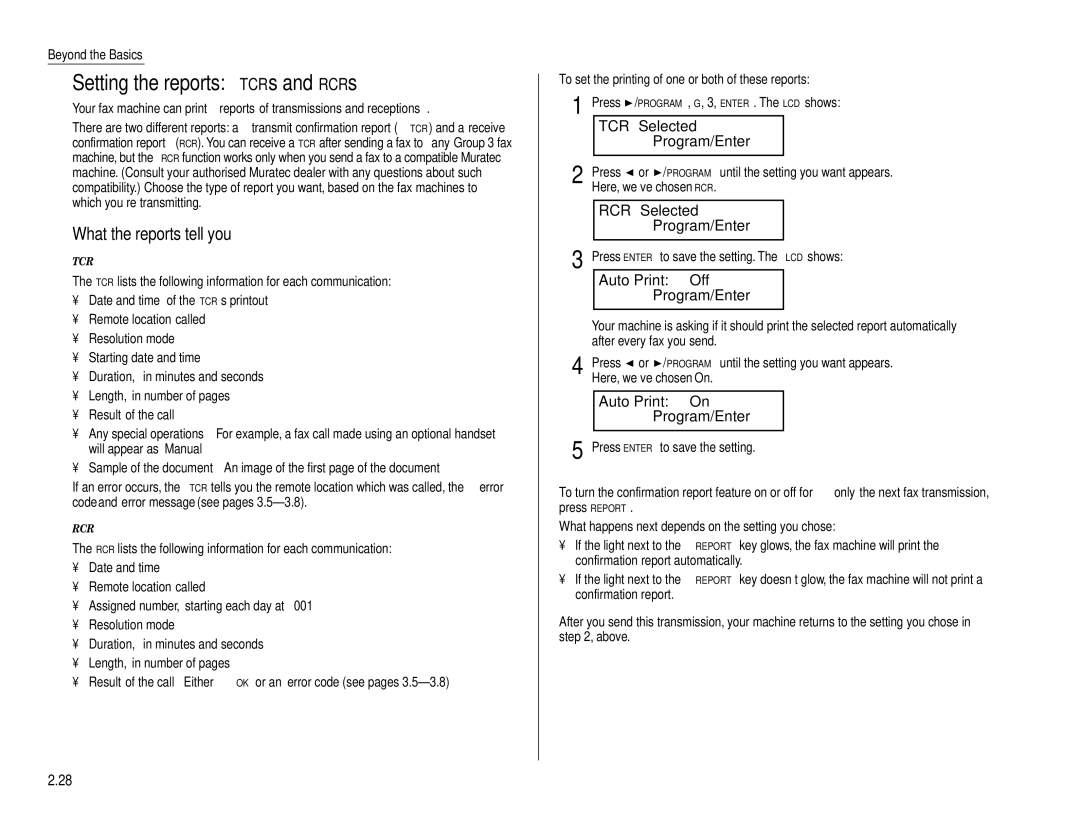
To set the printing of one or both of these reports:
1 | Press | /PROGRAM, G, 3, ENTER. The LCD shows: | |||
|
| TCR Selected |
|
| |
|
|
| Program/Enter |
| |
2 |
|
|
|
| |
Press | or /PROGRAM until the setting you want appears. | ||||
| Here, we’ve chosen RCR. |
|
| ||
|
|
|
|
| |
|
| RCR Selected |
|
| |
|
|
| Program/Enter |
| |
3 |
|
|
| ||
Press ENTER to save the setting. The LCD shows: | |||||
|
| Auto Print: | Off |
| |
|
|
| Program/Enter |
| |
|
|
|
|
|
|
Your machine is asking if it should print the selected report automatically after every fax you send.
4 | Press or /PROGRAM until the setting you want appears. |
| Here, we’ve chosen On. |
Auto Print: On
Program/Enter
5 Press ENTER to save the setting.
To turn the confirmation report feature on or off for only the next fax transmission,
press REPORT.
What happens next depends on the setting you chose:
•If the light next to the REPORT key glows, the fax machine will print the confirmation report automatically.
•If the light next to the REPORT key doesn’t glow, the fax machine will not print a confirmation report.
After you send this transmission, your machine returns to the setting you chose in step 2, above.
2.28
