Quick Memory transmission
Using Quick Memory transmission can save you time over standard memory transmissions.
For a normal memory transmission, your fax: (1) scans your entire document into memory, (2) dials the other fax machine, then (3) transmits the document.
But with Quick Memory transmission, your machine doesn’t wait to scan all pages into memory before dialling. After it scans the first page of your document, your machine dials the call. While dialling, connecting and transmitting, your fax machine continues to scan in the remaining pages of the document.
You can set your fax to always use Quick Memory transmission as the default.
Important: Your fax machine’s memory transmission feature must be turned on to use Quick Memory transmission (see page 1.13).
To make Quick Memory transmission the default:
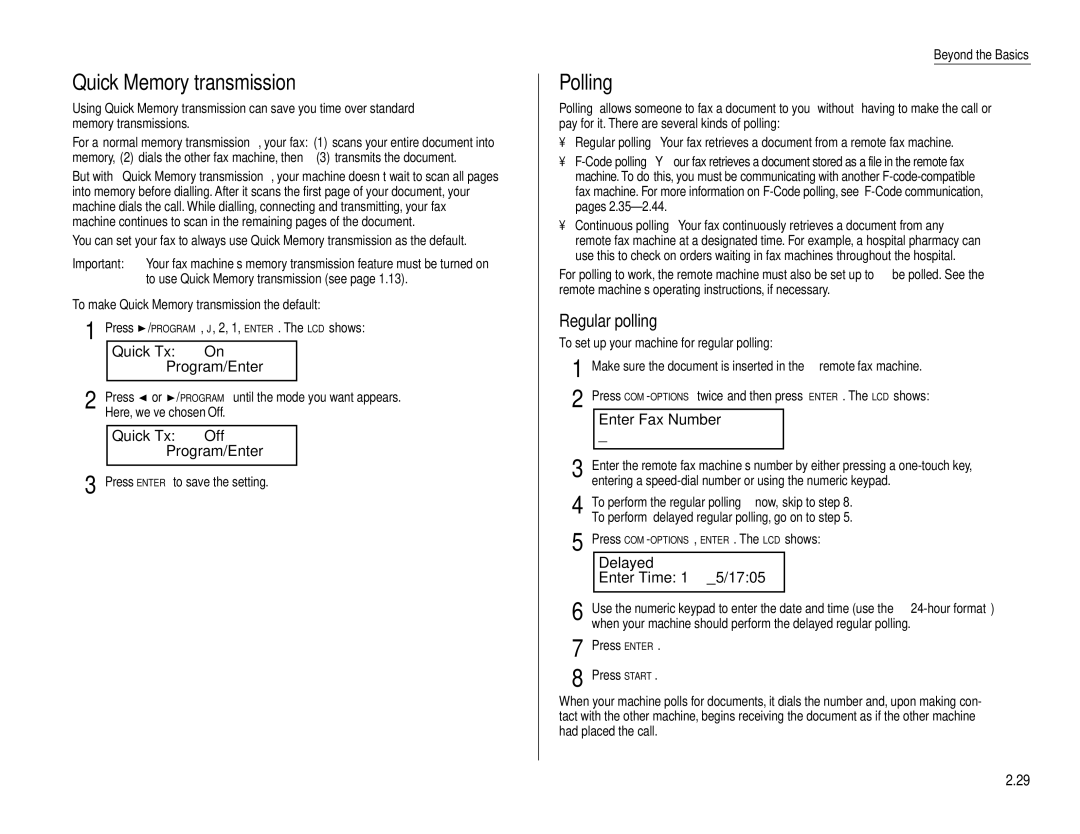
1 | Press | /PROGRAM, J, 2, 1, ENTER. The LCD shows: | |||
|
| Quick Tx: | On |
| |
|
|
| Program/Enter |
| |
2 |
|
|
|
| |
Press | or /PROGRAM until the mode you want appears. | ||||
| Here, we’ve chosen Off. |
|
| ||
Quick Tx: Off
Program/Enter
3 Press ENTER to save the setting.
Beyond the Basics
Polling
Polling allows someone to fax a document to you without having to make the call or pay for it. There are several kinds of polling:
•Regular polling — Your fax retrieves a document from a remote fax machine.
•
•Continuous polling — Your fax continuously retrieves a document from any remote fax machine at a designated time. For example, a hospital pharmacy can use this to check on orders waiting in fax machines throughout the hospital.
For polling to work, the remote machine must also be set up to be polled. See the remote machine’s operating instructions, if necessary.
Regular polling
To set up your machine for regular polling:
1 Make sure the document is inserted in the remote fax machine.
2 Press
Enter Fax Number
_
3 Enter the remote fax machine’s number by either pressing a
4 To perform the regular polling now, skip to step 8. To perform delayed regular polling, go on to step 5.
5 Press
Delayed
Enter Time: 15/17:05
6 Use the numeric keypad to enter the date and time (use the
7 Press ENTER.
8 Press START.
When your machine polls for documents, it dials the number and, upon making con- tact with the other machine, begins receiving the document as if the other machine had placed the call.
2.29