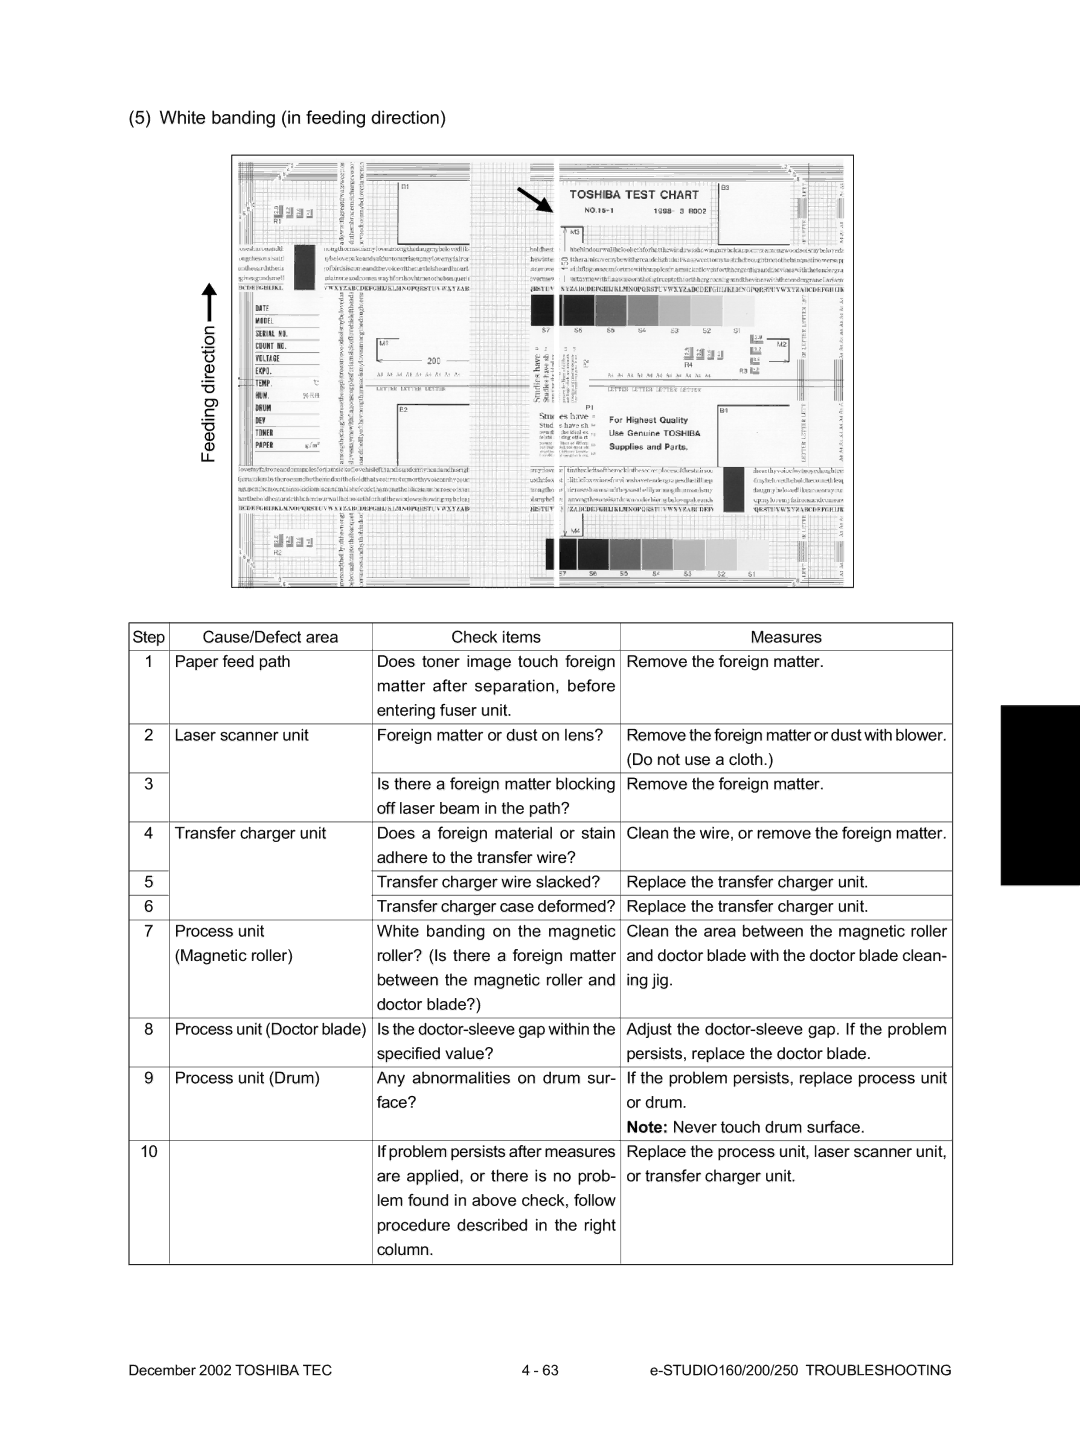
(5) White banding (in feeding direction)
Feeding direction
Step
1
2
3
4
5
6
7
8
9
10
Cause/Defect area | Check items | Measures |
|
|
|
Paper feed path | Does toner image touch foreign | Remove the foreign matter. |
| matter after separation, before |
|
| entering fuser unit. |
|
|
|
|
Laser scanner unit | Foreign matter or dust on lens? | Remove the foreign matter or dust with blower. |
|
| (Do not use a cloth.) |
|
|
|
| Is there a foreign matter blocking | Remove the foreign matter. |
| off laser beam in the path? |
|
|
|
|
Transfer charger unit | Does a foreign material or stain | Clean the wire, or remove the foreign matter. |
| adhere to the transfer wire? |
|
|
|
|
| Transfer charger wire slacked? | Replace the transfer charger unit. |
|
|
|
| Transfer charger case deformed? | Replace the transfer charger unit. |
|
|
|
Process unit | White banding on the magnetic | Clean the area between the magnetic roller |
(Magnetic roller) | roller? (Is there a foreign matter | and doctor blade with the doctor blade clean- |
| between the magnetic roller and | ing jig. |
| doctor blade?) |
|
|
|
|
Process unit (Doctor blade) | Is the | Adjust the |
| specified value? | persists, replace the doctor blade. |
|
|
|
Process unit (Drum) | Any abnormalities on drum sur- | If the problem persists, replace process unit |
| face? | or drum. |
|
| Note: Never touch drum surface. |
|
|
|
| If problem persists after measures | Replace the process unit, laser scanner unit, |
| are applied, or there is no prob- | or transfer charger unit. |
| lem found in above check, follow |
|
| procedure described in the right |
|
| column. |
|
|
|
|
December 2002 TOSHIBA TEC | 4 - 63 |