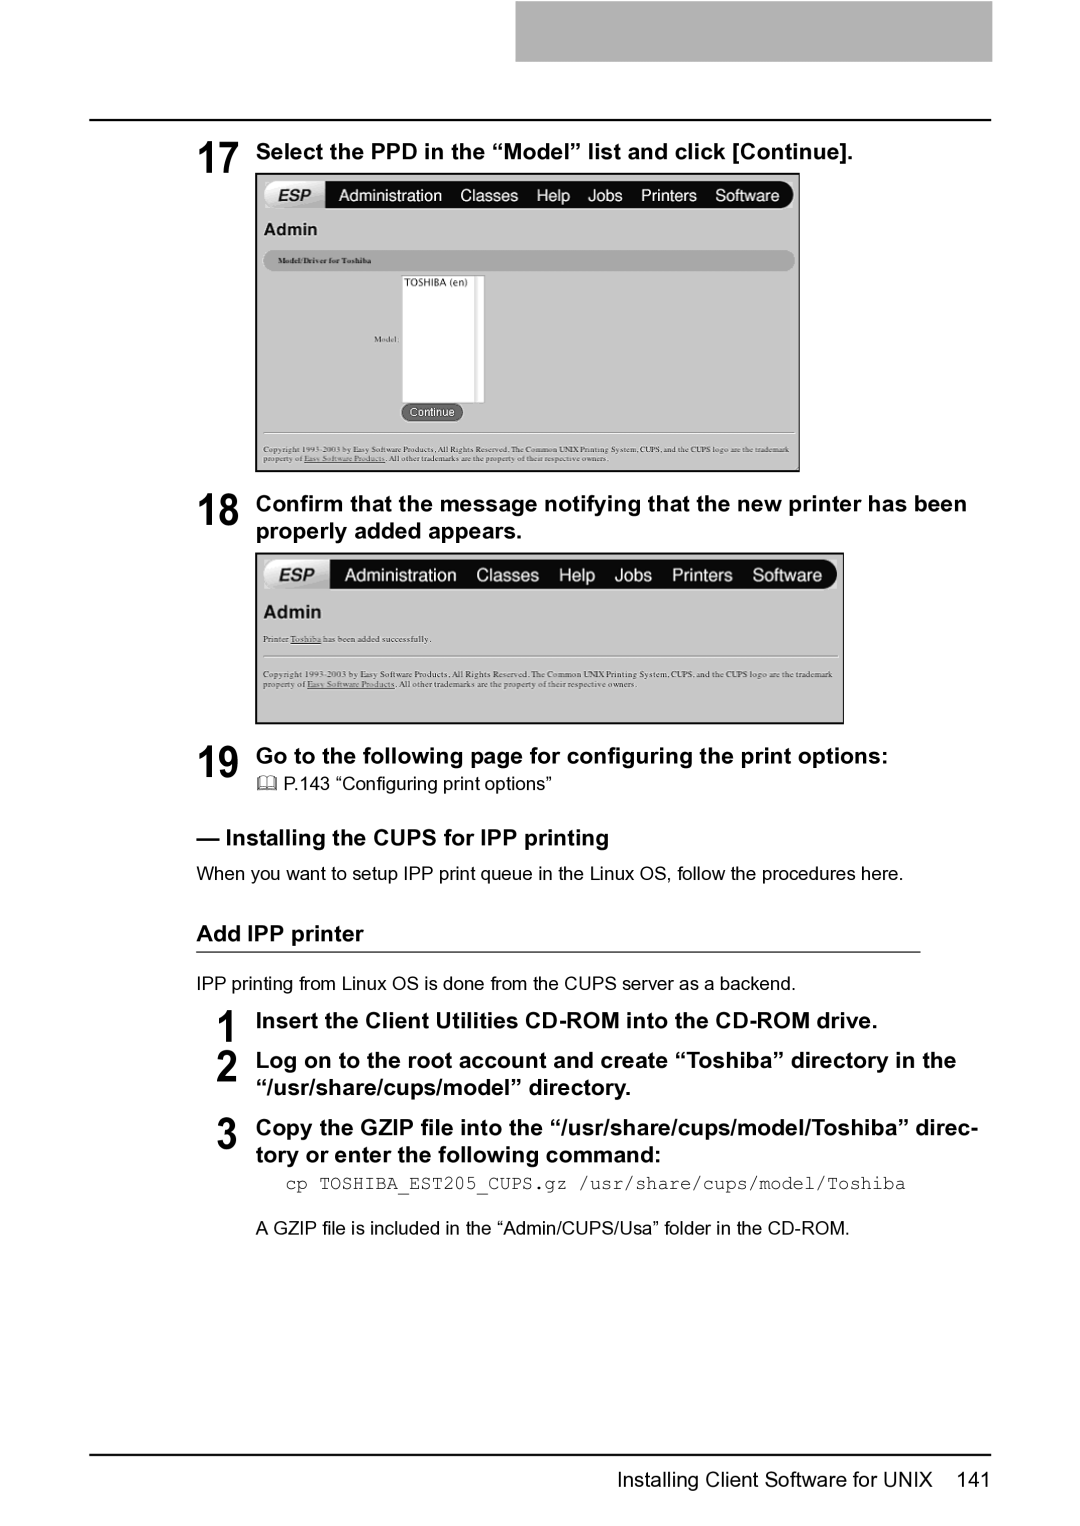
17 Select the PPD in the “Model” list and click [Continue].
18 Confirm that the message notifying that the new printer has been properly added appears.
19 Go to the following page for configuring the print options: P.143 “Configuring print options”
— Installing the CUPS for IPP printing
When you want to setup IPP print queue in the Linux OS, follow the procedures here.
Add IPP printer
IPP printing from Linux OS is done from the CUPS server as a backend.
1 Insert the Client Utilities
2 Log on to the root account and create “Toshiba” directory in the “/usr/share/cups/model” directory.
3 Copy the GZIP file into the “/usr/share/cups/model/Toshiba” direc- tory or enter the following command:
cp TOSHIBA_EST205_CUPS.gz /usr/share/cups/model/Toshiba
A GZIP file is included in the “Admin/CUPS/Usa” folder in the
Installing Client Software for UNIX 141
