3PRINTING
9)Angle
Enter the degree of angle for rotating the watermark text. The angle can be set from
10)Solid
Select this to print solid type of watermark.
11)Draw as Outline
Select this to print outline type of watermark.
12)Transparency
Select this to transparent watermark. When you select this, set the brightness from 0 (darker) to 100% (lighter) in units of 1%. You can also set the brightness using the scroll bar.
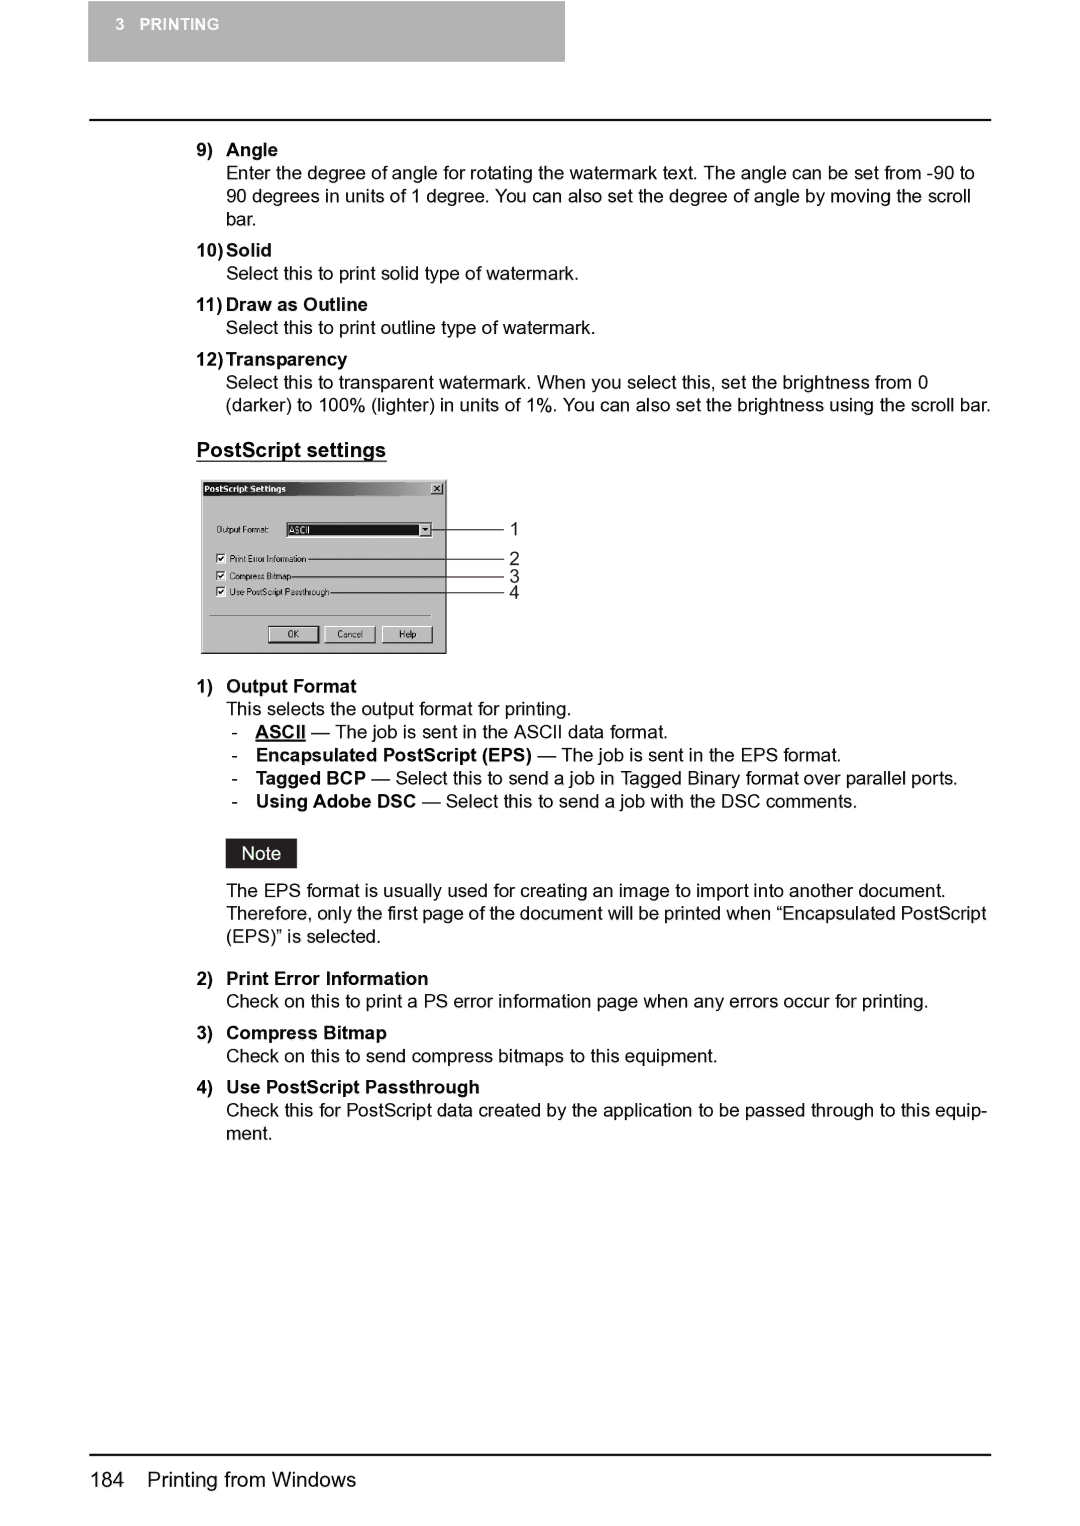
PostScript settings
1
2
3
4
1)Output Format
This selects the output format for printing.
-ASCII — The job is sent in the ASCII data format.
-Encapsulated PostScript (EPS) — The job is sent in the EPS format.
-Tagged BCP — Select this to send a job in Tagged Binary format over parallel ports.
-Using Adobe DSC — Select this to send a job with the DSC comments.
The EPS format is usually used for creating an image to import into another document. Therefore, only the first page of the document will be printed when “Encapsulated PostScript (EPS)” is selected.
2)Print Error Information
Check on this to print a PS error information page when any errors occur for printing.
3)Compress Bitmap
Check on this to send compress bitmaps to this equipment.
4)Use PostScript Passthrough
Check this for PostScript data created by the application to be passed through to this equip- ment.