Printing with extended print functionality
In this section, procedures are given to print various types of print job, using the layout and fin- ishing options. This section can help you to find a print method that you desired.
Printing various print job types
The printer drivers provide the way to handle an overlay image file in addition to normal printing.
— Creating an overlay file
You can print a document as an overlay file. The created overlay file can then be merged into another document during printing.
P.202 “Printing with an Overlay File”
yIf the print job has several pages in the document, only the first page of the document will be saved as an overlay file.
yBoth the overlay file and the documents on which you superimpose the overlay image must be created at the same size and orientation.
Printing a document as an overlay file
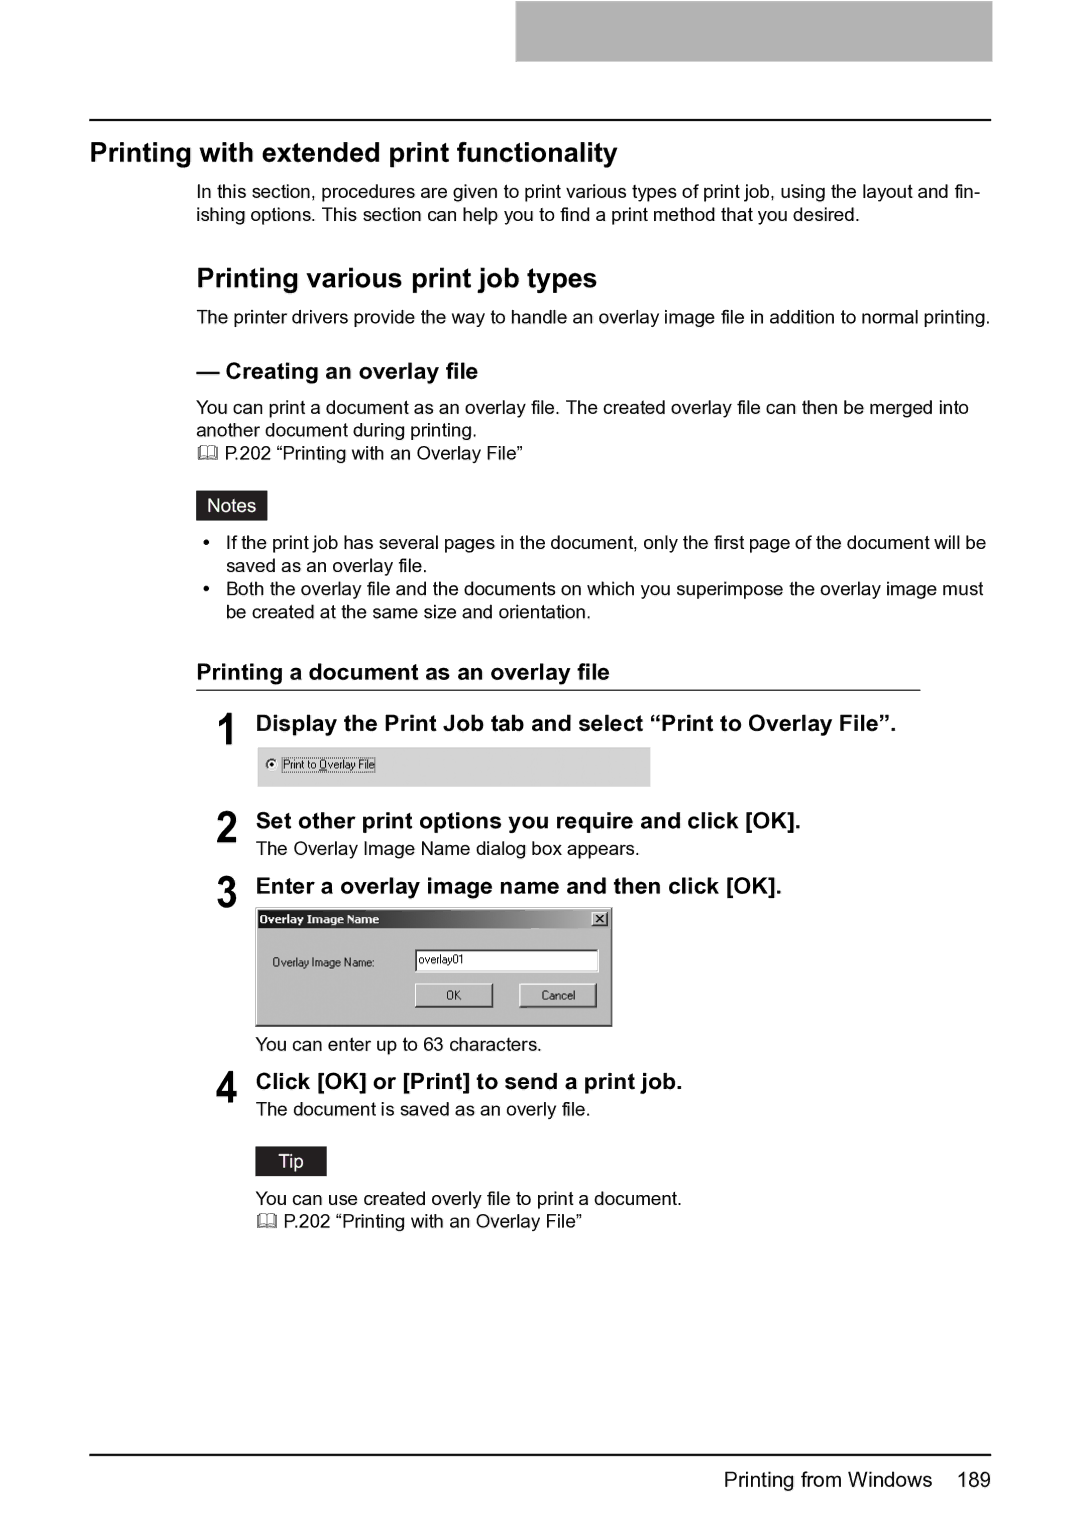
1 Display the Print Job tab and select “Print to Overlay File”.
2 Set other print options you require and click [OK]. The Overlay Image Name dialog box appears.
3 Enter a overlay image name and then click [OK].
You can enter up to 63 characters.
4 Click [OK] or [Print] to send a print job. The document is saved as an overly file.
You can use created overly file to print a document.
P.202 “Printing with an Overlay File”