3 PRINTING
Deleting a watermark
You can delete the default watermarks. However, they cannot be restored by clicking the [Restore Defaults] button.
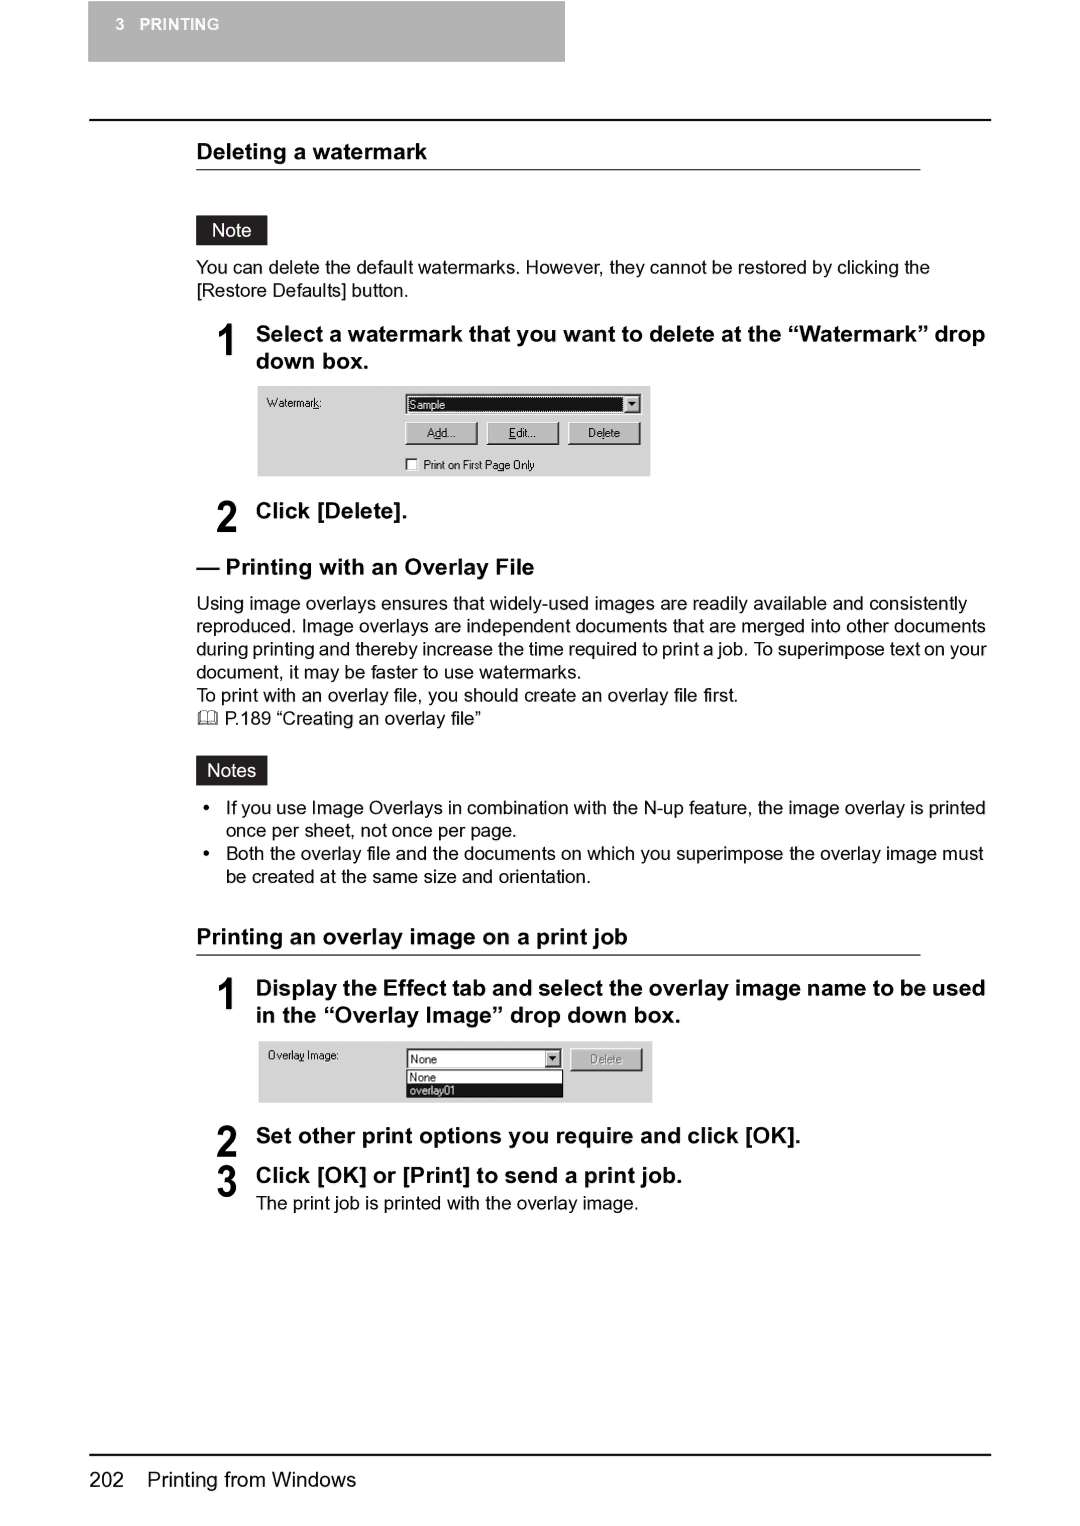
1 | Select a watermark that you want to delete at the “Watermark” drop |
down box. |
2 Click [Delete].
— Printing with an Overlay File
Using image overlays ensures that
To print with an overlay file, you should create an overlay file first. P.189 “Creating an overlay file”
yIf you use Image Overlays in combination with the
yBoth the overlay file and the documents on which you superimpose the overlay image must be created at the same size and orientation.
Printing an overlay image on a print job
1 | Display the Effect tab and select the overlay image name to be used |
in the “Overlay Image” drop down box. |
2 Set other print options you require and click [OK]. 3 Click [OK] or [Print] to send a print job.
The print job is printed with the overlay image.