3 PRINTING
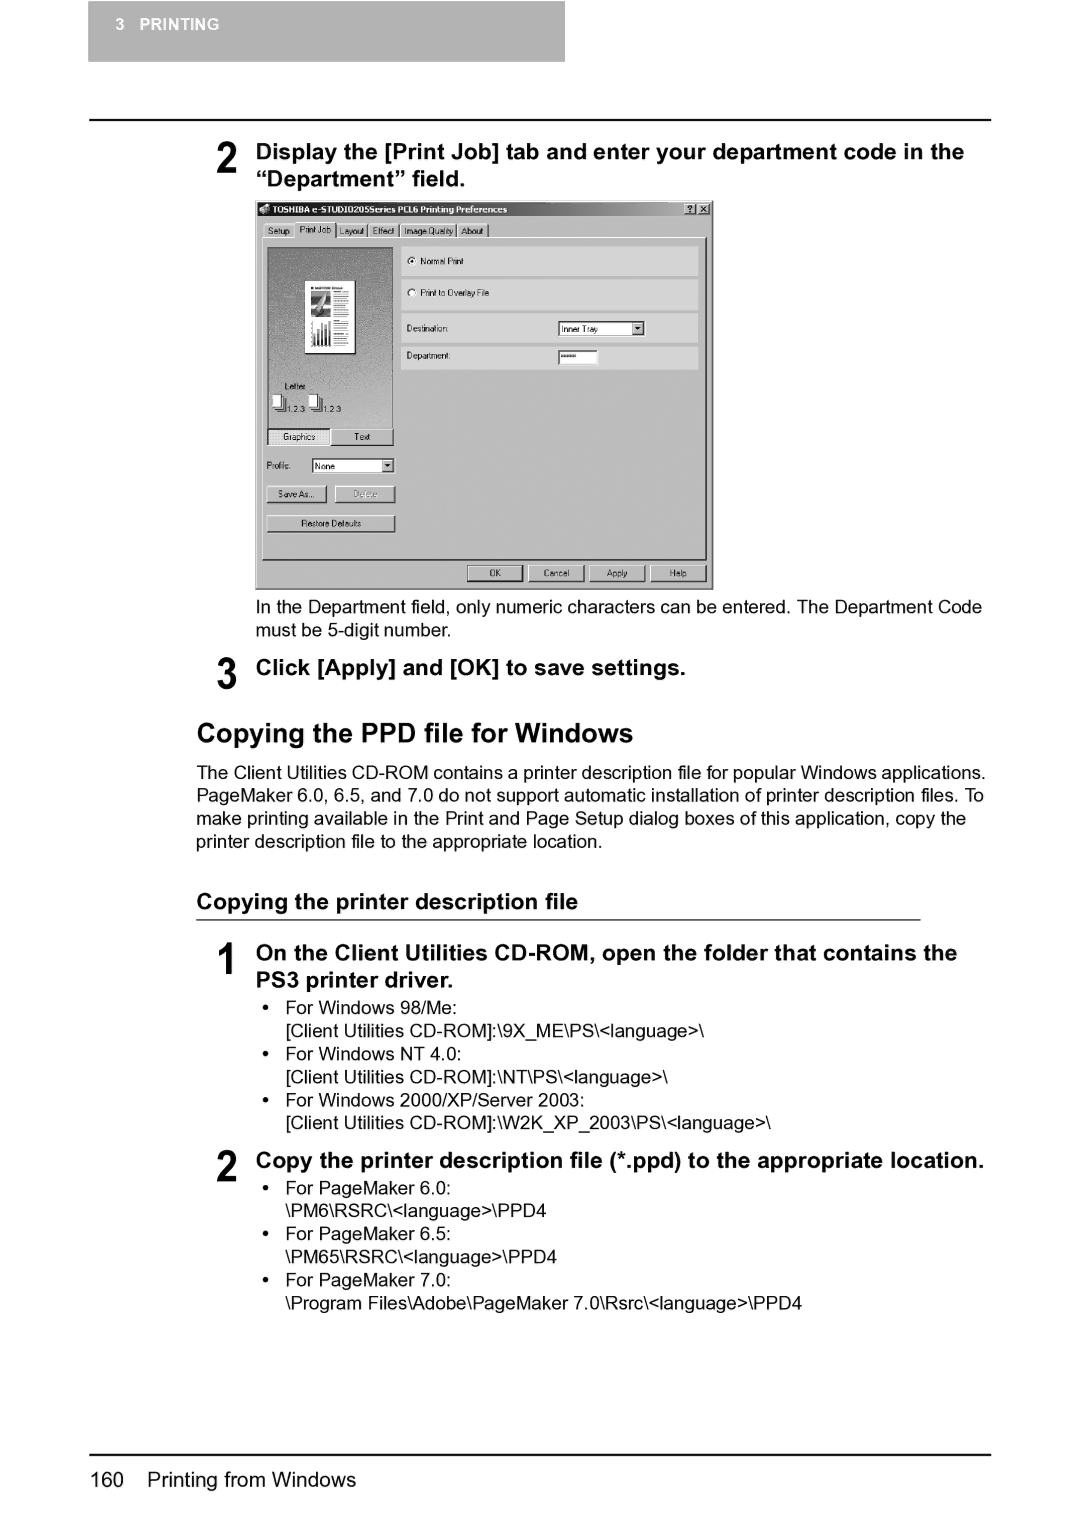
2 Display the [Print Job] tab and enter your department code in the “Department” field.
In the Department field, only numeric characters can be entered. The Department Code must be
3 Click [Apply] and [OK] to save settings.
Copying the PPD file for Windows
The Client Utilities
Copying the printer description file
1 On the Client Utilities
yFor Windows 98/Me:
[Client Utilities
yFor Windows NT 4.0:
[Client Utilities
yFor Windows 2000/XP/Server 2003:
[Client Utilities
2 Copy the printer description file (*.ppd) to the appropriate location. y For PageMaker 6.0:
\PM6\RSRC\<language>\PPD4 y For PageMaker 6.5:
\PM65\RSRC\<language>\PPD4 y For PageMaker 7.0:
\Program Files\Adobe\PageMaker 7.0\Rsrc\<language>\PPD4