3 PRINTING
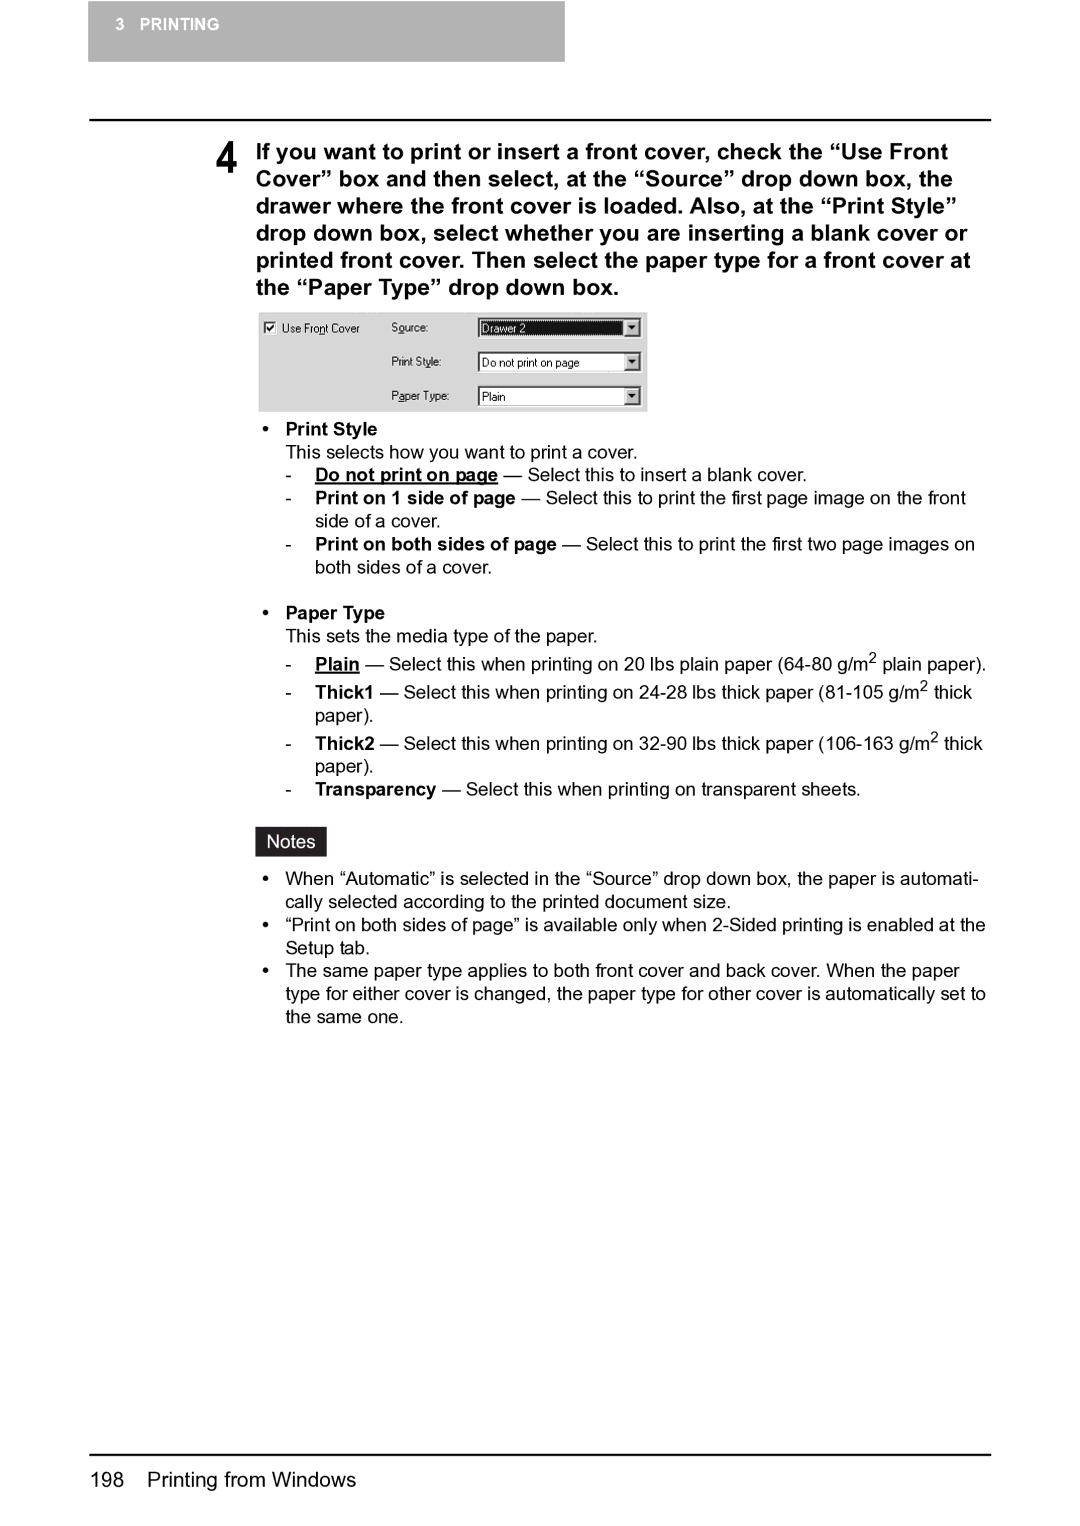
4 If you want to print or insert a front cover, check the “Use Front Cover” box and then select, at the “Source” drop down box, the drawer where the front cover is loaded. Also, at the “Print Style” drop down box, select whether you are inserting a blank cover or printed front cover. Then select the paper type for a front cover at the “Paper Type” drop down box.
yPrint Style
This selects how you want to print a cover.
-Do not print on page — Select this to insert a blank cover.
-Print on 1 side of page — Select this to print the first page image on the front side of a cover.
-Print on both sides of page — Select this to print the first two page images on both sides of a cover.
yPaper Type
This sets the media type of the paper.
-Plain — Select this when printing on 20 lbs plain paper
-Thick1 — Select this when printing on
-Thick2 — Select this when printing on
-Transparency — Select this when printing on transparent sheets.
yWhen “Automatic” is selected in the “Source” drop down box, the paper is automati- cally selected according to the printed document size.
y“Print on both sides of page” is available only when
yThe same paper type applies to both front cover and back cover. When the paper type for either cover is changed, the paper type for other cover is automatically set to the same one.