TM-L90/TM-L90 with Peeler Technical Reference Guide
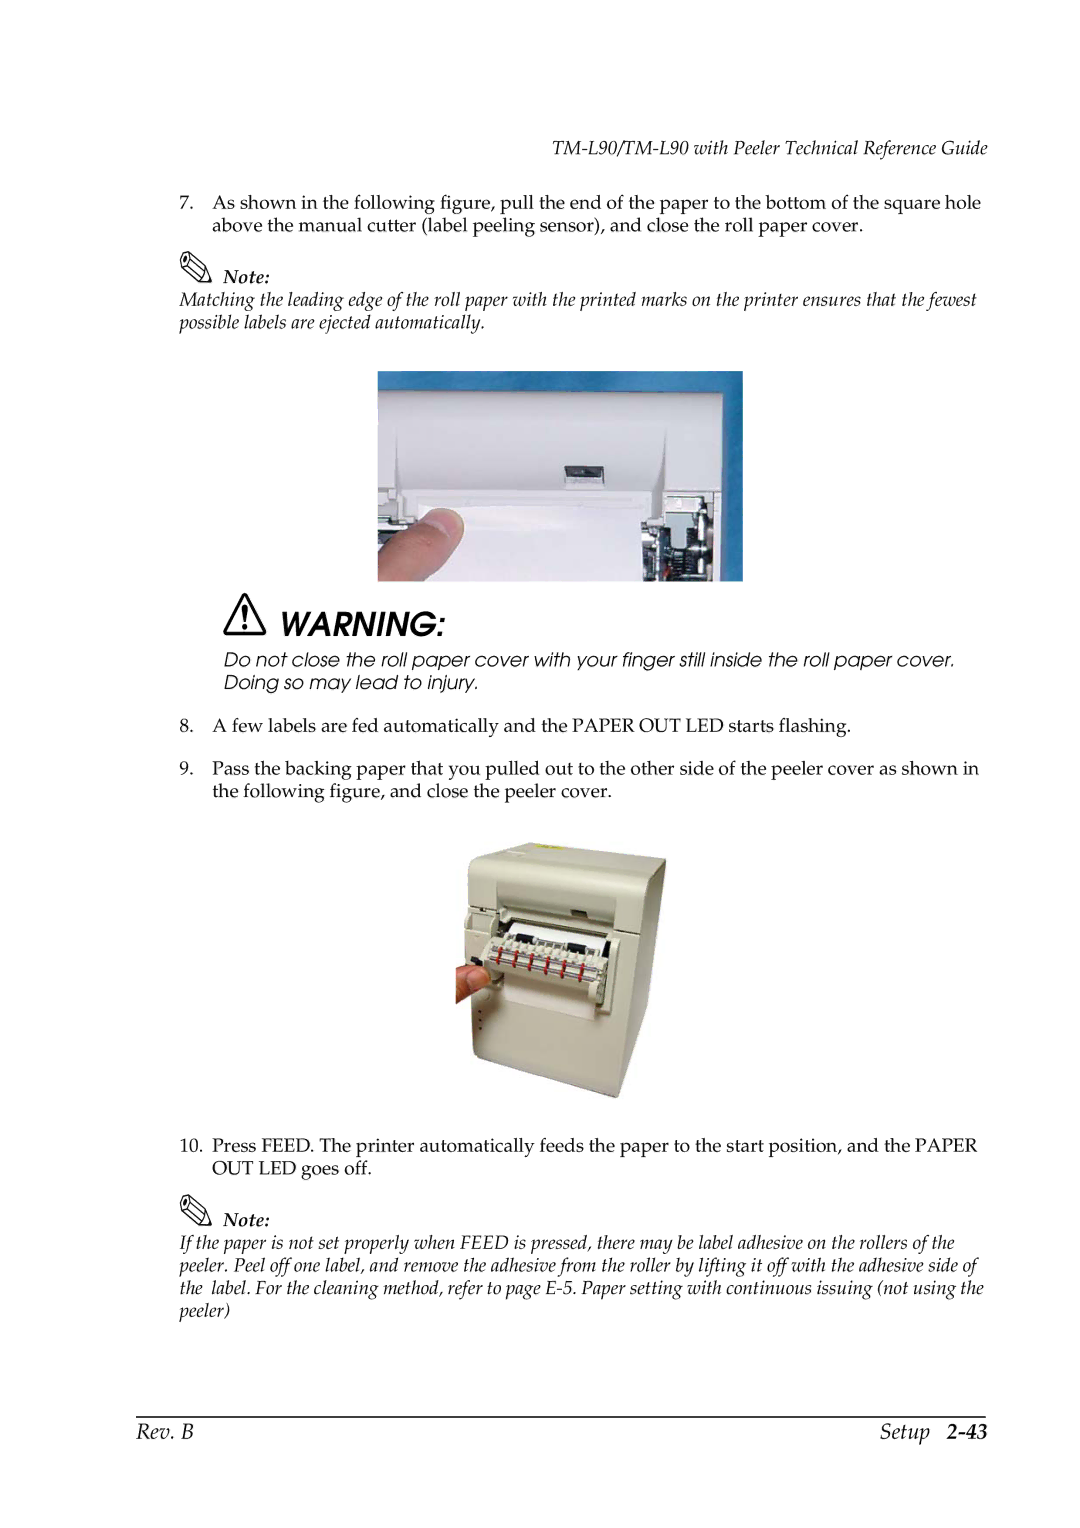
7.As shown in the following figure, pull the end of the paper to the bottom of the square hole above the manual cutter (label peeling sensor), and close the roll paper cover.
Note:
Matching the leading edge of the roll paper with the printed marks on the printer ensures that the fewest possible labels are ejected automatically.
![]() WARNING:
WARNING:
Do not close the roll paper cover with your finger still inside the roll paper cover. Doing so may lead to injury.
8.A few labels are fed automatically and the PAPER OUT LED starts flashing.
9.Pass the backing paper that you pulled out to the other side of the peeler cover as shown in the following figure, and close the peeler cover.
10.Press FEED. The printer automatically feeds the paper to the start position, and the PAPER OUT LED goes off.
Note:
If the paper is not set properly when FEED is pressed, there may be label adhesive on the rollers of the peeler. Peel off one label, and remove the adhesive from the roller by lifting it off with the adhesive side of the label. For the cleaning method, refer to page
Rev. B | Setup |