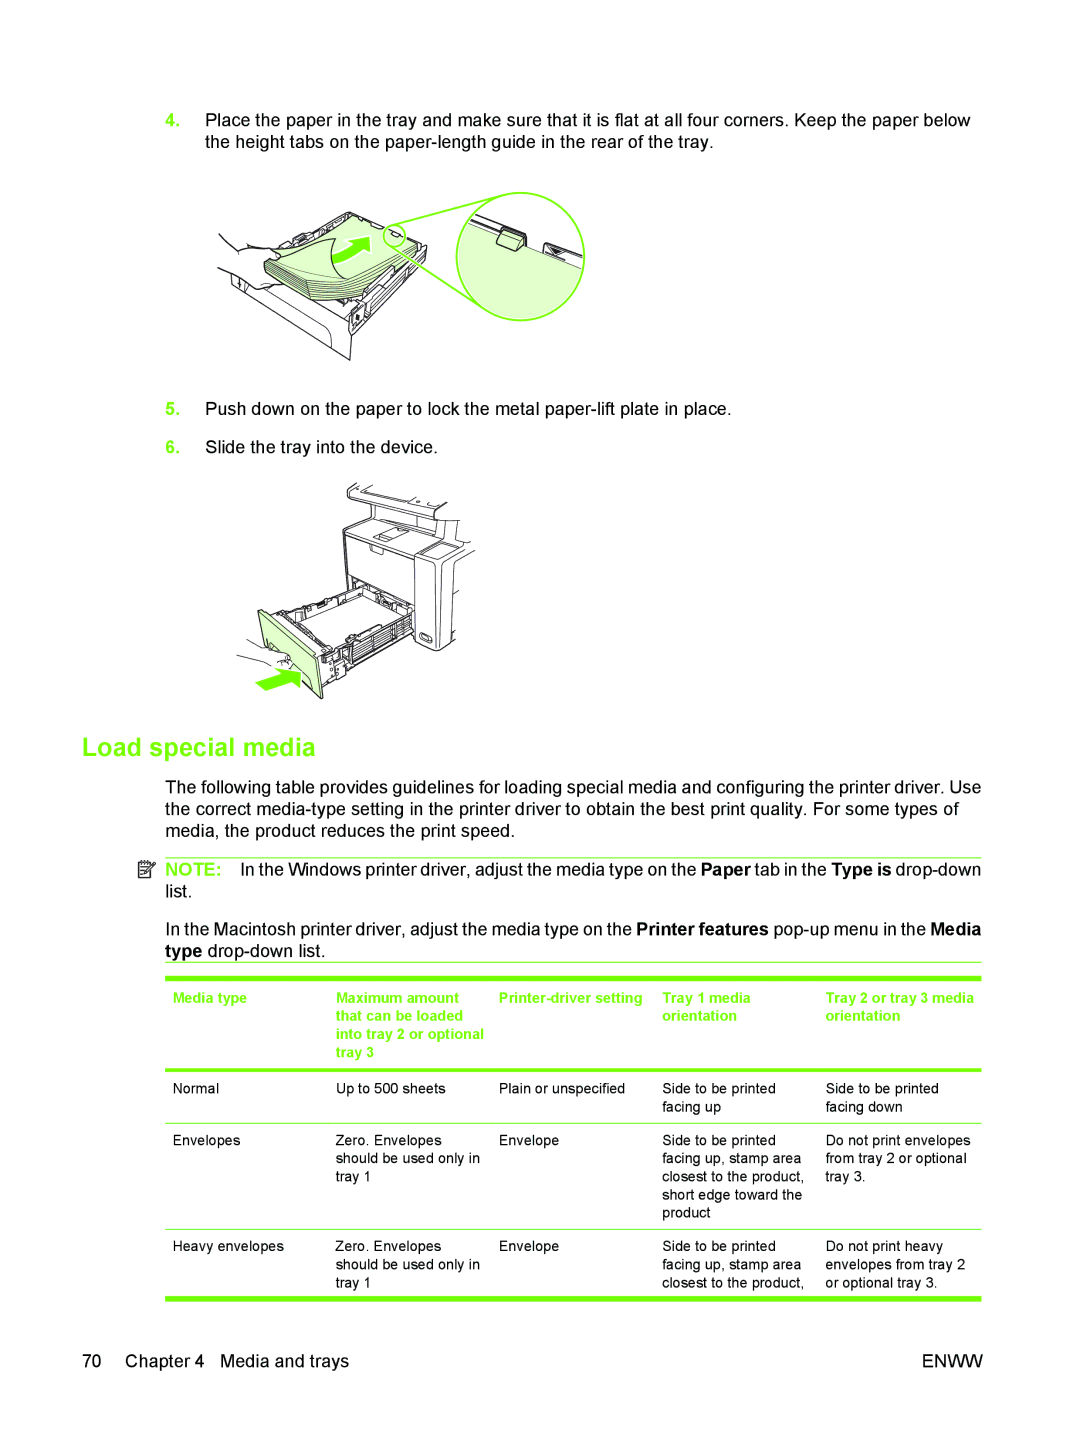
4.Place the paper in the tray and make sure that it is flat at all four corners. Keep the paper below the height tabs on the
5.Push down on the paper to lock the metal
6.Slide the tray into the device.
Load special media
The following table provides guidelines for loading special media and configuring the printer driver. Use the correct
![]() NOTE: In the Windows printer driver, adjust the media type on the Paper tab in the Type is
NOTE: In the Windows printer driver, adjust the media type on the Paper tab in the Type is
In the Macintosh printer driver, adjust the media type on the Printer features
Media type | Maximum amount |
| that can be loaded |
| into tray 2 or optional |
| tray 3 |
Tray 2 or tray 3 media orientation
Normal | Up to 500 sheets | Plain or unspecified | Side to be printed | Side to be printed |
|
|
| facing up | facing down |
|
|
|
|
|
Envelopes | Zero. Envelopes | Envelope | Side to be printed | Do not print envelopes |
| should be used only in |
| facing up, stamp area | from tray 2 or optional |
| tray 1 |
| closest to the product, | tray 3. |
|
|
| short edge toward the |
|
|
|
| product |
|
Heavy envelopes | Zero. Envelopes | Envelope |
| should be used only in |
|
| tray 1 |
|
Side to be printed facing up, stamp area closest to the product,
Do not print heavy envelopes from tray 2 or optional tray 3.
70 Chapter 4 Media and trays | ENWW |