Main menu - Interfaces (CI, hard disk and network)
Ethernet Settings
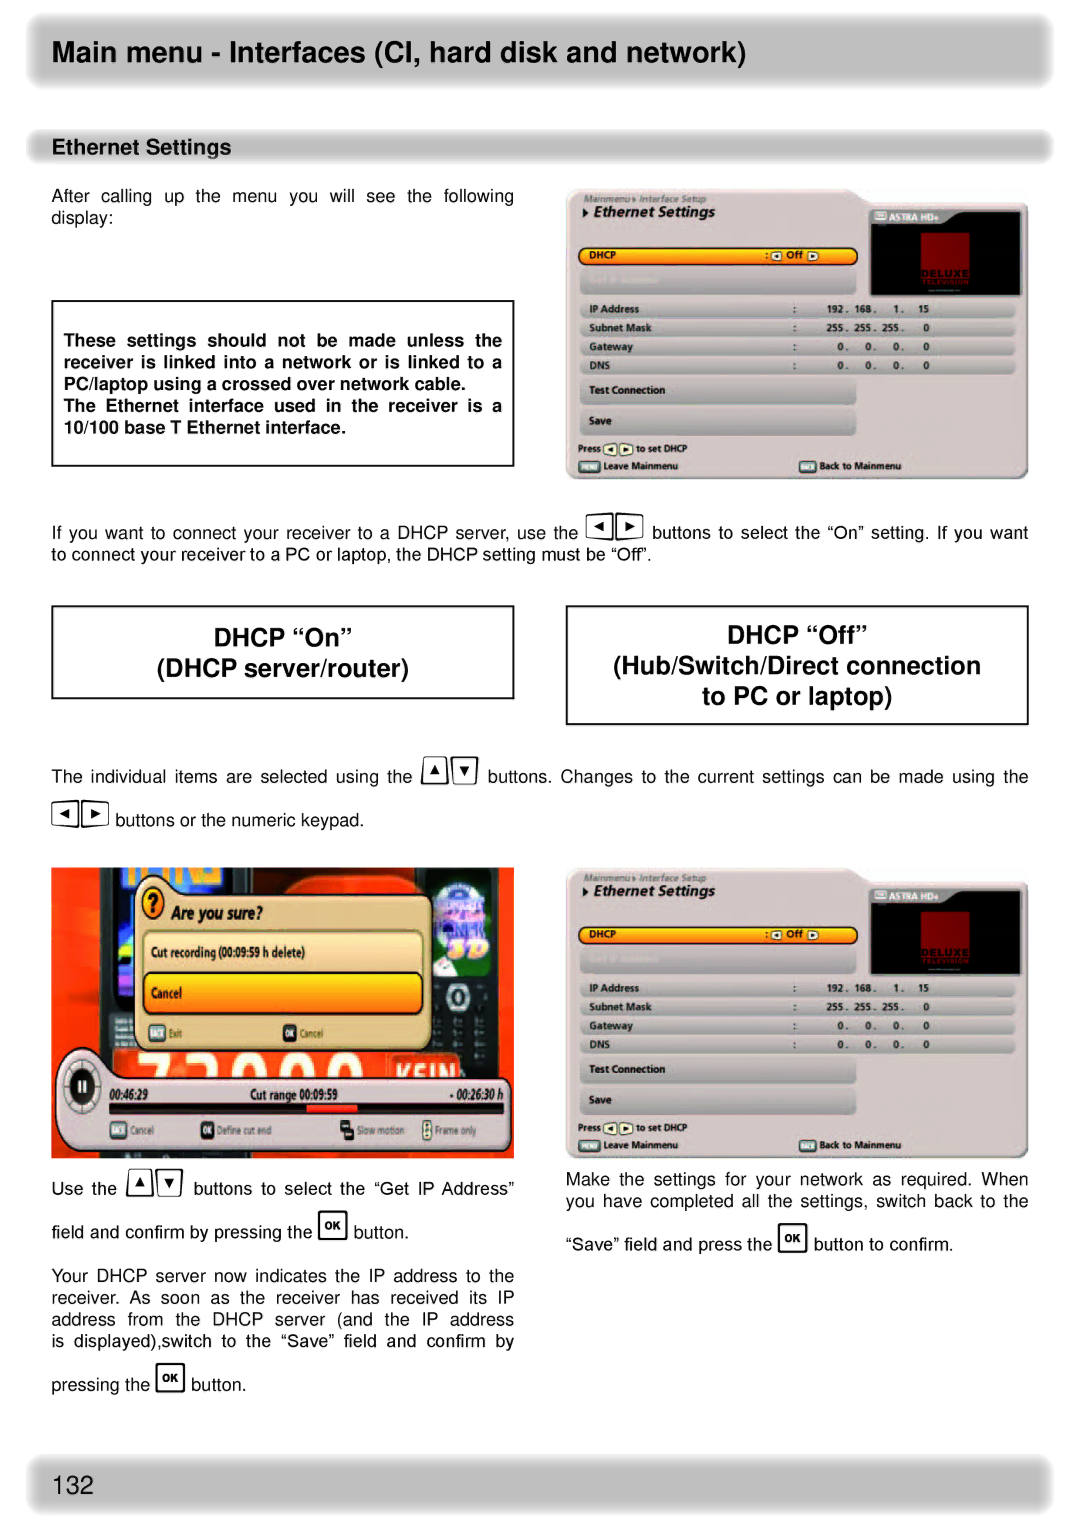
After calling up the menu you will see the following display:
These settings should not be made unless the receiver is linked into a network or is linked to a PC/laptop using a crossed over network cable.
The Ethernet interface used in the receiver is a 10/100 base T Ethernet interface.
If you want to connect your receiver to a DHCP server, use the buttons to select the “On” setting. If you want to connect your receiver to a PC or laptop, the DHCP setting must be “Off”.
DHCP “On”
(DHCP server/router)
DHCP “Off”
(Hub/Switch/Direct connection
to PC or laptop)
The individual items are selected using the buttons. Changes to the current settings can be made using the buttons or the numeric keypad.
Use the buttons to select the “Get IP Address” field and confirm by pressing the button.
Your DHCP server now indicates the IP address to the receiver. As soon as the receiver has received its IP address from the DHCP server (and the IP address is displayed),switch to the “Save” field and confirm by
pressing the button.
Make the settings for your network as required. When you have completed all the settings, switch back to the
“Save” field and press the button to confirm.
132