Symphony Pro Main Menus
31
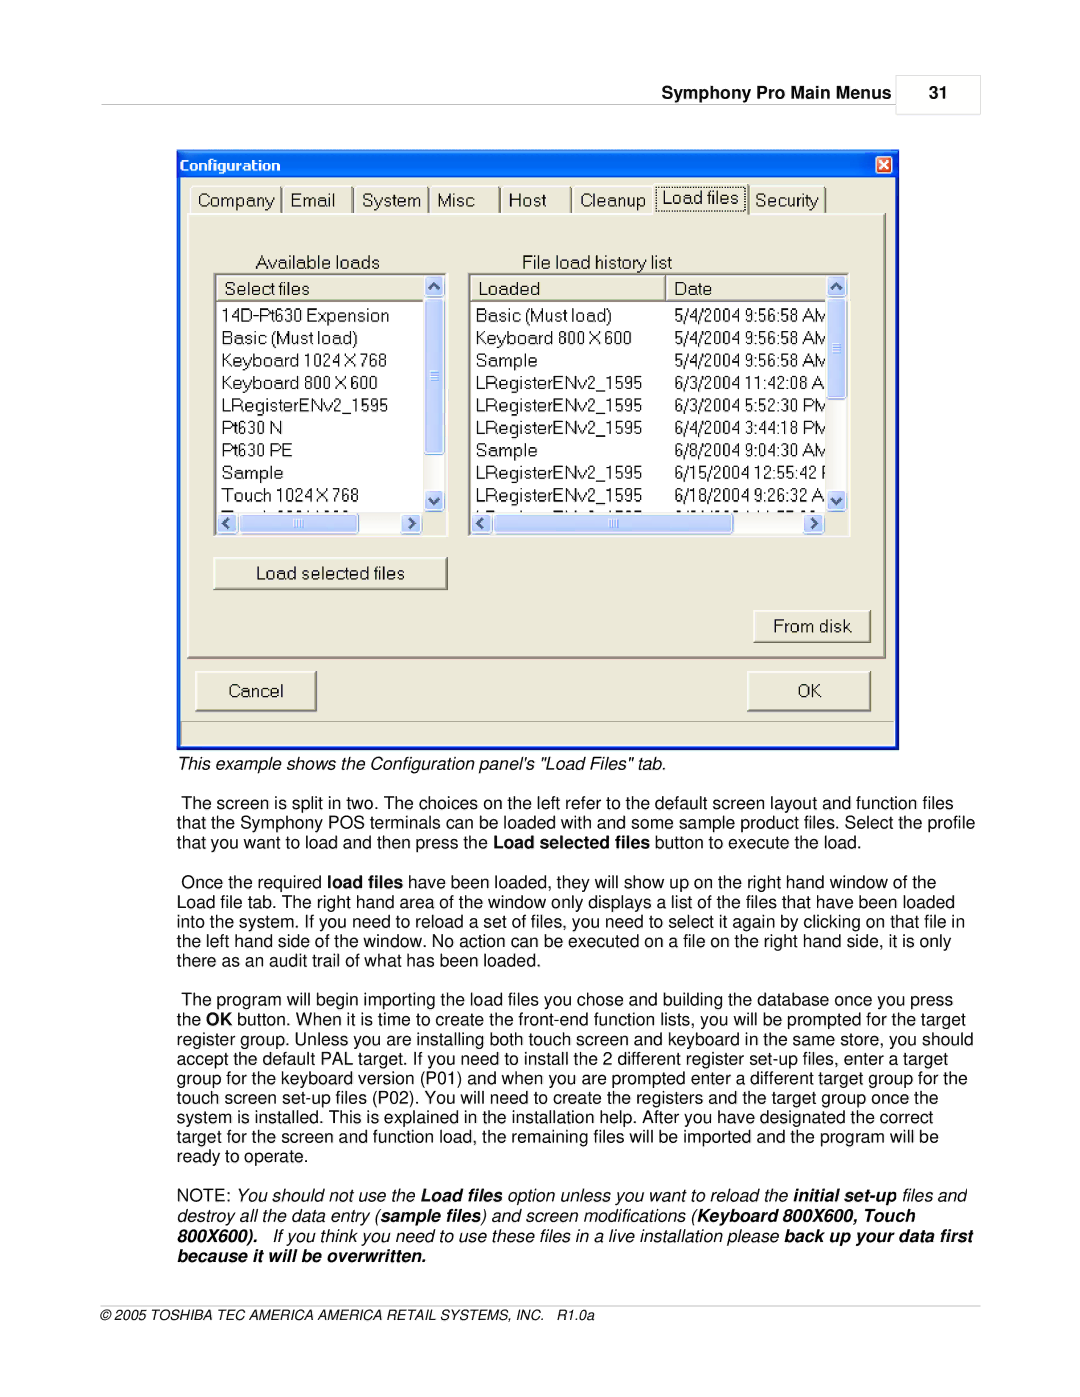
This example shows the Configuration panel's "Load Files" tab.
The screen is split in two. The choices on the left refer to the default screen layout and function files that the Symphony POS terminals can be loaded with and some sample product files. Select the profile that you want to load and then press the Load selected files button to execute the load.
Once the required load files have been loaded, they will show up on the right hand window of the Load file tab. The right hand area of the window only displays a list of the files that have been loaded into the system. If you need to reload a set of files, you need to select it again by clicking on that file in the left hand side of the window. No action can be executed on a file on the right hand side, it is only there as an audit trail of what has been loaded.
The program will begin importing the load files you chose and building the database once you press the OK button. When it is time to create the
NOTE: You should not use the Load files option unless you want to reload the initial