www.supportme.net
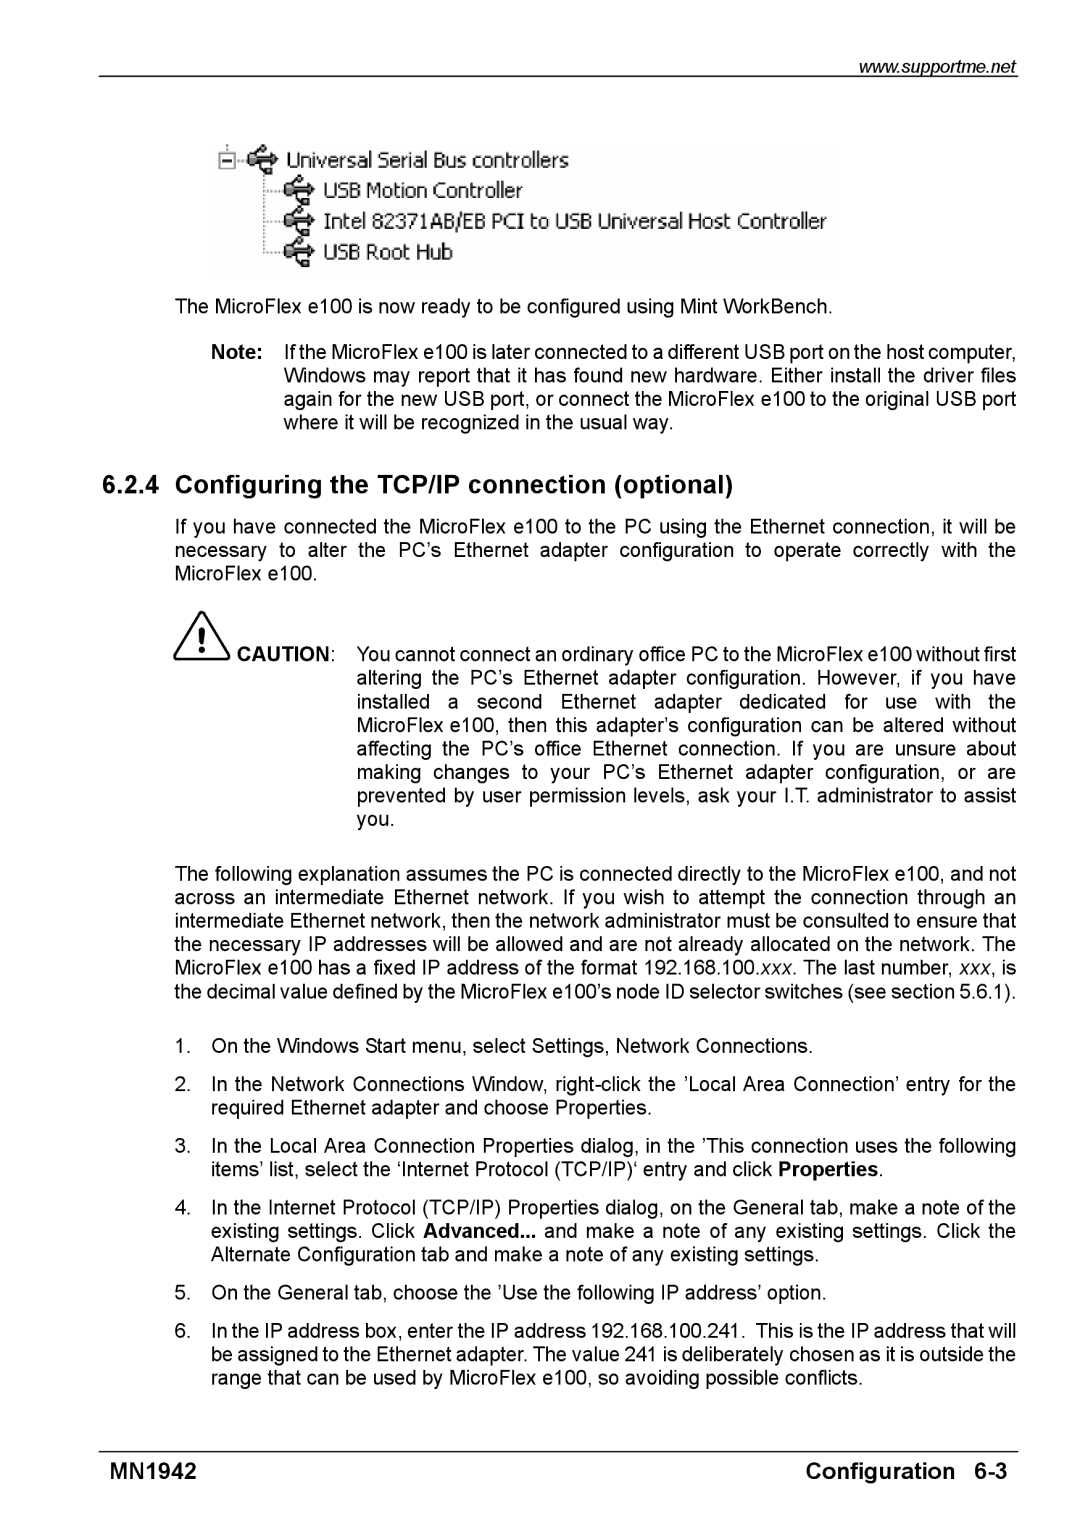
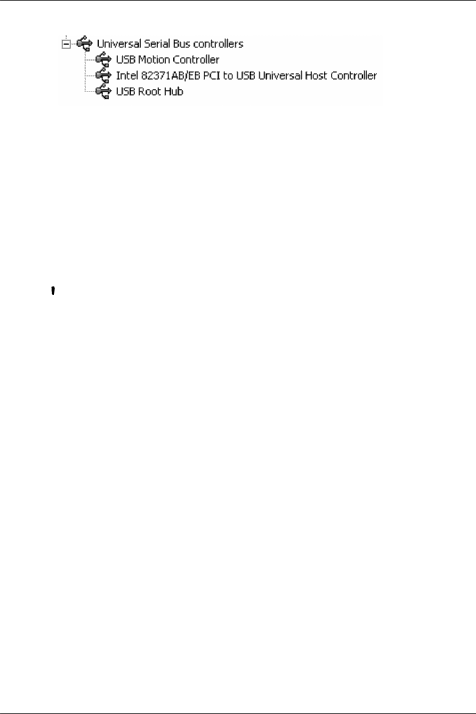
The MicroFlex e100 is now ready to be configured using Mint WorkBench.
Note: If the MicroFlex e100 is later connected to a different USB port on the host computer, Windows may report that it has found new hardware. Either install the driver files again for the new USB port, or connect the MicroFlex e100 to the original USB port where it will be recognized in the usual way.
6.2.4 Configuring the TCP/IP connection (optional)
If you have connected the MicroFlex e100 to the PC using the Ethernet connection, it will be necessary to alter the PC’s Ethernet adapter configuration to operate correctly with the MicroFlex e100.
![]() CAUTION: You cannot connect an ordinary office PC to the MicroFlex e100 without first altering the PC’s Ethernet adapter configuration. However, if you have installed a second Ethernet adapter dedicated for use with the MicroFlex e100, then this adapter’s configuration can be altered without affecting the PC’s office Ethernet connection. If you are unsure about making changes to your PC’s Ethernet adapter configuration, or are prevented by user permission levels, ask your I.T. administrator to assist you.
CAUTION: You cannot connect an ordinary office PC to the MicroFlex e100 without first altering the PC’s Ethernet adapter configuration. However, if you have installed a second Ethernet adapter dedicated for use with the MicroFlex e100, then this adapter’s configuration can be altered without affecting the PC’s office Ethernet connection. If you are unsure about making changes to your PC’s Ethernet adapter configuration, or are prevented by user permission levels, ask your I.T. administrator to assist you.
The following explanation assumes the PC is connected directly to the MicroFlex e100, and not across an intermediate Ethernet network. If you wish to attempt the connection through an intermediate Ethernet network, then the network administrator must be consulted to ensure that the necessary IP addresses will be allowed and are not already allocated on the network. The MicroFlex e100 has a fixed IP address of the format 192.168.100.xxx. The last number, xxx, is the decimal value defined by the MicroFlex e100’s node ID selector switches (see section 5.6.1).
1.On the Windows Start menu, select Settings, Network Connections.
2.In the Network Connections Window,
3.In the Local Area Connection Properties dialog, in the ’This connection uses the following items’ list, select the ‘Internet Protocol (TCP/IP)‘ entry and click Properties.
4.In the Internet Protocol (TCP/IP) Properties dialog, on the General tab, make a note of the existing settings. Click Advanced... and make a note of any existing settings. Click the Alternate Configuration tab and make a note of any existing settings.
5.On the General tab, choose the ’Use the following IP address’ option.
6.In the IP address box, enter the IP address 192.168.100.241. This is the IP address that will be assigned to the Ethernet adapter. The value 241 is deliberately chosen as it is outside the range that can be used by MicroFlex e100, so avoiding possible conflicts.
MN1942 | Configuration |