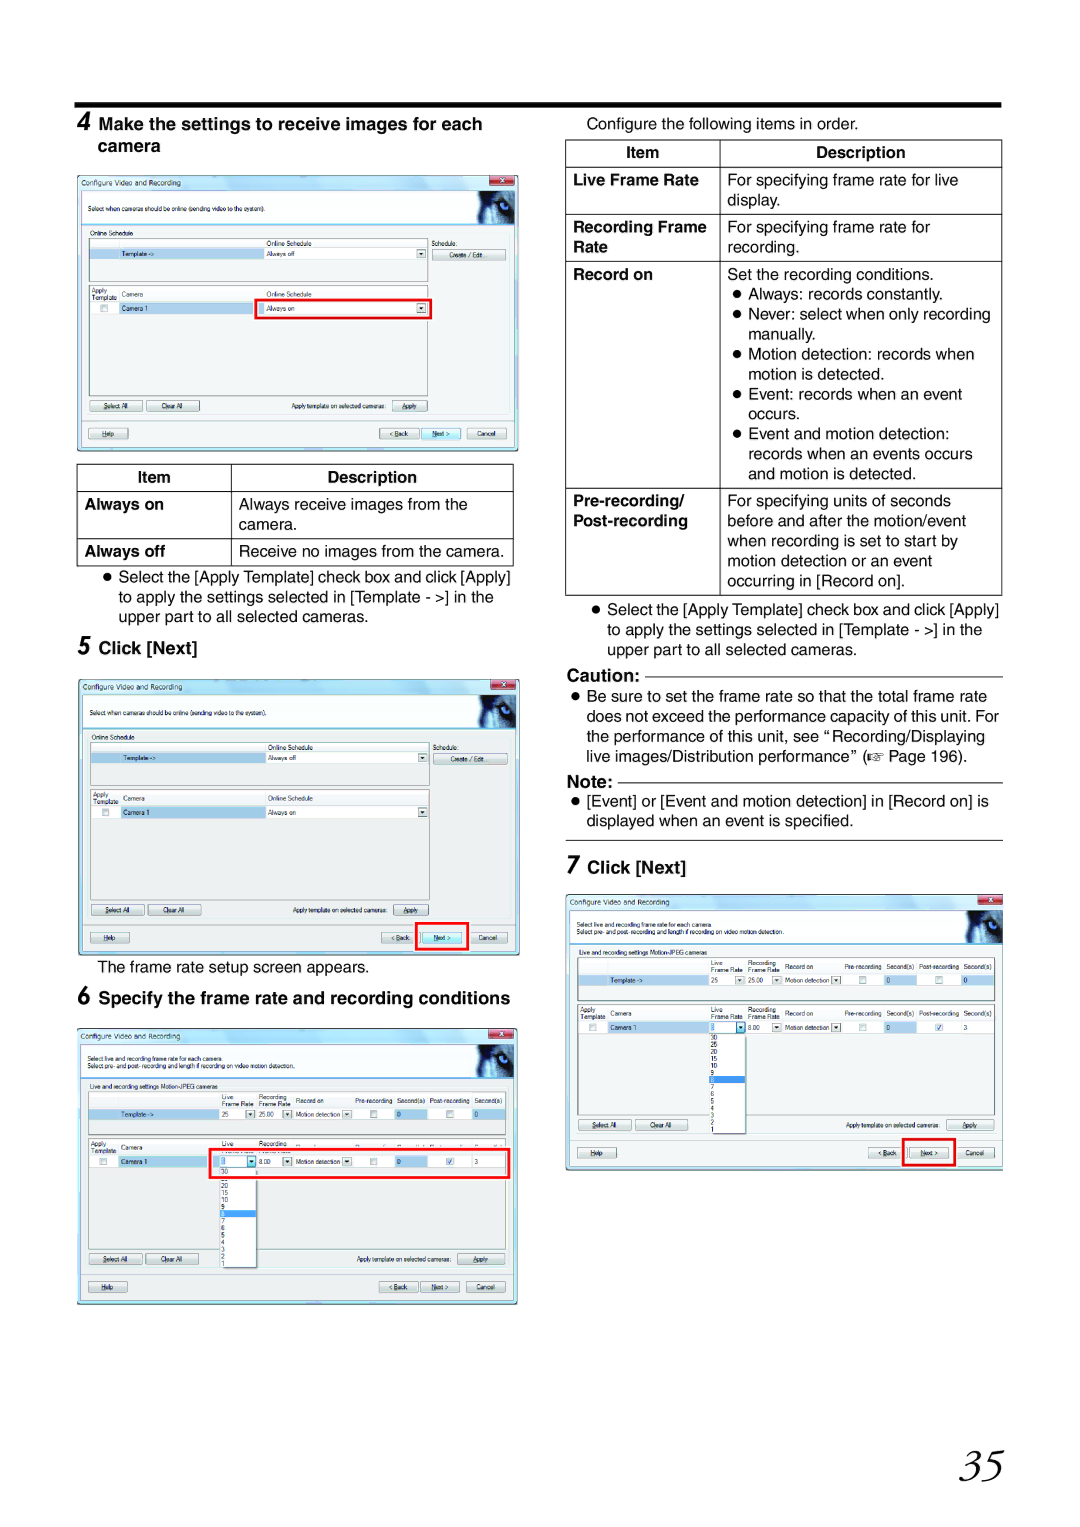
4 Make the settings to receive images for each camera
Item | Description |
|
|
Always on | Always receive images from the |
| camera. |
|
|
Always off | Receive no images from the camera. |
|
|
●Select the [Apply Template] check box and click [Apply] to apply the settings selected in [Template - >] in the upper part to all selected cameras.
5 Click [Next]
The frame rate setup screen appears.
6 Specify the frame rate and recording conditions
Configure the following items in order.
Item | Description |
|
|
Live Frame Rate | For specifying frame rate for live |
| display. |
|
|
Recording Frame | For specifying frame rate for |
Rate | recording. |
|
|
Record on | Set the recording conditions. |
| ● Always: records constantly. |
| ● Never: select when only recording |
| manually. |
| ● Motion detection: records when |
| motion is detected. |
| ● Event: records when an event |
| occurs. |
| ● Event and motion detection: |
| records when an events occurs |
| and motion is detected. |
|
|
For specifying units of seconds | |
| before and after the motion/event |
| when recording is set to start by |
| motion detection or an event |
| occurring in [Record on]. |
|
|
●Select the [Apply Template] check box and click [Apply] to apply the settings selected in [Template - >] in the upper part to all selected cameras.
Caution:
●Be sure to set the frame rate so that the total frame rate does not exceed the performance capacity of this unit. For the performance of this unit, see ARecording/Displaying live images/Distribution performanceB (A Page 196).
Note:
●[Event] or [Event and motion detection] in [Record on] is displayed when an event is specified.
7 Click [Next]
35