MFX-1500
MAI order number OMMFX1500
Welcome
Page
My machine’s model number
Find your serial number and write it down
MFX-1500
My machine’s serial number
What’s in these operating instructions
Getting started
Beyond the basics
Just in case
Appendix and index
Getting started
What’s inside this section
Quick introduction to fax in general
General precautions
YPrinting supplies
Drum cartridge Toner cartridge Fuser cleaner
Make sure it’s all out of the packaging
Optional products
What are all the parts?
Front view
17 18
Rear view
What do the keys do?
When you use the flatbed scanner
Numbers when you’re making certain settings
Clear ALL Resets copying settings to their defaults
Commands you have entered into the machine
How to read this manual
One-Touch Keys The keys labeled Or 41-80, if you’re using
You’re in control
Please heed these power-ful tips
Setting up
Pick an installation spot before going ahead
∙ Level, and vibration-free
Installing the printing supplies
Removing the transport screws
Do not touch the drum surface on the cartridge’s bottom
Attach the paper-handling parts
Attaching an optional handset
Attaching a second phone
Loading paper
Loading the paper cassette
Setting for legal-sized paper
Installing paper
Paper level indicator
Loading the multipurpose tray for copying
Plug in and power up
Turn off the transport mode
Adjust the monitor speaker’s volume
EasyStart
Clearing settings before beginning
Using EasyStart to enter initial settings
What do you want to do?
To switch back for upper-case entries, press Alphabet
Press Enter to save the setting You’re all done
Sending faxes
Some guidelines
How big and small your pages can be
Here are the possible settings
Entering a pause character when dialing
Potential problems with call-waiting and voice mail
To darken an overly weak document, press
Using memory transmission
Sending using the ADF
Sending using the FBS
Enter the fax number by using the numeric keypad
Lifting an optional handset Either case, the display shows
If the call doesn’t go through redialing
Canceling sending a document
Making redial settings
Redialing manually
Press Review Commands once
So what’s the big deal, anyway?!?
Tel Ready mode when Auto Answer is off
Receiving faxes
Different ways to get the job done
Fax Ready mode
When the paper runs out
What if you answer a fax call?
Making copy settings
Making copies
How to copy
When using the ADF
If necessary, press COPY/FAX to change to Copy mode
When using the FBS
When using the Multipurpose tray
Directly entering a rate
Setting of enlargement or reduction for copying
Selecting a preset rate
Either letter-, legal- or half-letter-sized paper
Copy protection
Press Program to turn on copy protection
Press Enter
Beyond the basics
What’s inside in this section
Getting everything just the way you want it
Setting up for scans
Getting everything just the way you want it
But, of course, be sensible…
Using Code to enter characters
Making settings for printing faxes
Print reduction rate
Reduction margin
Setting the number of rings
Making the printing settings
Half-page reception
Setting ECM
Setting silent mode
Appears. In this example, we’ve chosen OFF
¿Qué es? or,What is it?
Setting the transmission confirmation stamp
Setting the language
Is French
Printing your settings
Printing a program list
Autodialer basics
Using one-touch numbers
Considering call groups
Entering or changing a one-touch number
Will show
Erasing a one-touch number
One-touch fax dialing
One-touch phone dialing
Press PROGRAM, A, 2, ENTER. The display shows
Entering or changing a speed-dial number
Using speed-dial numbers
Printing a list of your one-touch numbers
Press ENTER. The display shows
Press Enter Display now shows
Fax dialing via speed-dial
Press Speed DIAL/TEL INDEX. The display will show
Erasing a speed-dial number
Printing a call group directory
Phoning via speed-dial
Printing a list of your speed-dial numbers
EasyDial directory dialing
What if an EasyDial call doesn’t go through?
Redial
On-hook dialing
You can EasyDial regular phone calls, too
Delayed broadcasting
Basics of broadcasting
Setting it up, or initiating the initiation
Relay broadcasting and relay broadcast initiation
How it works
Broadcast news or, making changes
Delayed transmission
Setting up a delayed transmission
Reviewing or canceling delayed commands
Printing a delayed command list
Reviewing or canceling parts of a broadcast
Printing a stored document
Creating or modifying a batch box
Number entered for batch box 1, the display shows either
Press ENTER. The display now shows either
Erasing an empty batch box
Machine now is prompting you for a name for this batch box
Press PROGRAM, N, 5, ENTER. The display shows
Printing a list of stored batch documents
Printing a list of your batch boxes
Storing a document for batch transmission
Printing a document stored in a batch box
Erasing a document stored in a batch box
Cover
Toggling the cover
Entering the cover page message
Setting the activity journal
Managing your fax with its journal and reports
Printing the cover
Setting the reports TCRs and RCRs
Information, please what the reports tell you
Polling
Regular polling
Database polling
Continuous polling
Other side of the coin being polled
Limiting polling access to your fax machine
OneLine + distinctive ring detection DRD
Erasing a stored polling document
Call request
Pattern One complete ring pattern seconds
Power of QuadAccess
Numbering pages
Key to it all the passcode
Locking up tight operation protection
Activating operation protection
Print it later, when it’s safe security reception
Using your fax machine during operation protection
Activating security reception
Receiving and sending SecureMail
Printing from and turning off security reception
Receiving SecureMail
Setting SecureMail storage time
Printing a SecureMail mailbox list
Printing SecureMail you receive
Sending SecureMail
Masking the PIN
Activating the PIN mask
Autodialing while using the PIN mask
If you’ve specified Mode1 the PIN goes
Dialing from the numeric keypad while using the PIN mask
Performing batch transmission while using the PIN mask
Setting security transmission
Setting for use of a closed network
Setting your fax machine’s closed network passcode
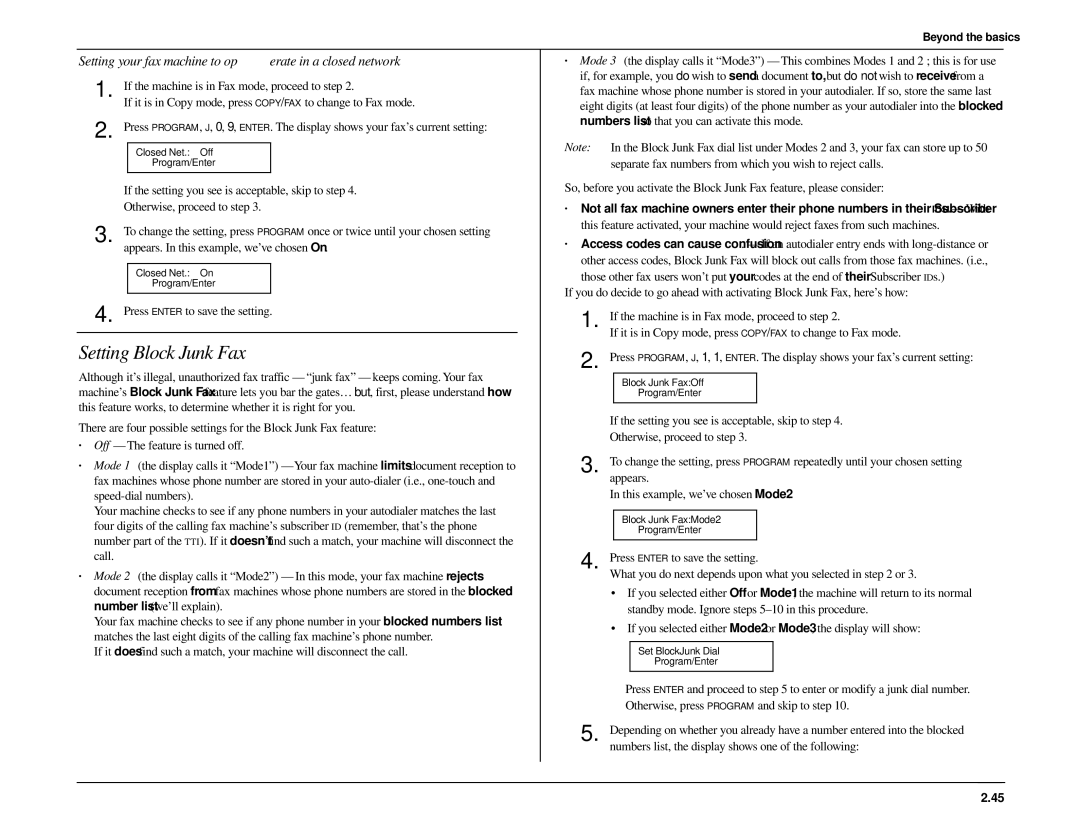
Setting Block Junk Fax
Setting your fax machine to operate in a closed network
Clearing a fax number from the blocked numbers list
Entering or modifying a department code
Using department codes
Activating or turning off the department code setting
Clearing a department code
Printing the current department time list
Sending a fax using a department code
Activating or turning off department code protection
Clearing the current department time list
Setting up or changing F-Code boxes
Code communication
Code an introduction
03Box NameUpper
Press ENTER. The display will show either
Rx Protect Off Program/Enter
Press Enter to save the settings. The display now shows
Display will show
Printing a list of documents stored in your F-Code boxes
Erasing an empty F-Code box
Printing a list of your F-Code boxes
Press PROGRAM, P, 5, ENTER. The display shows
Using a bulletin box
Storing a document
Press ENTER. Now the display shows
Printing a stored document
Erasing a document stored in a bulletin box
Press Enter Display shows
Using a security box
Printing a document
We’ve entered
Code transmission and polling
Code transmission
Press Enter
Code database polling
Programming a delayed transmission
Programmable one-touch keys
Programming a broadcast
Programming a SecureMail transmission
Important Do not press Enter
Press To scroll leftward or To scroll rightward
Programming a relay broadcast initiation
Group DIAL, 2
Programming regular and database polling
For example, here, we’ve entered 2
Preparation for another file number
Programming batch transmission
Programming F-Code transmission
Programming F-Code polling
Programmable one-touch fax dialing
Erasing a programmable one-touch key
Printing a list of your programmable one-touch keys
Sending pages of unlimited length
Custom settings
Special note about memory switches
Press E
Setting scanner width
Press
Just in case…
What’s inside in this section
Machine, you may wish simply to lift the handset instead
Call
Clearing paper jams
If an original document jams
If an original document jams, the display will show
If a printout jams inside your machine
Important Shield
If a printout jams inside at a paper cassette’s side cover
∙ The toner cartridge may be out of, or very low in, toner
Print quality problems
∙ The toner cartridge may be defective
∙ The drum cartridge may be defective
Printouts have irregularities
∙ The charger may be dirty
Communications problems
Alarm
Invalid I. D. Code
Memory Overflow
Errors
Error reports
Kinds of error codes
Specific errors
1, R.5.2
1, T.5.2
What error messages can mean
Check Message printouts
Curing frequent jams in the ADF
Corrective cleaning
Caring for your fax machine
Always use good, copier-quality, 20-pound paper
If you have unsatisfactory printout quality
Cleaning the FBS
Cleaning the LED print head
Storing the toner and drum cartridges
Common questions
General questions
Sending faxes
Reports
Receiving faxes
Polling
How your fax machine works
Glossary
Digital
Delayed command
Fine resolution
Digital fax
Monitor
Normal resolution
Modem
One-touch dialing
Relay broadcasting
Resolution
Superfine resolution
Remote fax machine
Consumables order sheet
Appendix and index
Specifications
United States of America
Canada
Index
See EasyDial
See F-Code
See Sending faxes
Limited warranty
Obligations