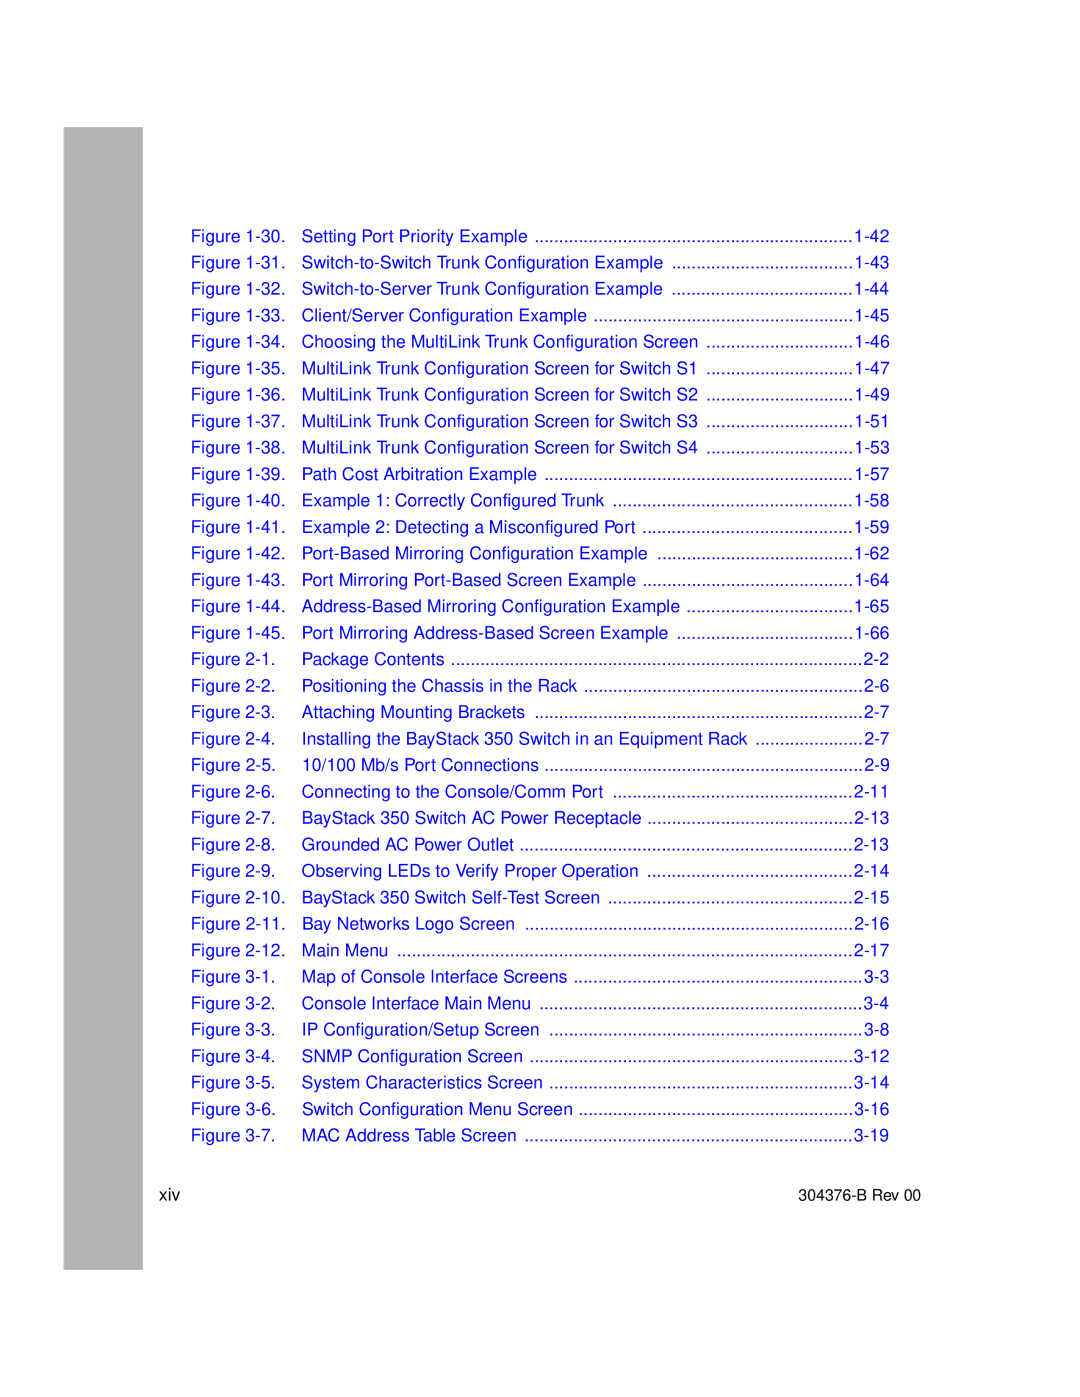
Figure | Setting Port Priority Example | |
Figure | ||
Figure | ||
Figure | Client/Server Configuration Example | |
Figure | Choosing the MultiLink Trunk Configuration Screen | |
Figure | MultiLink Trunk Configuration Screen for Switch S1 | |
Figure | MultiLink Trunk Configuration Screen for Switch S2 | |
Figure | MultiLink Trunk Configuration Screen for Switch S3 | |
Figure | MultiLink Trunk Configuration Screen for Switch S4 | |
Figure | Path Cost Arbitration Example | |
Figure | Example 1: Correctly Configured Trunk | |
Figure | Example 2: Detecting a Misconfigured Port | |
Figure | ||
Figure | Port Mirroring | |
Figure | ||
Figure | Port Mirroring | |
Figure | Package Contents | |
Figure | Positioning the Chassis in the Rack | |
Figure | Attaching Mounting Brackets | |
Figure | Installing the BayStack 350 Switch in an Equipment Rack | |
Figure | ||
Figure | Connecting to the Console/Comm Port | |
Figure | BayStack 350 Switch AC Power Receptacle | |
Figure | Grounded AC Power Outlet | |
Figure | Observing LEDs to Verify Proper Operation | |
Figure | BayStack 350 Switch | |
Figure | Bay Networks Logo Screen | |
Figure | Main Menu | |
Figure | Map of Console Interface Screens | |
Figure | Console Interface Main Menu | |
Figure | IP Configuration/Setup Screen | |
Figure | SNMP Configuration Screen | |
Figure | System Characteristics Screen | |
Figure | ||
Figure | MAC Address Table Screen | |
xiv |
| |
