Using the BayStack 350 10/100/1000 Series Switch
To configure the VLAN port membership for VLAN 1, follow these steps:
1.Select Switch Configuration from the BayStack
2.From the Switch Configuration Menu, select VLAN Configuration (or press v).
3.From the VLAN Configuration Menu select VLAN Configuration (or press v).
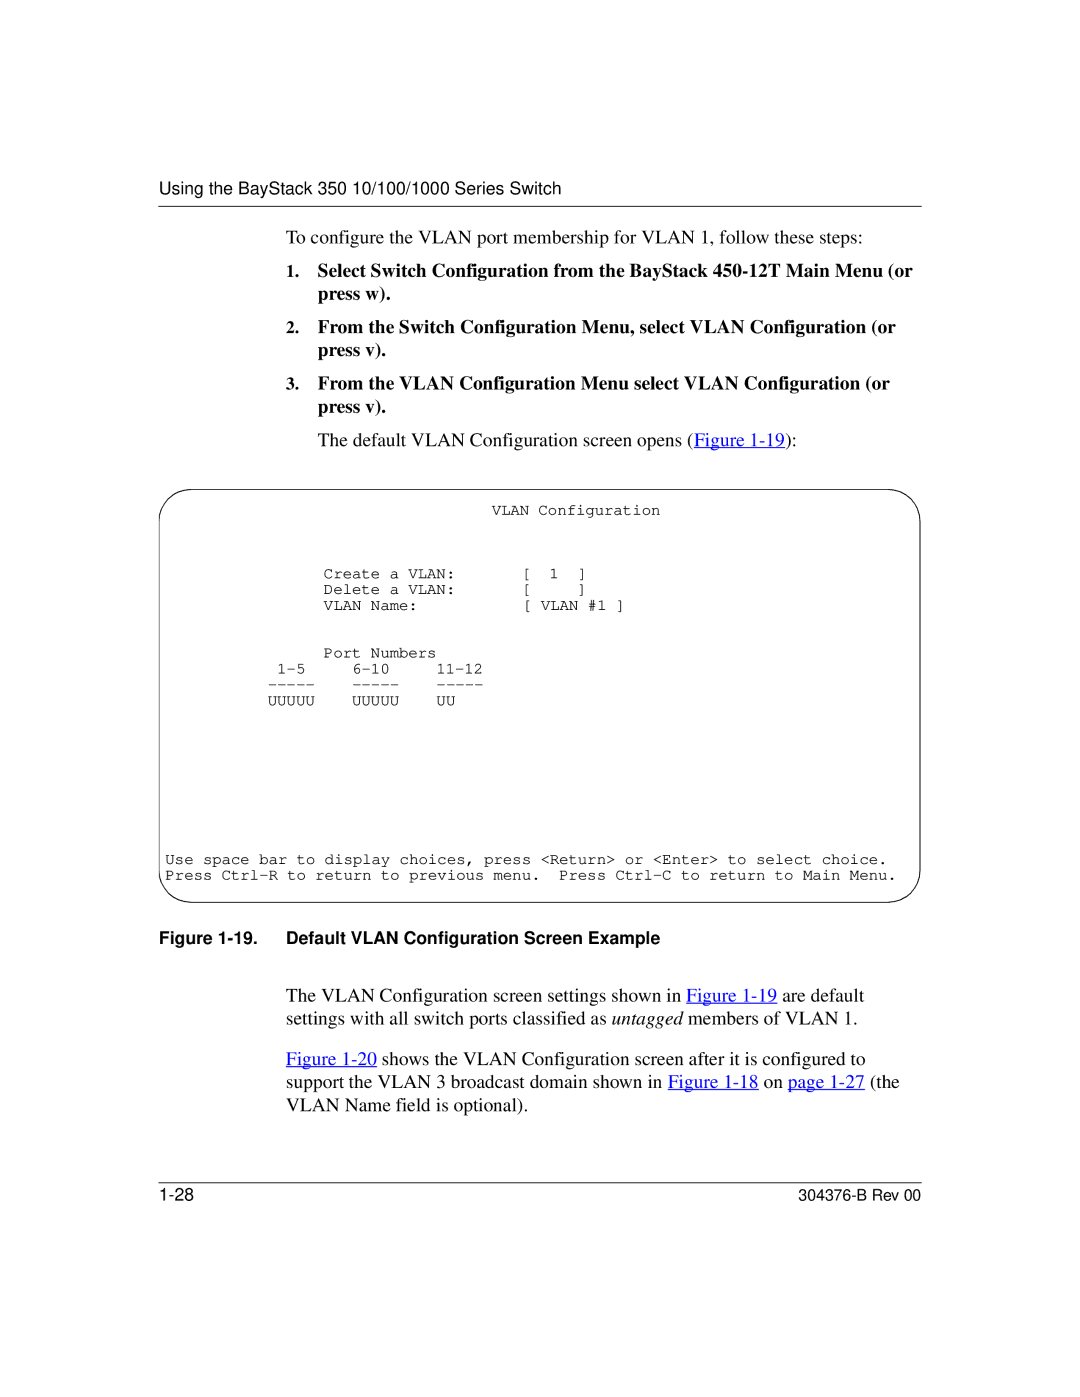
The default VLAN Configuration screen opens (Figure 1-19):
|
|
| VLAN Configuration | |
| Create a VLAN: | [ 1 | ] | |
| Delete a VLAN: | [ | ] | |
| VLAN Name: |
| [ VLAN #1 ] | |
| Port Numbers |
|
| |
|
| |||
|
| |||
UUUUU | UUUUU | UU |
|
|
Use space bar to display choices, press <Return> or <Enter> to select choice. Press
Figure 1-19. Default VLAN Configuration Screen Example
The VLAN Configuration screen settings shown in Figure
Figure 1-20 shows the VLAN Configuration screen after it is configured to support the VLAN 3 broadcast domain shown in Figure 1-18 on page 1-27 (the VLAN Name field is optional).
|