Installing the ANH-8/DC
1 | 2 | 3 |
|
|
|
|
|
|
|
|
|
|
|
|
|
| 4 | 5 | 6 | 7 |
|
|
|
|
|
|
|
| |
|
|
|
|
| 8 |
|
|
|
|
|
|
| ||
|
|
|
|
|
|
|
|
|
|
|
|
|
| |
|
|
|
|
|
|
| 1 |
|
|
| Partition |
|
|
|
|
|
|
|
|
|
| 2 | 3 | 4 |
|
|
|
| |
|
|
|
|
|
|
|
|
| 5 | 6 | 7 | 8 | ||
|
|
|
|
|
|
|
|
|
| Link |
|
| ||
|
|
|
|
|
|
|
|
|
|
|
|
|
|
Access Node Hub
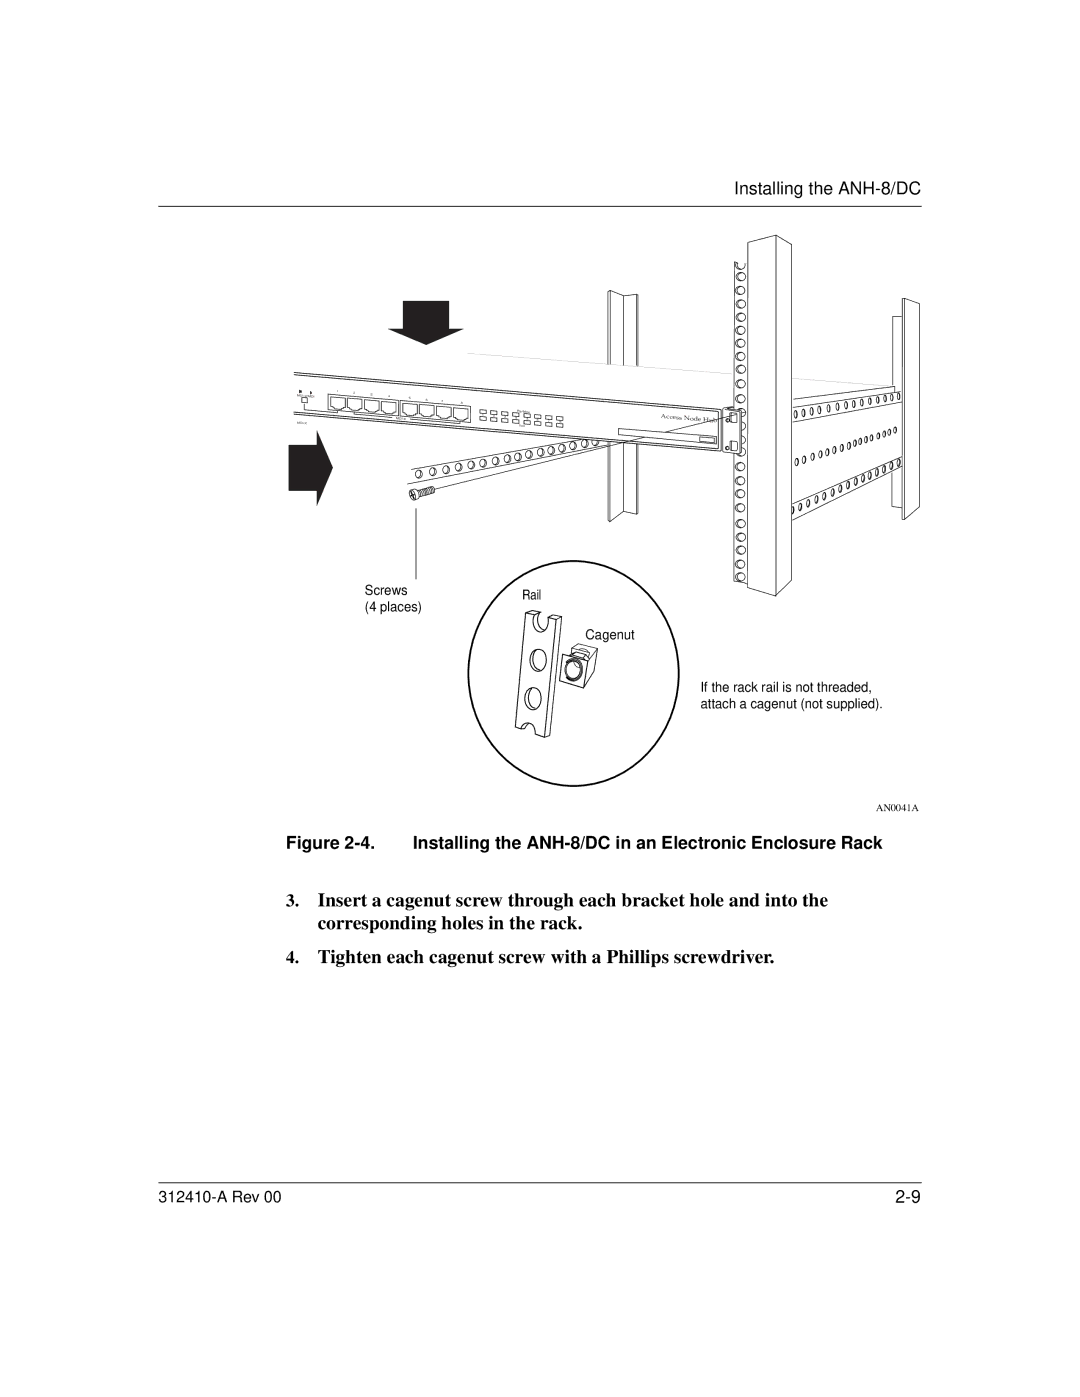
Screws (4 places)
Rail
Cagenut
If the rack rail is not threaded, attach a cagenut (not supplied).
AN0041A
Figure 2-4. Installing the ANH-8/DC in an Electronic Enclosure Rack
3.Insert a cagenut screw through each bracket hole and into the corresponding holes in the rack.
