Installing and Operating AN/DC and
Continuing with Directed Netboot
Before you can use the Directed Netboot procedure, you must have already used the ifconfig command (as described in the previous section) to configure the interface from which you plan to use Directed Netboot.
You can use the Diagnostic Monitor, Technician Interface, or Site Manager to perform Directed Netboot. This guide assumes that you are at the router site and are using the Diagnostic Monitor. To manage the router from a remote site, refer to Connecting BayStack AN and ANH Systems to a Network.
To use the Directed Netboot feature:
1.Contact your network administrator to verify that the remote network is set up for the Directed Netboot procedure.
2.Ask your network administrator (or refer to Appendix A) for the appropriate boot configuration (bconfig) commands.
Write the commands below for reference. bconfig image ________________________
bconfig config ________________________
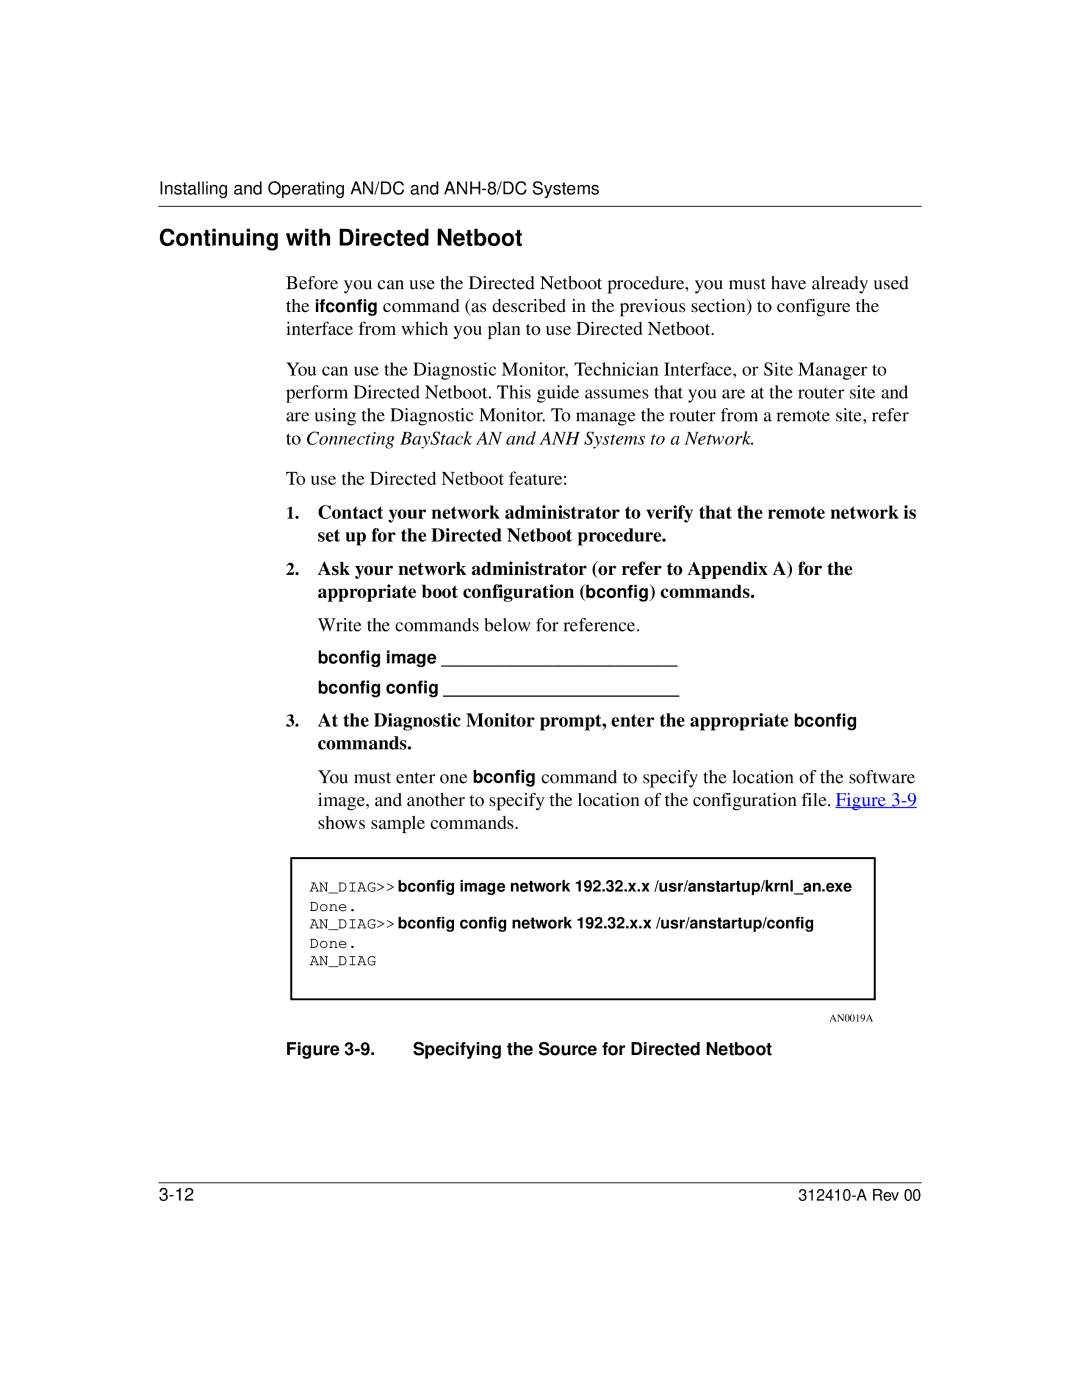
3.At the Diagnostic Monitor prompt, enter the appropriate bconfig commands.
You must enter one bconfig command to specify the location of the software image, and another to specify the location of the configuration file. Figure
AN_DIAG>> bconfig image network 192.32.x.x /usr/anstartup/krnl_an.exe
Done.
AN_DIAG>> bconfig config network 192.32.x.x /usr/anstartup/config
Done.
AN_DIAG
AN0019A