3. Optical system lock release
A. No. 2/3 mirror unit lock release
Remove the one fixing screw of the No. 2/3 mirror unit on the left side of the copier.
Mirror unit fixing screw
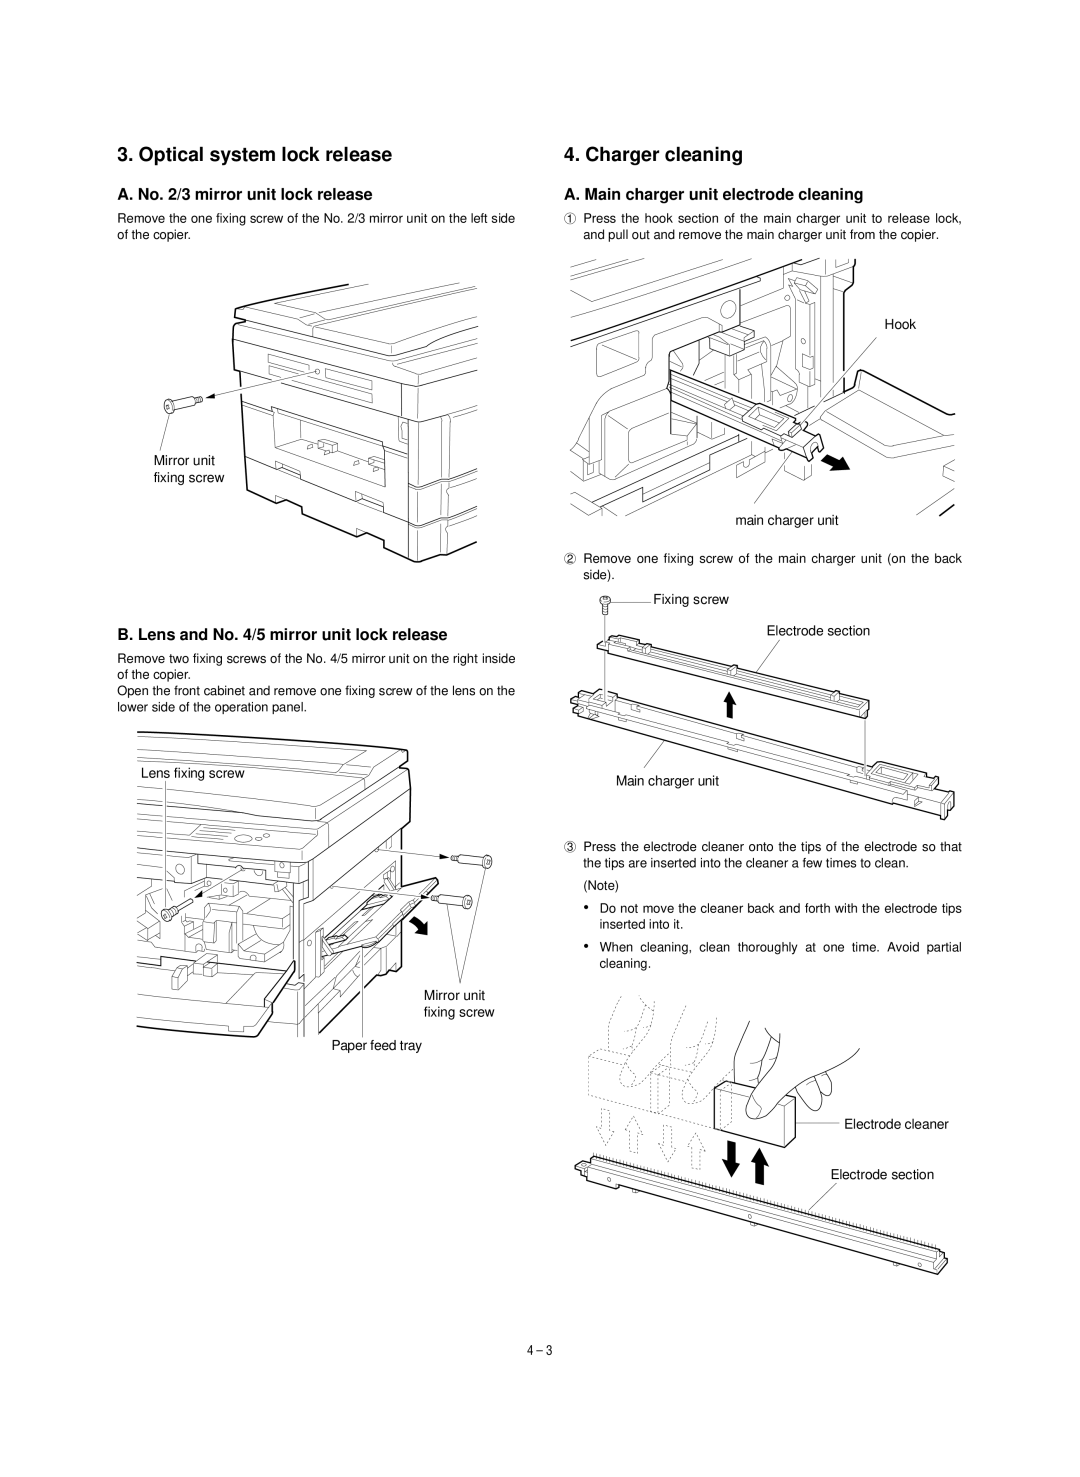
B. Lens and No. 4/5 mirror unit lock release
Remove two fixing screws of the No. 4/5 mirror unit on the right inside of the copier.
Open the front cabinet and remove one fixing screw of the lens on the lower side of the operation panel.
Lens fixing screw
Mirror unit fixing screw
Paper feed tray
4. Charger cleaning
A. Main charger unit electrode cleaning
1Press the hook section of the main charger unit to release lock, and pull out and remove the main charger unit from the copier.
Hook
main charger unit
2Remove one fixing screw of the main charger unit (on the back side).
Fixing screw
Electrode section
Main charger unit
3Press the electrode cleaner onto the tips of the electrode so that the tips are inserted into the cleaner a few times to clean.
(Note)
•Do not move the cleaner back and forth with the electrode tips inserted into it.
•When cleaning, clean thoroughly at one time. Avoid partial cleaning.
Electrode cleaner
Electrode section
4 – 3