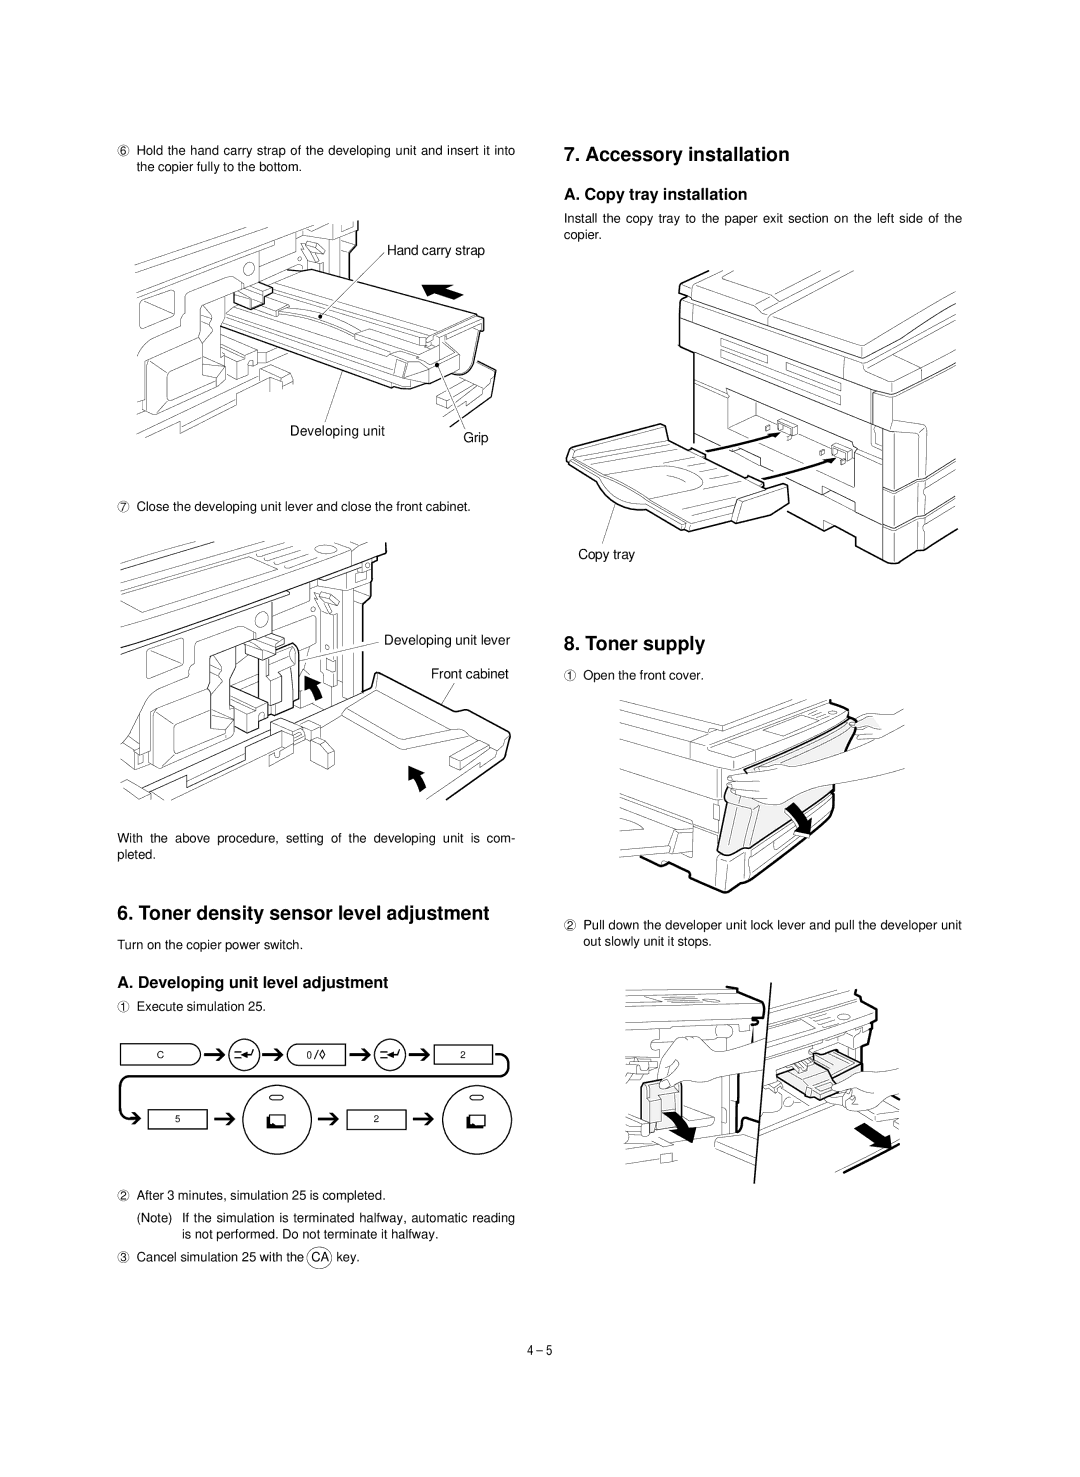
6Hold the hand carry strap of the developing unit and insert it into the copier fully to the bottom.
Hand carry strap
7. Accessory installation
A. Copy tray installation
Install the copy tray to the paper exit section on the left side of the copier.
Developing unit | Grip |
|
7Close the developing unit lever and close the front cabinet.
Developing unit lever
Front cabinet
With the above procedure, setting of the developing unit is com- pleted.
6. Toner density sensor level adjustment
Turn on the copier power switch.
A. Developing unit level adjustment
1Execute simulation 25.
C | 0 | 2 |
| 5 | 2 |
2After 3 minutes, simulation 25 is completed.
(Note) If the simulation is terminated halfway, automatic reading is not performed. Do not terminate it halfway.
3 Cancel simulation 25 with the CA key.
Copy tray
8. Toner supply
1Open the front cover.
2Pull down the developer unit lock lever and pull the developer unit out slowly unit it stops.
4 – 5
