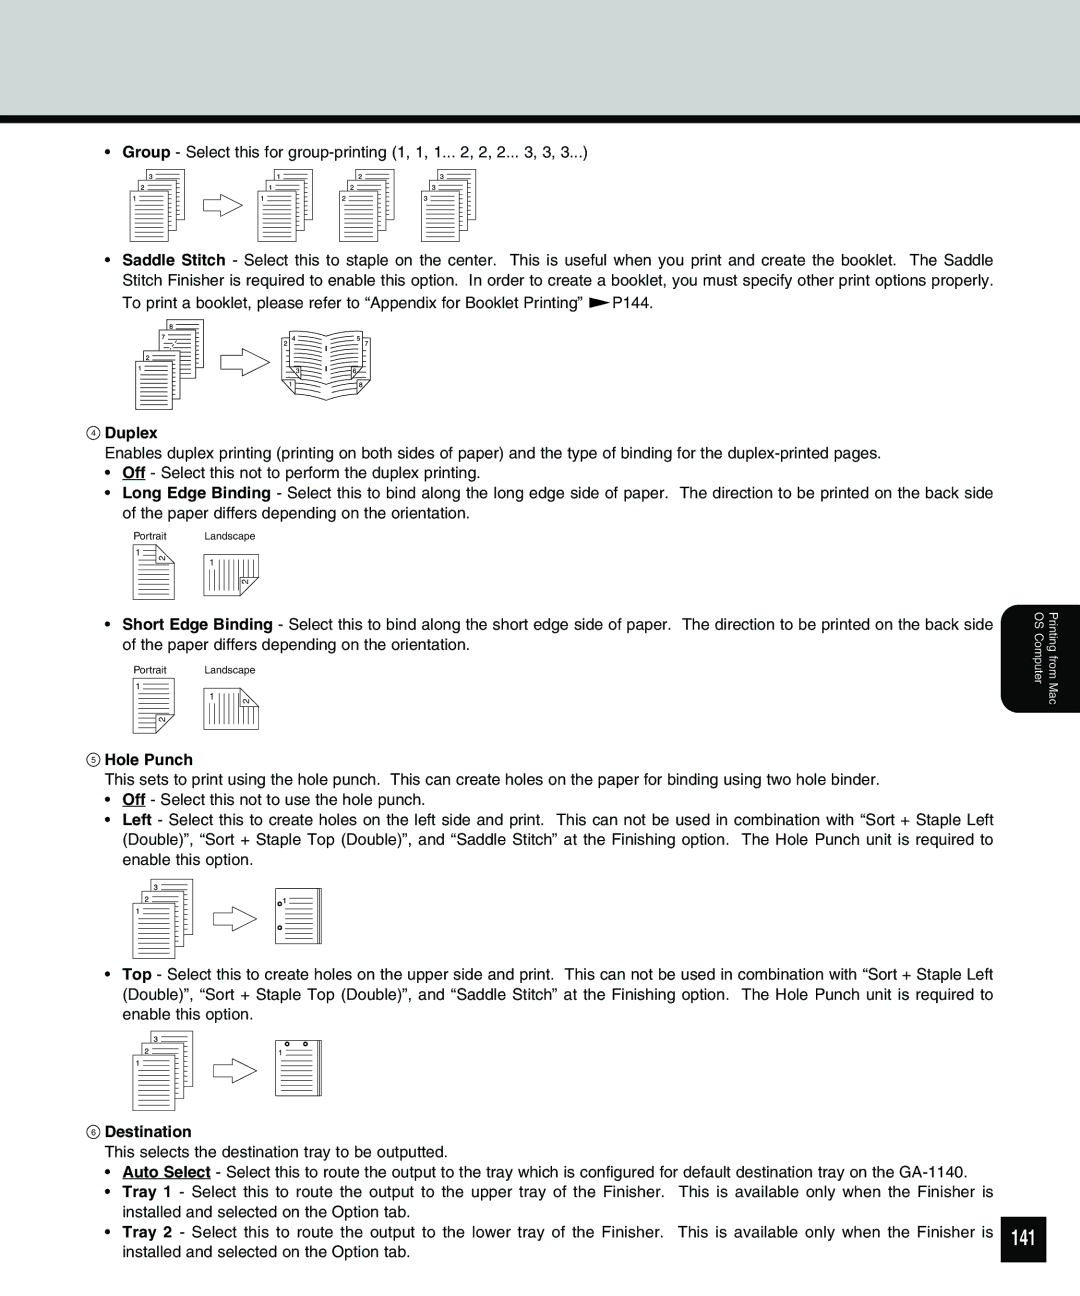
•Group - Select this for
•Saddle Stitch - Select this to staple on the center. This is useful when you print and create the booklet. The Saddle Stitch Finisher is required to enable this option. In order to create a booklet, you must specify other print options properly.
To print a booklet, please refer to “Appendix for Booklet Printing” | P144. | |||||||||||||||||||||
|
|
|
|
|
|
|
|
|
|
|
|
|
|
|
|
|
|
|
|
|
|
|
4Duplex
Enables duplex printing (printing on both sides of paper) and the type of binding for the
•Off - Select this not to perform the duplex printing.
•Long Edge Binding - Select this to bind along the long edge side of paper. The direction to be printed on the back side of the paper differs depending on the orientation.
Portrait | Landscape | |||
1 |
|
|
| |
|
|
| ||
| 2 | 1 | ||
|
|
|
| |
|
|
|
|
|
|
|
|
|
|
2
•Short Edge Binding - Select this to bind along the short edge side of paper. The direction to be printed on the back side of the paper differs depending on the orientation.
Portrait Landscape
1
1 | 2 |
2
Printing from Mac OS Computer
5Hole Punch
This sets to print using the hole punch. This can create holes on the paper for binding using two hole binder.
•Off - Select this not to use the hole punch.
•Left - Select this to create holes on the left side and print. This can not be used in combination with “Sort + Staple Left (Double)”, “Sort + Staple Top (Double)”, and “Saddle Stitch” at the Finishing option. The Hole Punch unit is required to enable this option.
•Top - Select this to create holes on the upper side and print. This can not be used in combination with “Sort + Staple Left (Double)”, “Sort + Staple Top (Double)”, and “Saddle Stitch” at the Finishing option. The Hole Punch unit is required to enable this option.
6Destination
This selects the destination tray to be outputted.
•Auto Select - Select this to route the output to the tray which is configured for default destination tray on the
•Tray 1 - Select this to route the output to the upper tray of the Finisher. This is available only when the Finisher is installed and selected on the Option tab.
•Tray 2 - Select this to route the output to the lower tray of the Finisher. This is available only when the Finisher is installed and selected on the Option tab.