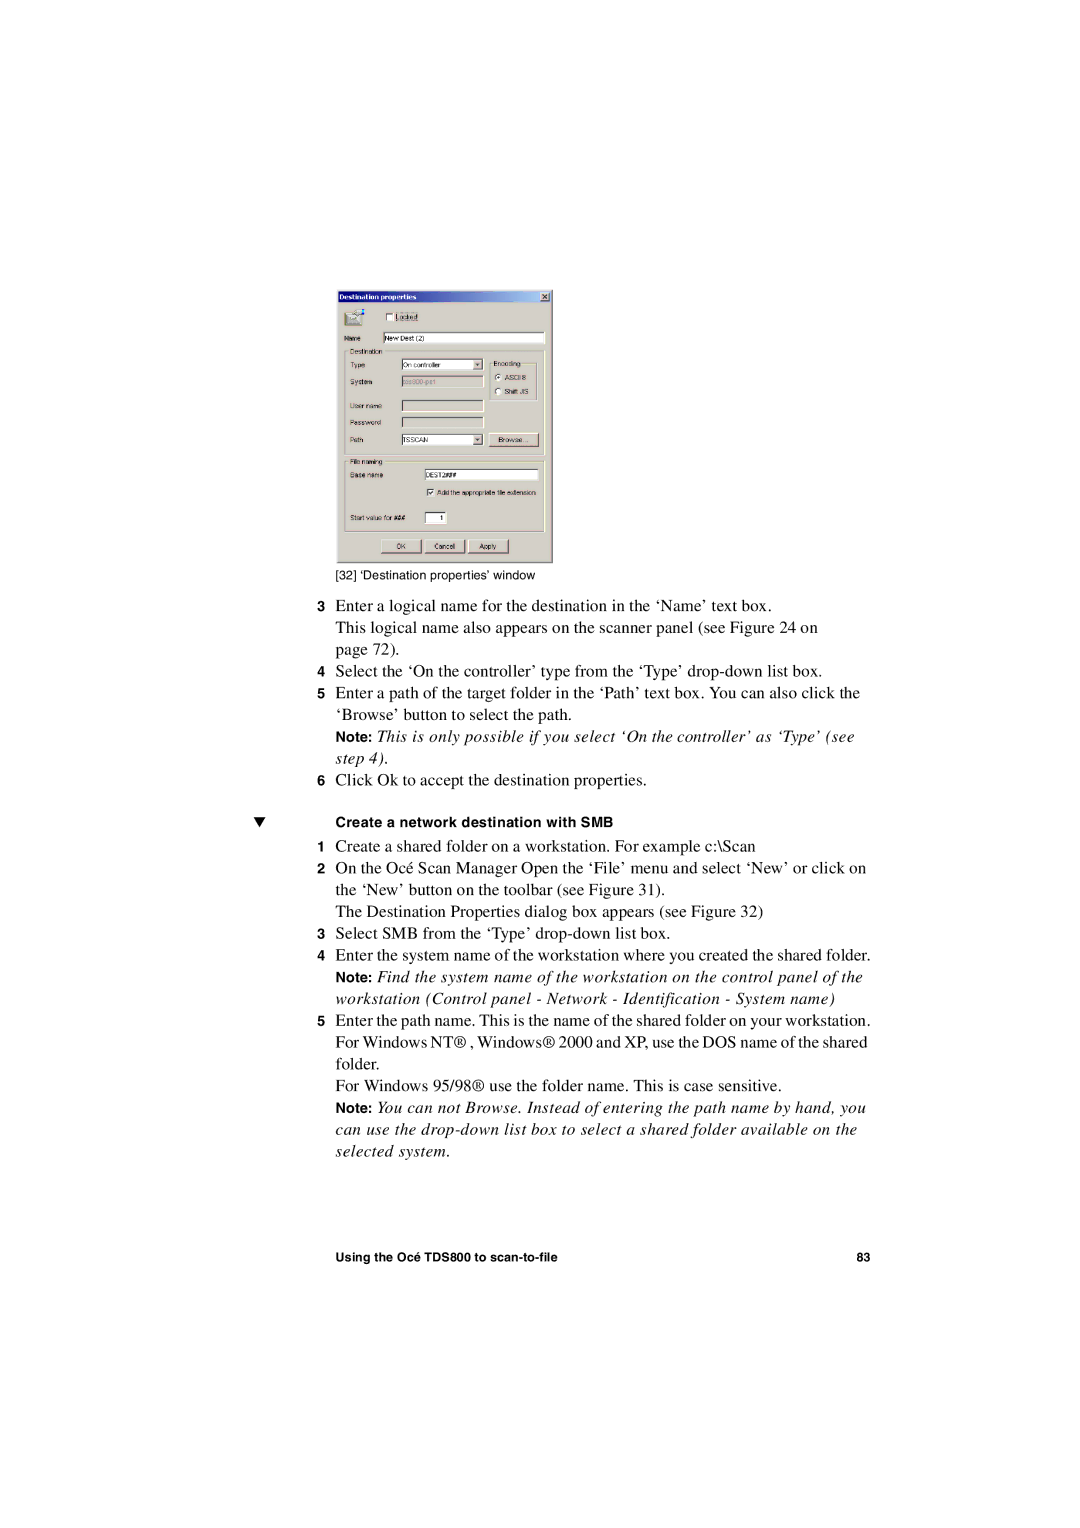
[32] ‘Destination properties’ window
3Enter a logical name for the destination in the ‘Name’ text box.
This logical name also appears on the scanner panel (see Figure 24 on page 72).
4Select the ‘On the controller’ type from the ‘Type’
5Enter a path of the target folder in the ‘Path’ text box. You can also click the ‘Browse’ button to select the path.
Note: This is only possible if you select ‘On the controller’ as ‘Type’ (see step 4).
6Click Ok to accept the destination properties.
▼Create a network destination with SMB
1Create a shared folder on a workstation. For example c:\Scan
2On the Océ Scan Manager Open the ‘File’ menu and select ‘New’ or click on the ‘New’ button on the toolbar (see Figure 31).
The Destination Properties dialog box appears (see Figure 32)
3Select SMB from the ‘Type’
4Enter the system name of the workstation where you created the shared folder.
Note: Find the system name of the workstation on the control panel of the workstation (Control panel - Network - Identification - System name)
5Enter the path name. This is the name of the shared folder on your workstation. For Windows NT® , Windows® 2000 and XP, use the DOS name of the shared folder.
For Windows 95/98® use the folder name. This is case sensitive.
Note: You can not Browse. Instead of entering the path name by hand, you can use the
Using the Océ TDS800 to | 83 |