7Remove the new imaging unit from its bag.
Caution
Don’t use sharp objects, such as a knife or scissors, to open the imaging unit package. You could damage the surface of the imaging unit.
8Remove the paper protecting the surface of the imaging unit.
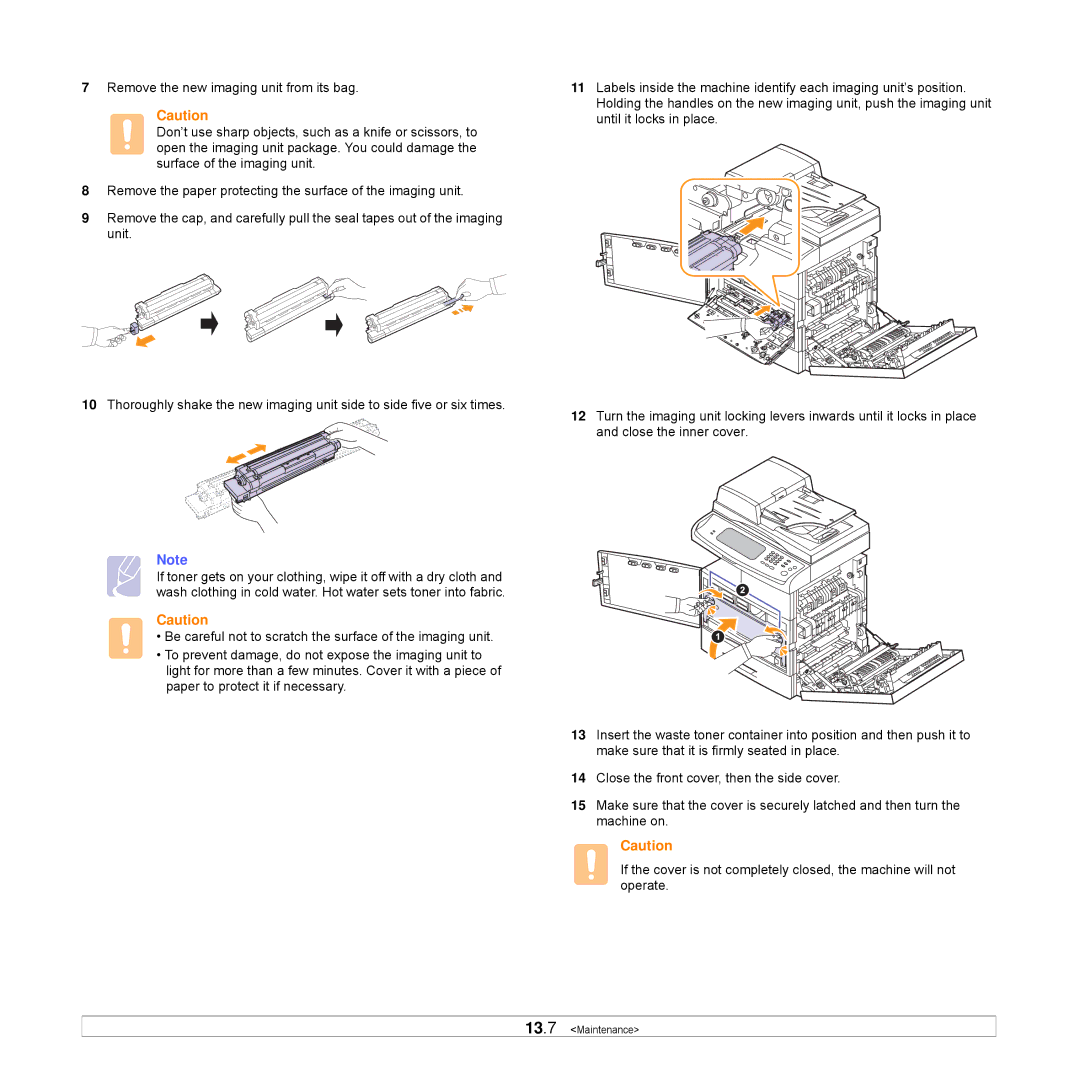
9Remove the cap, and carefully pull the seal tapes out of the imaging unit.
10Thoroughly shake the new imaging unit side to side five or six times.
Note
If toner gets on your clothing, wipe it off with a dry cloth and wash clothing in cold water. Hot water sets toner into fabric.
Caution
• Be careful not to scratch the surface of the imaging unit.
• To prevent damage, do not expose the imaging unit to light for more than a few minutes. Cover it with a piece of paper to protect it if necessary.
11Labels inside the machine identify each imaging unit’s position. Holding the handles on the new imaging unit, push the imaging unit until it locks in place.
12Turn the imaging unit locking levers inwards until it locks in place and close the inner cover.
13Insert the waste toner container into position and then push it to make sure that it is firmly seated in place.
14Close the front cover, then the side cover.
15Make sure that the cover is securely latched and then turn the machine on.
Caution
If the cover is not completely closed, the machine will not operate.