HP Officejet 6200 series all-in-one
User Guide
Safety information
Contents
Print from your computer
Contents
HP Officejet 6200 series all-in-one
HP all-in-one overview
HP all-in-one at a glance
Label Description
Label Name and Description
Control panel features
Menu Overview
Copy Menu
Copy Menu
Setup Menu
Scan To menu
Fax Menu
Use the HP Image Zone to do more with your HP all-in- one
Access the HP Image Zone software Windows
To open the HP Director
Button Name and Purpose
Feature Purpose
Products Icon Feature and Purpose
Open the HP Image Zone window
To open the HP Image Zone window
Services Icon Feature and Purpose
Display the HP Image Zone Dock menu
To display the HP Image Zone Dock menu
Device Tasks Icon Purpose
Manage and Share Feature Purpose More
Manage and Share Icon Purpose
Applications
Find more information
Setup Guide
Onscreen help from your device
Supported connection types
Connection information
Set up the HP JetDirect
Connect using a USB cable
Use Windows printer sharing
Use printer sharing Macintosh OS
If you are using Windows XP or
To use Webscan
Use Webscan
Transfer photos using a Macintosh
Transfer photos using a Windows PC
Work with photos
Transfer photos
Edit photos using a Windows PC
Edit photos using a Macintosh
Edit photos
Share photos using a Windows PC
Share photos using a Macintosh
Share photos
Print photos using a Windows PC
Print photos using a Macintosh
Print photos
Load originals
Load originals and load paper
Load an original in the automatic document feeder
Load an original on the glass
Recommended papers
Choose papers for printing and copying
Papers to avoid
To load an original on the glass
Load full-size paper
Load paper
We do not recommend printing to the following papers
We do not recommend copying to the following papers
Load originals and load paper
Load 10by 15cm 4by 6inch photo paper
Load envelopes
Load postcards or Hagaki cards
To load postcards or Hagaki cards in the input tray
To load envelopes
Paper Tips
Load other types of paper
Paper
Avoid paper jams
To print photos from a PictBridge-compatible camera
Use a PictBridge camera
Chapter
Use the copy features
Paper type Suggested paper size settings
Set the copy paper size
Set the copy paper type
Paper type Control panel setting
To set the paper size from the control panel
To set the paper type from the control panel
Increase copy speed or quality
Change default copy settings
To change the copy quality from the control panel
Press Start Copy Black or Start Copy Color
To set default copy settings from the control panel
Make multiple copies of the same original
Copy a two-page black-and-white document
Copy a 10by 15cm 4by 6inch photo onto a full-size
Make a 10by 15cm 4by 6inch borderless copy of a photo
To copy a photo onto a full-size page from the control panel
Resize an original to fit onto letter or A4paper
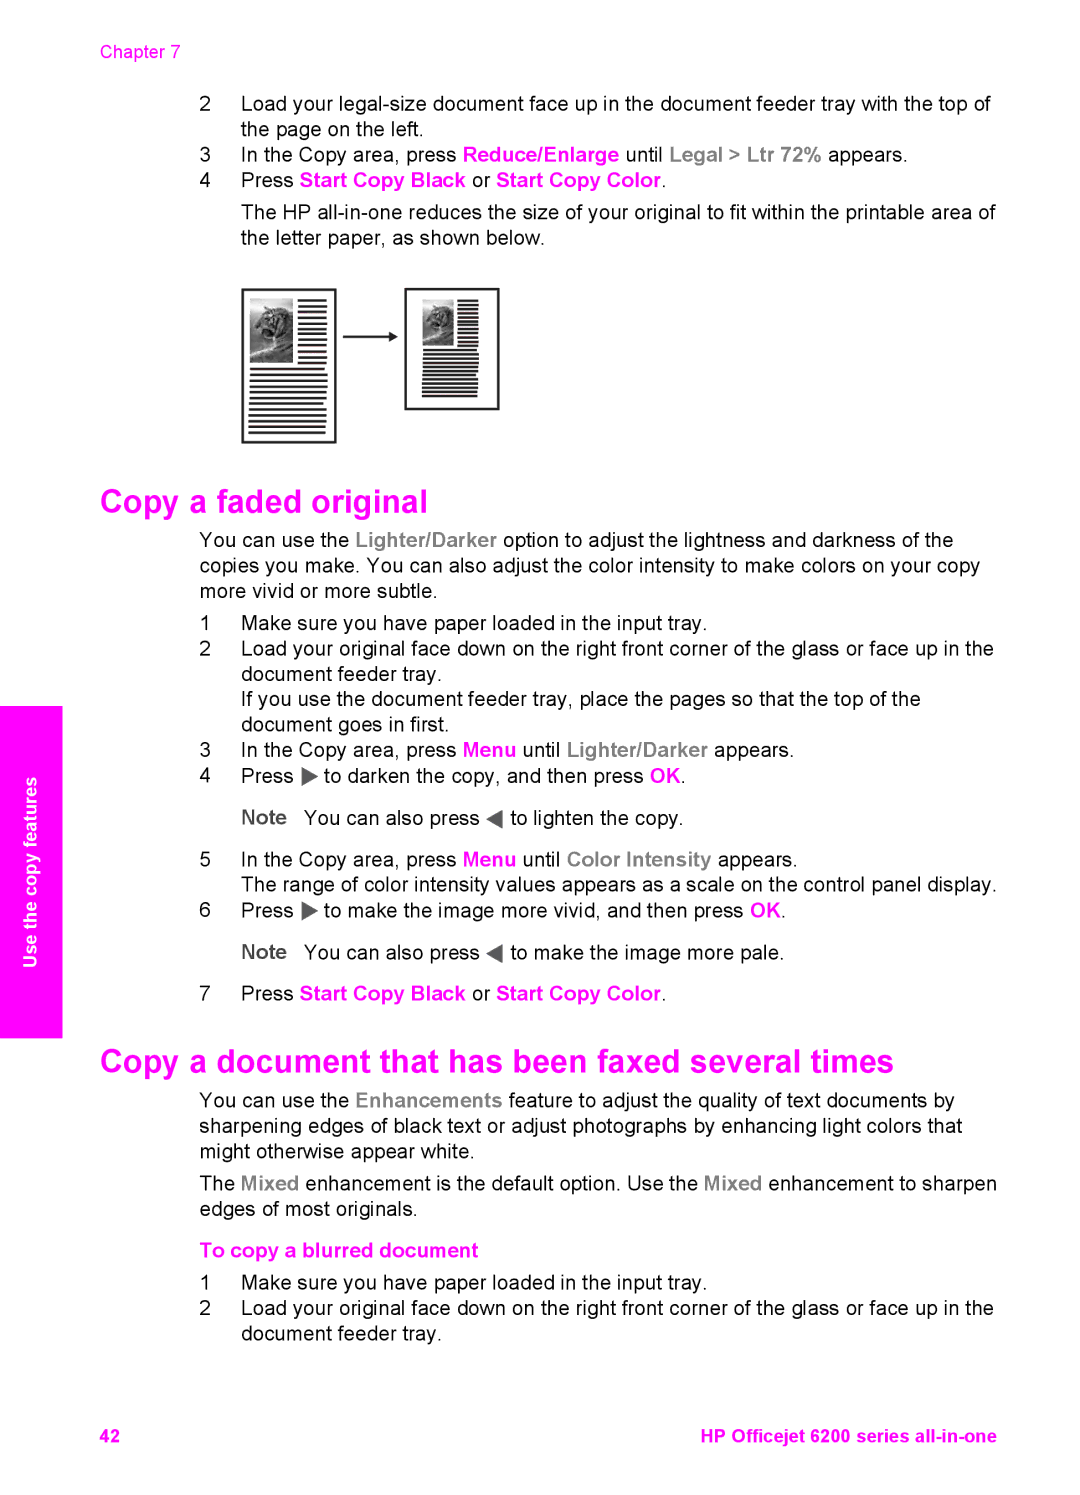
Copy a legal-size document onto letter paper
Resize an original using custom settings
To resize a document from the control panel
To set a custom size from the control panel
Copy a faded original
Copy a document that has been faxed several times
To copy a blurred document
Enhance light areas of your copy
Prepare a color iron-on transfer
To copy an overexposed photo
Stop copying
Scan to an application
Use the scan features
To send a scan to an application
Stop scanning
Print from a software application
Print from your computer
To change the print settings for all future jobs
Change the print settings
To change the print settings for the current job
Windows users
To change all other print settings
Stop a print job
To stop a print job from the HP all-in-one
Print from your computer
USA
Fax setup
Choose the right fax setup for your home or office
Select your fax setup case
You answered No to all
Questions DSL service
You answered Yes to question
Only
Case a Separate fax line no voice calls received
To set up your HP all-in-one with a separate fax line
To set up your HP all-in-one with DSL
Case B Set up your HP all-in-one with DSL
Case D Fax with a distinctive ring service on the same line
Case E Shared voice/fax line
To set up your HP all-in-one with a distinctive ring service
To set up your HP all-in-one with a shared voice/fax line
Case F Shared voice/fax line with voice mail
To set up your HP all-in-one with voice mail
Case G Fax line shared with PC modem no voice calls received
To set up your HP all-in-one with a PC modem
Case H Shared voice/fax line with PC modem
Set up your HP all-in-one to a computer with one phone port
Back view of the HP all-in-one
Set up your HP all-in-one to a computer with two phone ports
Case I Shared voice/fax line with answering machine
Back view of the HP all-in-one
Set up your HP all-in-one to a computer with one phone port
Back view of the HP all-in-one
Set up your HP all-in-one to a computer with two phone ports
Back view of the HP all-in-one
Case K Shared voice/fax line with PC modem and voice mail
Set up your HP all-in-one to a computer with one phone port
Set up your HP all-in-one to a computer with two phone ports
To test your fax setup from the control panel
Test your fax setup
Fax setup
Fax setup
Set up the HP all-in-one to receive faxes
Use the fax features
Choose the recommended answer mode for your setup
Auto Answer
Auto Answer light is on
Auto Answer light is off
Send a fax
Set the answer mode
Send a basic fax
Press Start Fax Black
Send a fax manually from a phone
Enable fax confirmation
Send a fax using speed dials
Send a fax using redial
Schedule a fax
Press Redial/Pause
Cancel a scheduled fax
Send a fax using monitor dialing
Send a fax from memory
Receive a fax
Set the number of rings before answering
Receive a fax manually
Poll to receive a fax
Set the date and time
Set the fax header
Enter text and symbols
Enter text using the keypad on the control panel
Print reports
Generate reports automatically
Set up speed dialing
Generate reports manually
Create speed-dial entries
Create group speed-dial entries
Update speed-dial entries
Change the fax resolution
Change the fax resolution and lighter/darker settings
To change the resolution from the control panel
Delete speed-dial entries
Set new default settings
Change the lighter/darker setting
Set fax options
Set the paper size for received faxes
Set tone or pulse dialing
Adjust the volume
Forward faxes to another number
To forward faxes from the control panel
To cancel forward faxes from the control panel
Cancel fax forwarding
Change the answer ring pattern distinctive ringing
Redial a busy or unanswered number automatically
Set backup fax reception
To set backup fax reception from the control panel
Set automatic reduction for incoming faxes
To change the ECM setting from the control panel
Use error correction mode
Fax speed setting
Set the fax speed
Fax over the Internet
Reprint or delete the faxes in memory
To set the fax speed from the control panel
To reprint faxes in memory from the control panel
To cancel a number you are dialing
Stop faxing
To stop faxing from the control panel
Use HP Instant Share
Overview
Get started

 to darken the copy, and then press OK. Note You can also press
 to lighten the copy.
 to make the image more vivid, and then press OK. Note You can also press
 to make the image more pale.