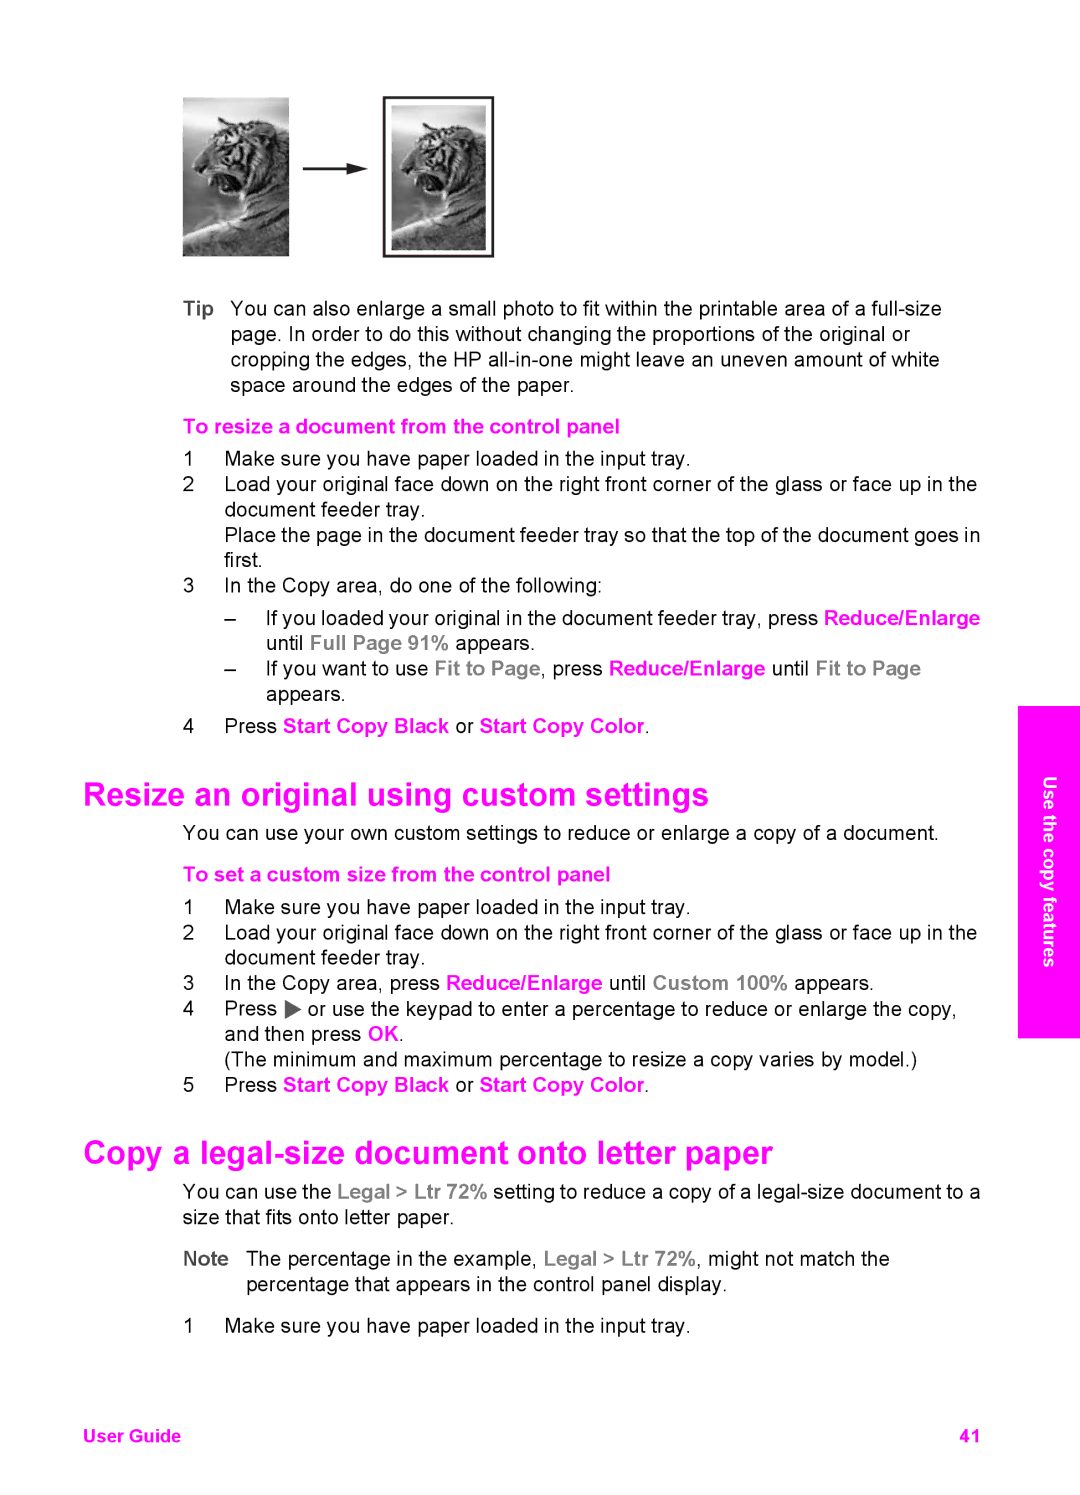
Tip You can also enlarge a small photo to fit within the printable area of a
To resize a document from the control panel
1Make sure you have paper loaded in the input tray.
2Load your original face down on the right front corner of the glass or face up in the document feeder tray.
Place the page in the document feeder tray so that the top of the document goes in first.
3In the Copy area, do one of the following:
–If you loaded your original in the document feeder tray, press Reduce/Enlarge until Full Page 91% appears.
–If you want to use Fit to Page, press Reduce/Enlarge until Fit to Page appears.
4Press Start Copy Black or Start Copy Color.
Resize an original using custom settings
You can use your own custom settings to reduce or enlarge a copy of a document.
To set a custom size from the control panel
1Make sure you have paper loaded in the input tray.
2Load your original face down on the right front corner of the glass or face up in the document feeder tray.
3In the Copy area, press Reduce/Enlarge until Custom 100% appears.
4Press ![]() or use the keypad to enter a percentage to reduce or enlarge the copy, and then press OK.
or use the keypad to enter a percentage to reduce or enlarge the copy, and then press OK.
(The minimum and maximum percentage to resize a copy varies by model.)
5Press Start Copy Black or Start Copy Color.
Copy a legal-size document onto letter paper
You can use the Legal > Ltr 72% setting to reduce a copy of a
Note The percentage in the example, Legal > Ltr 72%, might not match the percentage that appears in the control panel display.
1 Make sure you have paper loaded in the input tray.
Use the copy features
User Guide | 41 |