1.Complete the first six steps under "Sending a Fax from a Windows Application."
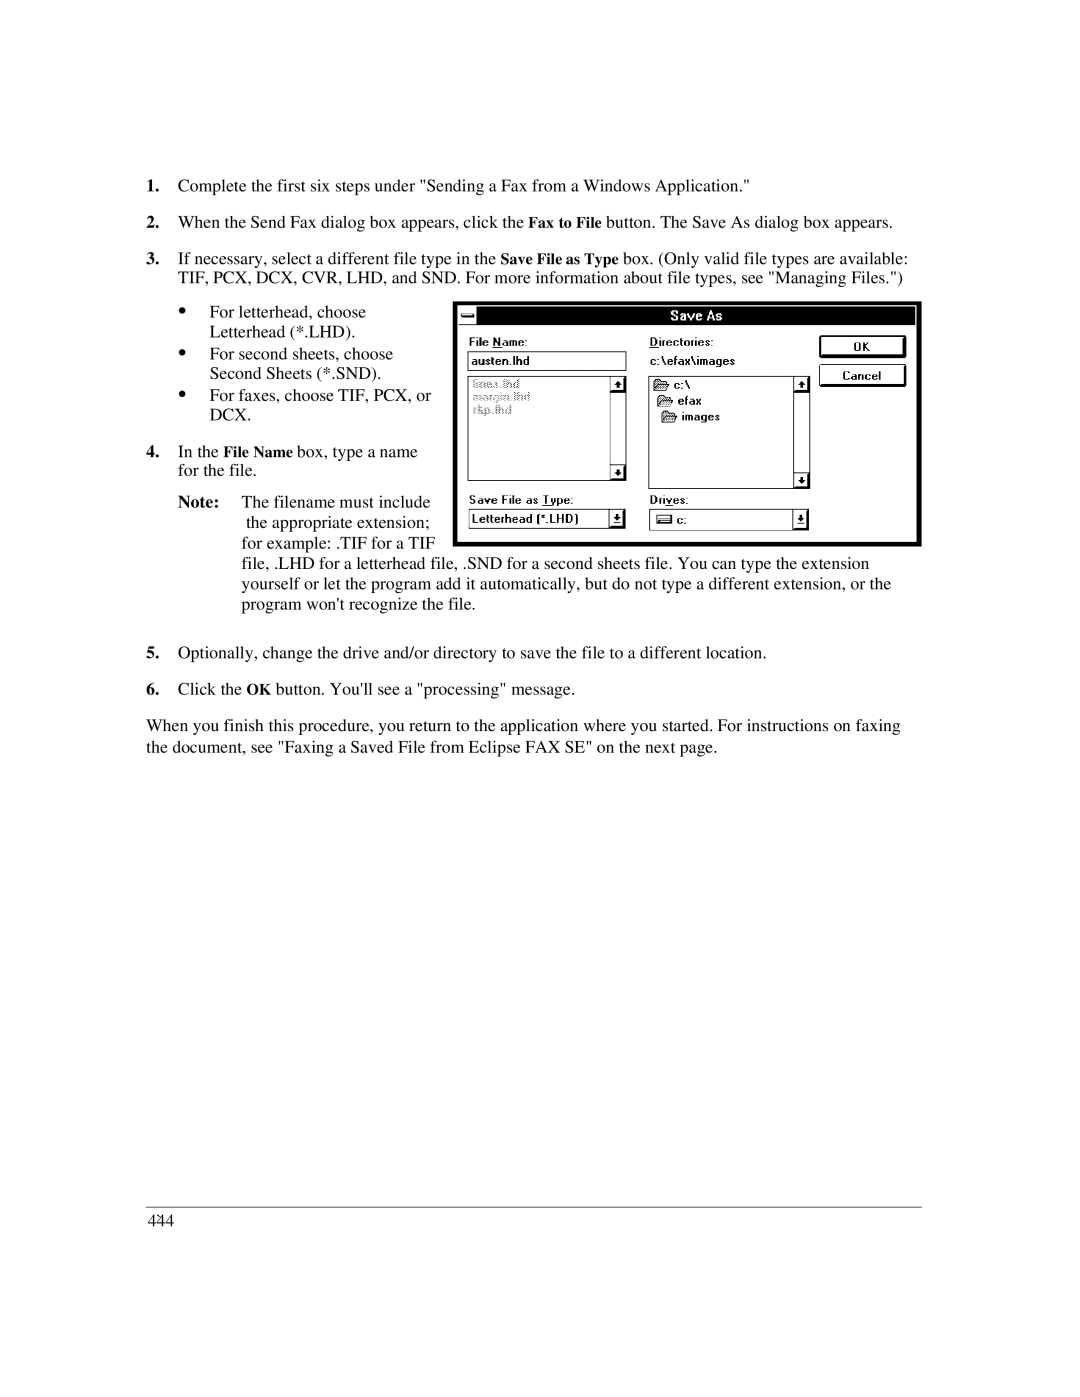
2.When the Send Fax dialog box appears, click the Fax to File button. The Save As dialog box appears.
3.If necessary, select a different file type in the Save File as Type box. (Only valid file types are available: TIF, PCX, DCX, CVR, LHD, and SND. For more information about file types, see "Managing Files.")
:For letterhead, choose Letterhead (*.LHD).
:For second sheets, choose Second Sheets (*.SND).
:For faxes, choose TIF, PCX, or DCX.
4.In the File Name box, type a name for the file.
Note: The filename must include the appropriate extension; for example: .TIF for a TIF
file, .LHD for a letterhead file, .SND for a second sheets file. You can type the extension yourself or let the program add it automatically, but do not type a different extension, or the program won't recognize the file.
5.Optionally, change the drive and/or directory to save the file to a different location.
6.Click the OK button. You'll see a "processing" message.
When you finish this procedure, you return to the application where you started. For instructions on faxing the document, see "Faxing a Saved File from Eclipse FAX SE" on the next page.
4`44