Preparing the Document
There are several ways of preparing a document for an added image. After completing one of the methods explained below, go on to "Using the Place Image Window to Add an Image."
Note: Before using any of these methods, you must have created the image you're going to add. If you want to add your signature to a fax, for example, you should begin by scanning a copy of your signature to Eclipse FAX SE.
Method 1:`Adding an Image to a Fax That You're Sending from a Windows Application
Use this method to add an image to a fax that you're sending from a Windows application.
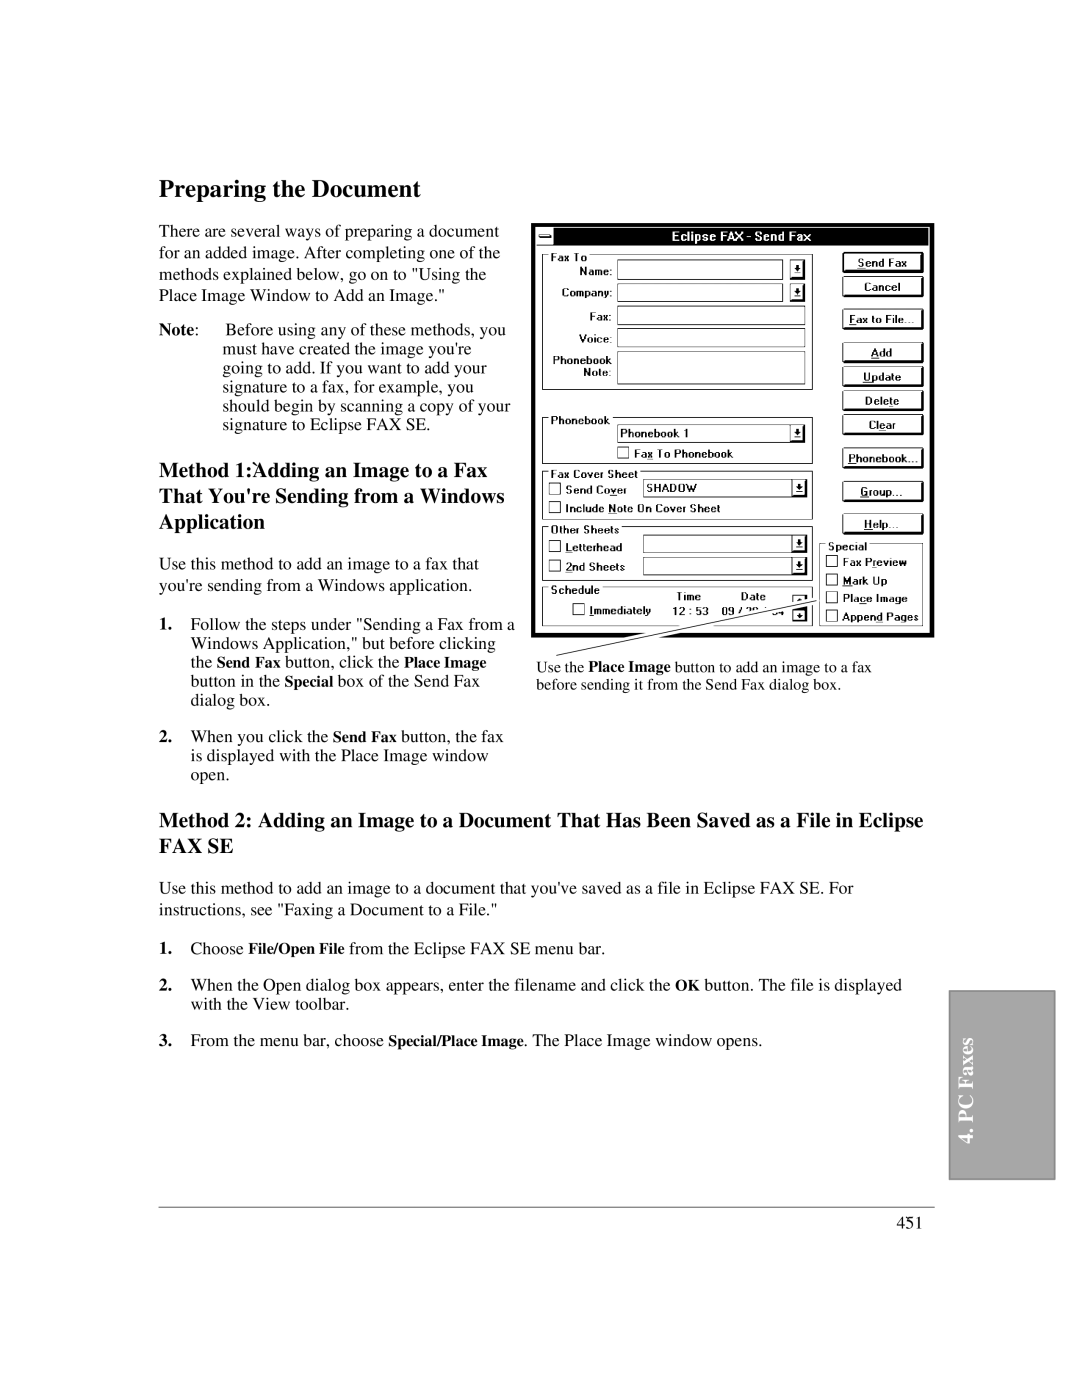
1.Follow the steps under "Sending a Fax from a Windows Application," but before clicking the Send Fax button, click the Place Image button in the Special box of the Send Fax dialog box.
2.When you click the Send Fax button, the fax is displayed with the Place Image window open.
Use the Place Image button to add an image to a fax before sending it from the Send Fax dialog box.
Method 2: Adding an Image to a Document That Has Been Saved as a File in Eclipse
FAX SE
Use this method to add an image to a document that you've saved as a file in Eclipse FAX SE. For instructions, see "Faxing a Document to a File."
1. | Choose File/Open File from the Eclipse FAX SE menu bar. | ||
2. | When the Open dialog box appears, enter the filename and click the OK button. The file is displayed |
| |
| with the View toolbar. |
| |
3. | From the menu bar, choose Special/Place Image. The Place Image window opens. | 4. PC Faxes | |
|
|
| |
|
|
|
|
|
|
|
|
4`51