Receiving Faxes on Your PC
Before you begin receiving PC faxes, you may want to change the Receive Setup options, as described below. Once a PC fax has been received, you can use the Receive Log to view, print, and delete it. You can also forward a fax you've received from the Receive Log.
Note: Each time you receive a fax with Eclipse FAX SE, a data file that contains the contents is added to your disk. These files can take up a considerable amount of disk space. For this reason, we recommend that you delete unneeded files frequently with the Receive Log.
Preparing to Receive a Fax (Receive Setup)
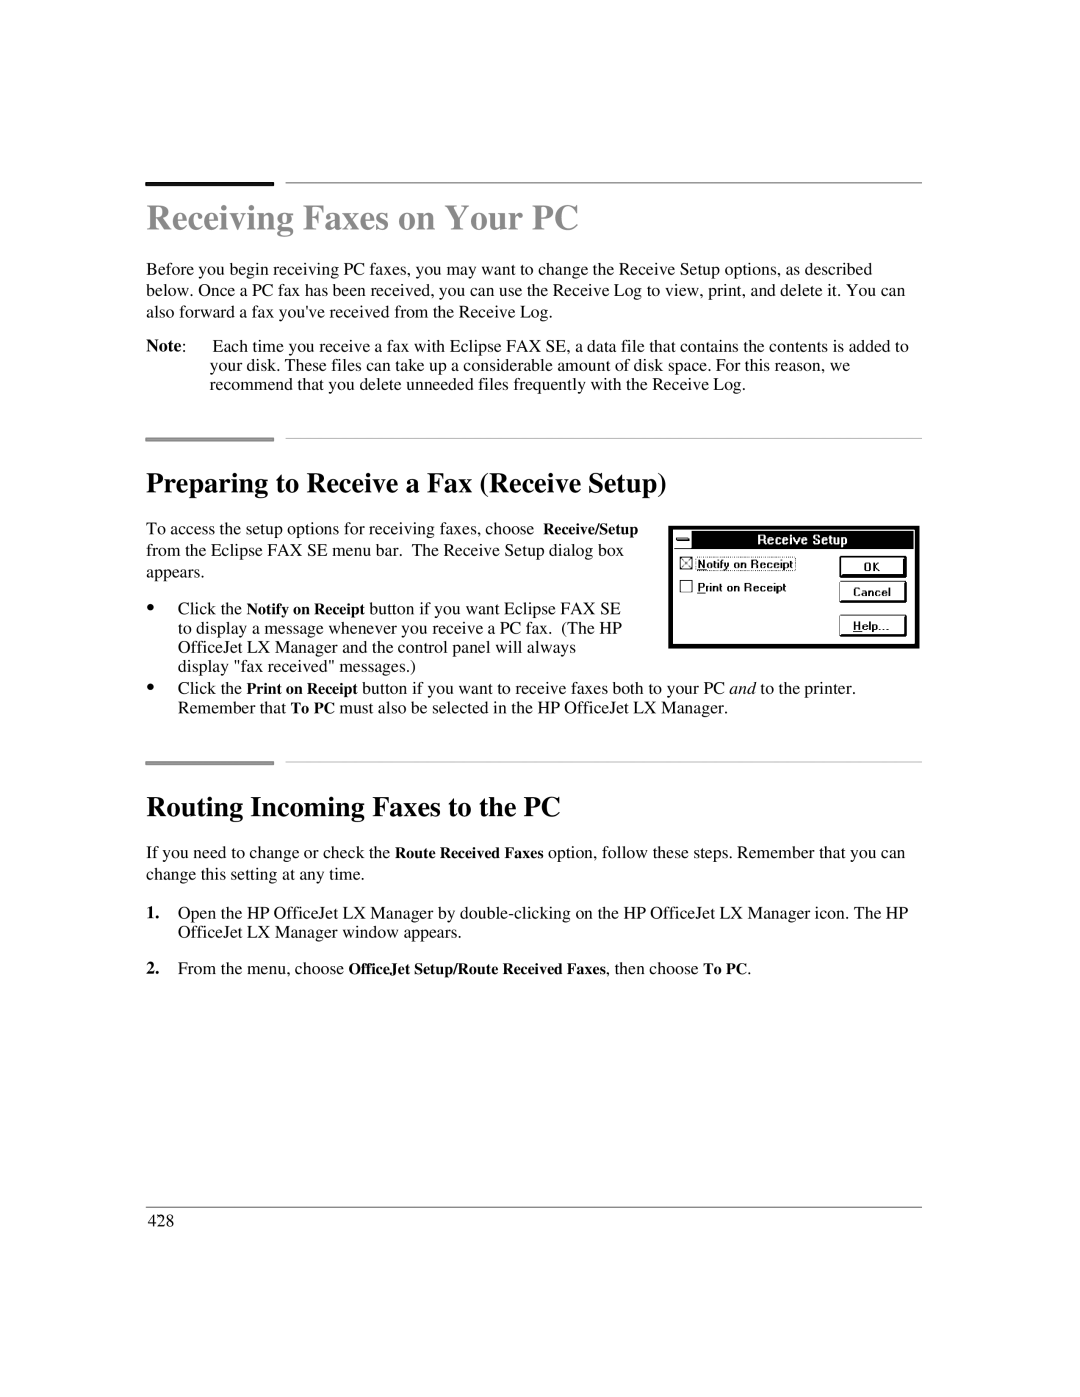
To access the setup options for receiving faxes, choose Receive/Setup from the Eclipse FAX SE menu bar. The Receive Setup dialog box appears.
:Click the Notify on Receipt button if you want Eclipse FAX SE to display a message whenever you receive a PC fax. (The HP OfficeJet LX Manager and the control panel will always display "fax received" messages.)
:Click the Print on Receipt button if you want to receive faxes both to your PC and to the printer. Remember that To PC must also be selected in the HP OfficeJet LX Manager.
Routing Incoming Faxes to the PC
If you need to change or check the Route Received Faxes option, follow these steps. Remember that you can change this setting at any time.
1.Open the HP OfficeJet LX Manager by
2.From the menu, choose OfficeJet Setup/Route Received Faxes, then choose To PC.
4`28
