Field Replaceable Units
FRU Removal and Replacement
3.Load the DIMM cards in the memory slots using the loading sequence provided in Figure
NOTE | When installing memory, you need to orient the notches on the bottom |
| edge of the DIMM card so that they are aligned with the keys on the DIMM |
| connector. See Figure |
| installing the DIMM cards backwards. |
|
|
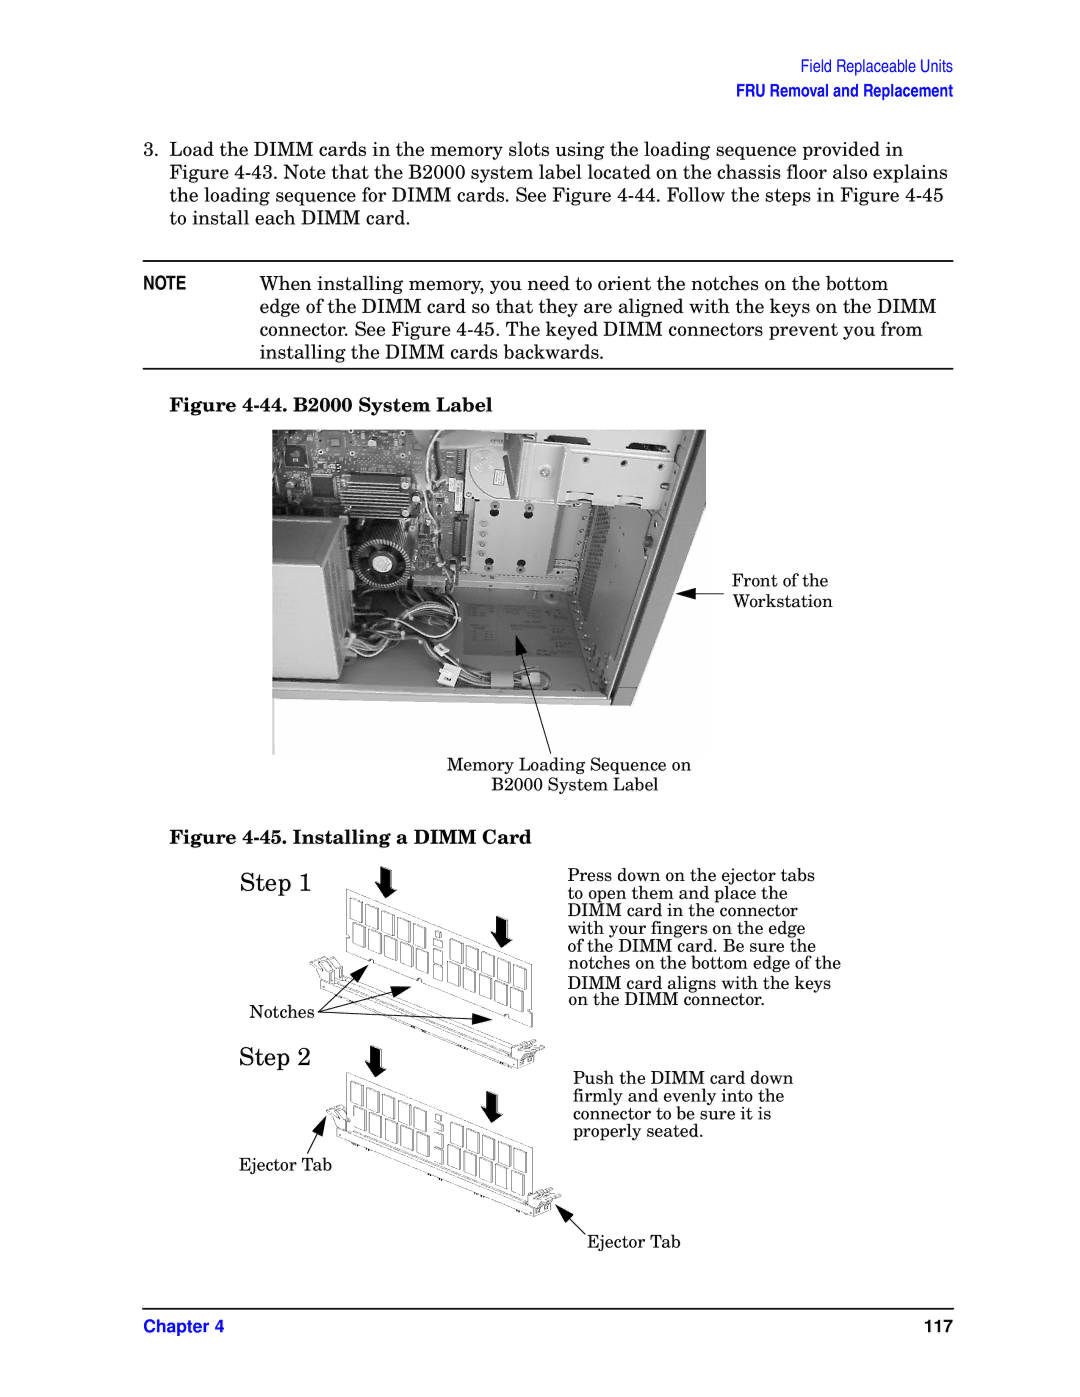
Figure 4-44. B2000 System Label
Front of the
Workstation
Memory Loading Sequence on
B2000 System Label
Figure 4-45. Installing a DIMM Card
Step 1
Notches ![]()
Step 2
Ejector Tab
Press down on the ejector tabs to open them and place the DIMM card in the connector with your fingers on the edge of the DIMM card. Be sure the notches on the bottom edge of the
DIMM card aligns with the keys on the DIMM connector.
Push the DIMM card down firmly and evenly into the connector to be sure it is properly seated.
Ejector Tab
Chapter 4 | 117 |