Field Replaceable Units
FRU Removal and Replacement
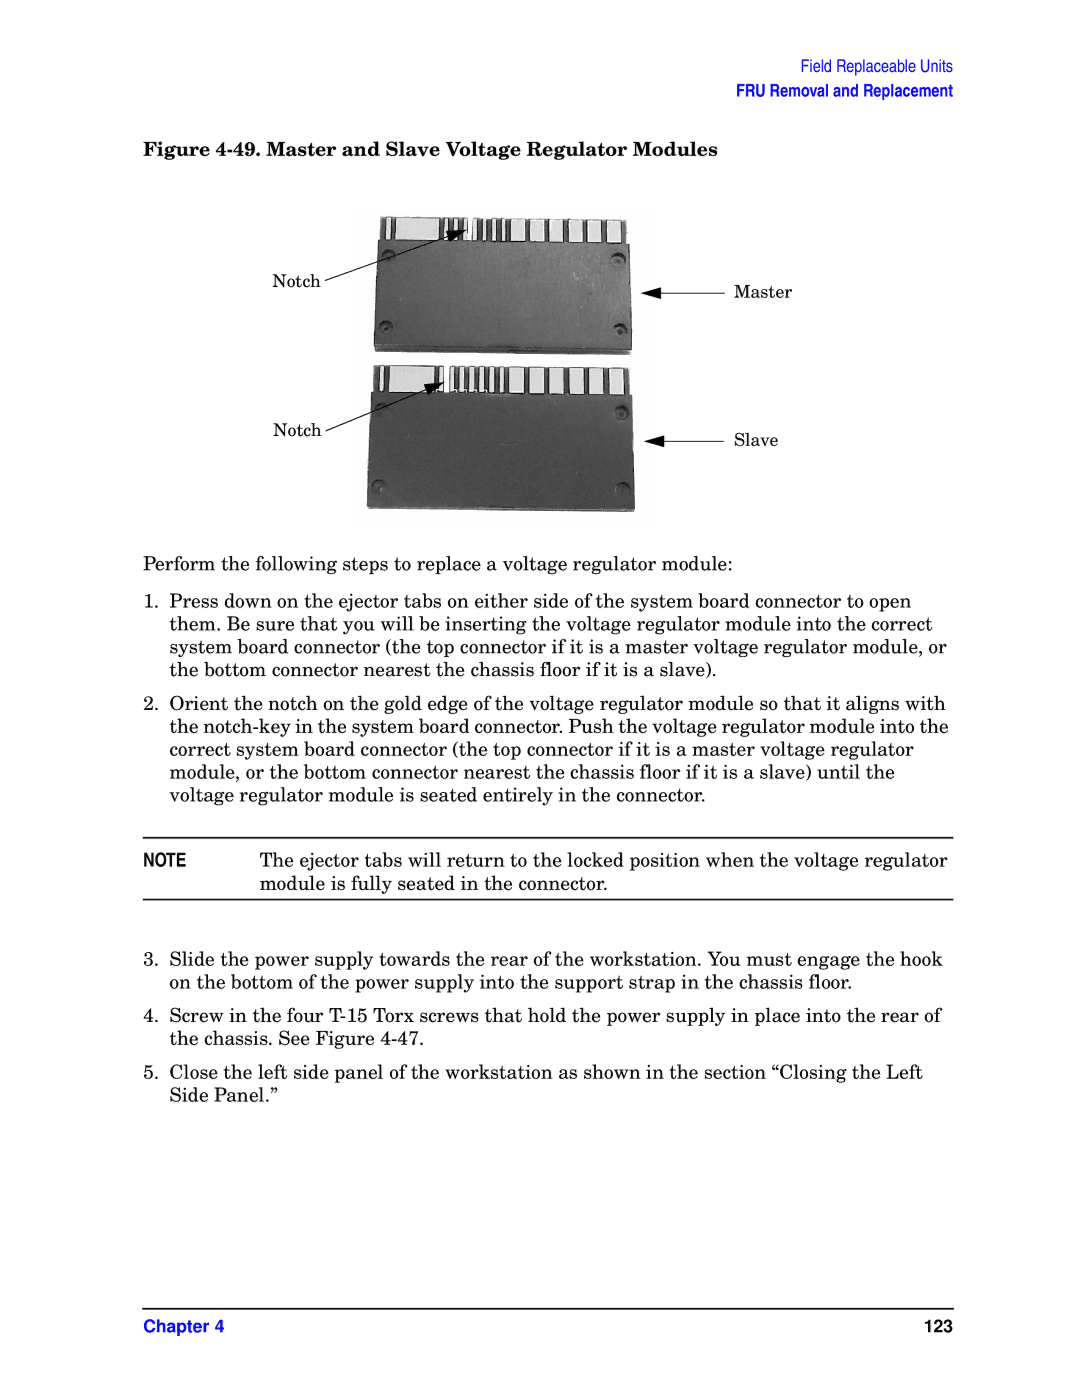
Figure 4-49. Master and Slave Voltage Regulator Modules
Notch
Master
Notch | Slave |
|
Perform the following steps to replace a voltage regulator module:
1.Press down on the ejector tabs on either side of the system board connector to open them. Be sure that you will be inserting the voltage regulator module into the correct system board connector (the top connector if it is a master voltage regulator module, or the bottom connector nearest the chassis floor if it is a slave).
2.Orient the notch on the gold edge of the voltage regulator module so that it aligns with the
NOTE | The ejector tabs will return to the locked position when the voltage regulator |
| module is fully seated in the connector. |
|
|
3.Slide the power supply towards the rear of the workstation. You must engage the hook on the bottom of the power supply into the support strap in the chassis floor.
4.Screw in the four
5.Close the left side panel of the workstation as shown in the section “Closing the Left Side Panel.”
Chapter 4 | 123 |