Field Replaceable Units
FRU Removal and Replacement
7.Remove the new CD drive from its shipping container and check to see that the jumper on the rear of the CD drive is set to the CSEL position.
NOTE | You will have to verify that the master/slave/CSEL jumper is set in the CSEL |
| position on the rear of the new CD drive that you will install. Since different |
| CD drive manufacturers have different locations for the CSEL jumper, look |
| at the documentation that came with the CD drive for the proper location of |
| this jumper. |
|
|
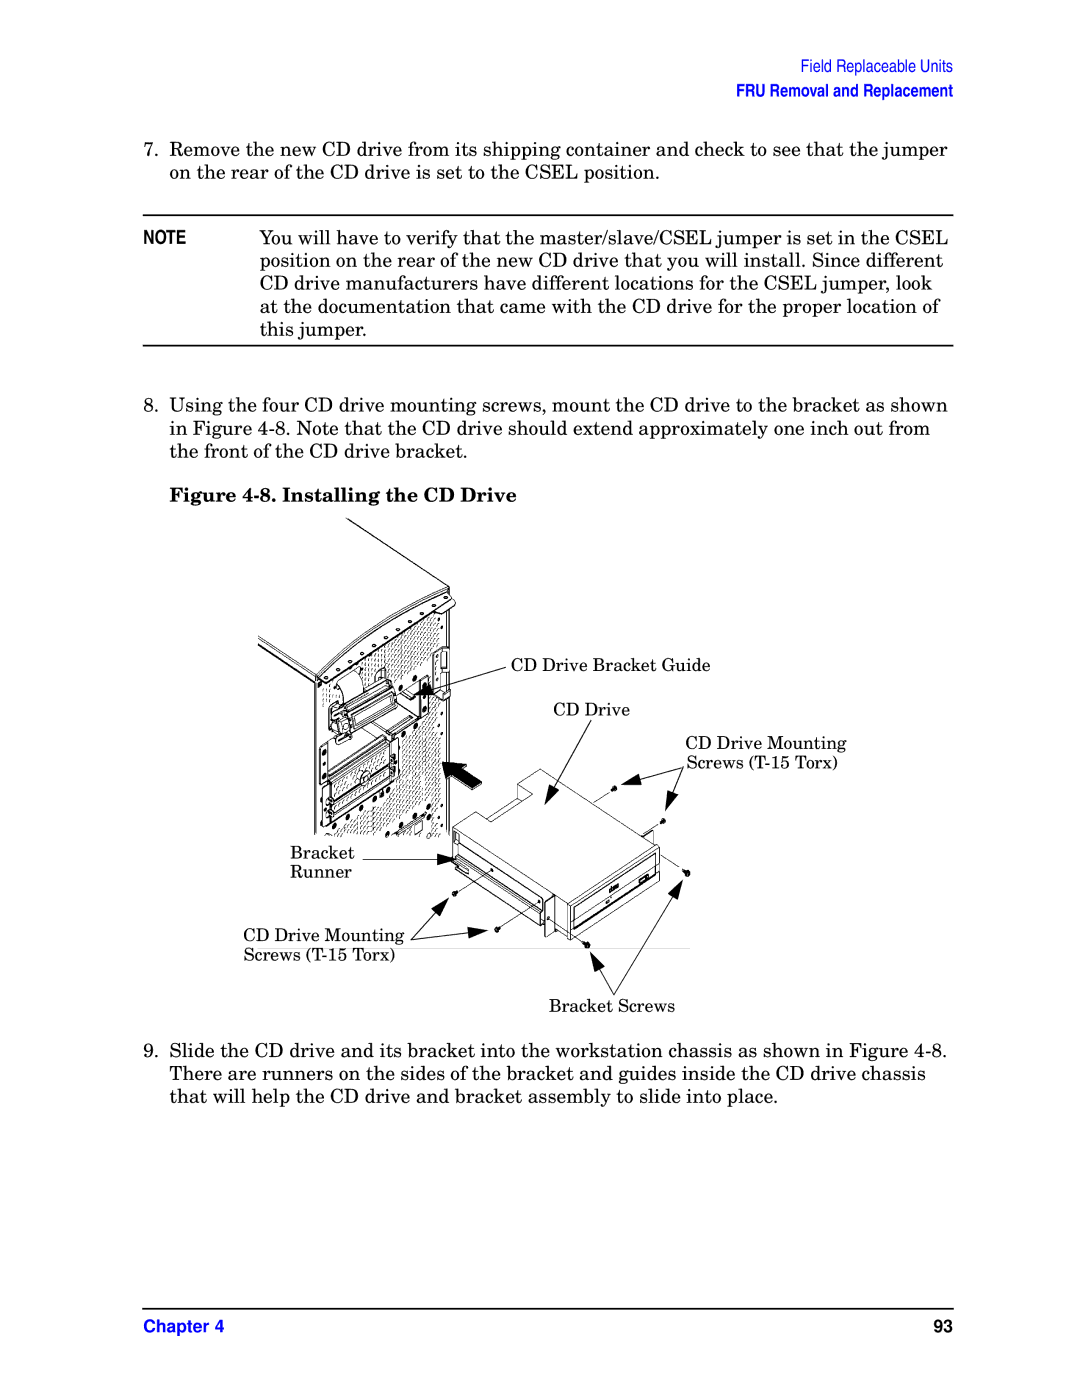
8.Using the four CD drive mounting screws, mount the CD drive to the bracket as shown in Figure
Figure 4-8. Installing the CD Drive
CD Drive Bracket Guide
CD Drive
CD Drive Mounting
Screws
Bracket
Runner
CD Drive Mounting ![]()
![]()
Screws
Bracket Screws
9.Slide the CD drive and its bracket into the workstation chassis as shown in Figure
Chapter 4 | 93 |