Network printing
3
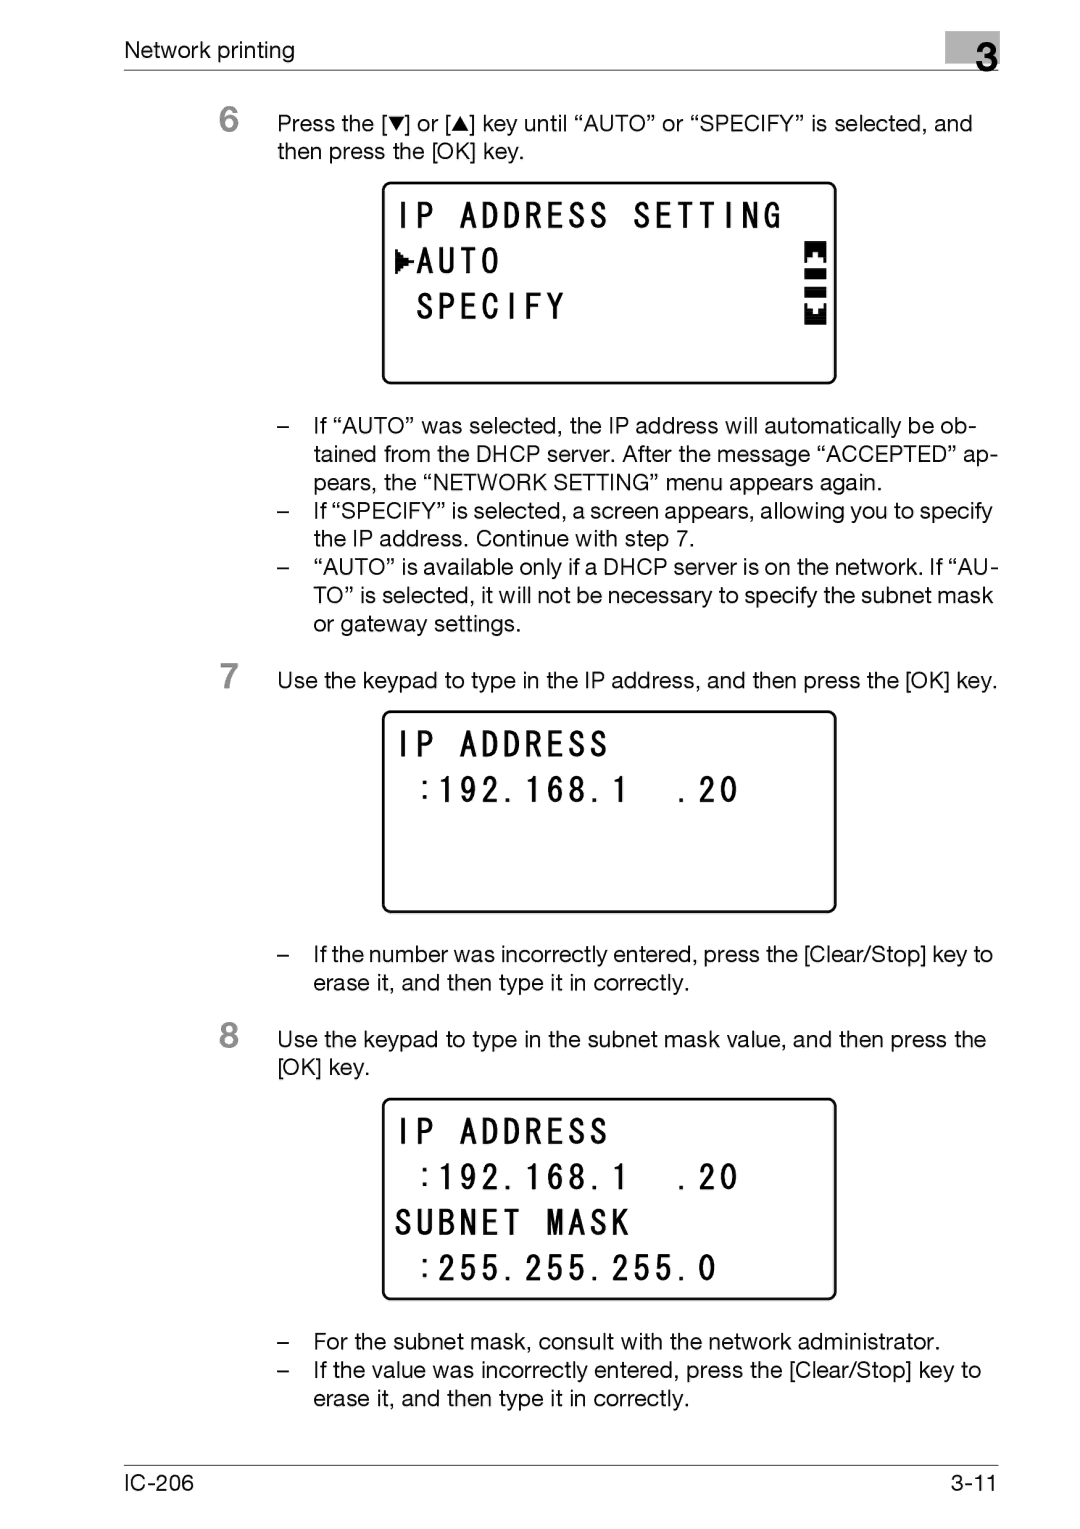
6 Press the [,] or [+] key until “AUTO” or “SPECIFY” is selected, and then press the [OK] key.
–If “AUTO” was selected, the IP address will automatically be ob- tained from the DHCP server. After the message “ACCEPTED” ap- pears, the “NETWORK SETTING” menu appears again.
–If “SPECIFY” is selected, a screen appears, allowing you to specify the IP address. Continue with step 7.
–“AUTO” is available only if a DHCP server is on the network. If “AU- TO” is selected, it will not be necessary to specify the subnet mask or gateway settings.
7 Use the keypad to type in the IP address, and then press the [OK] key.
–If the number was incorrectly entered, press the [Clear/Stop] key to erase it, and then type it in correctly.
8 Use the keypad to type in the subnet mask value, and then press the [OK] key.
–For the subnet mask, consult with the network administrator.
–If the value was incorrectly entered, press the [Clear/Stop] key to erase it, and then type it in correctly.