Installing a
To install a
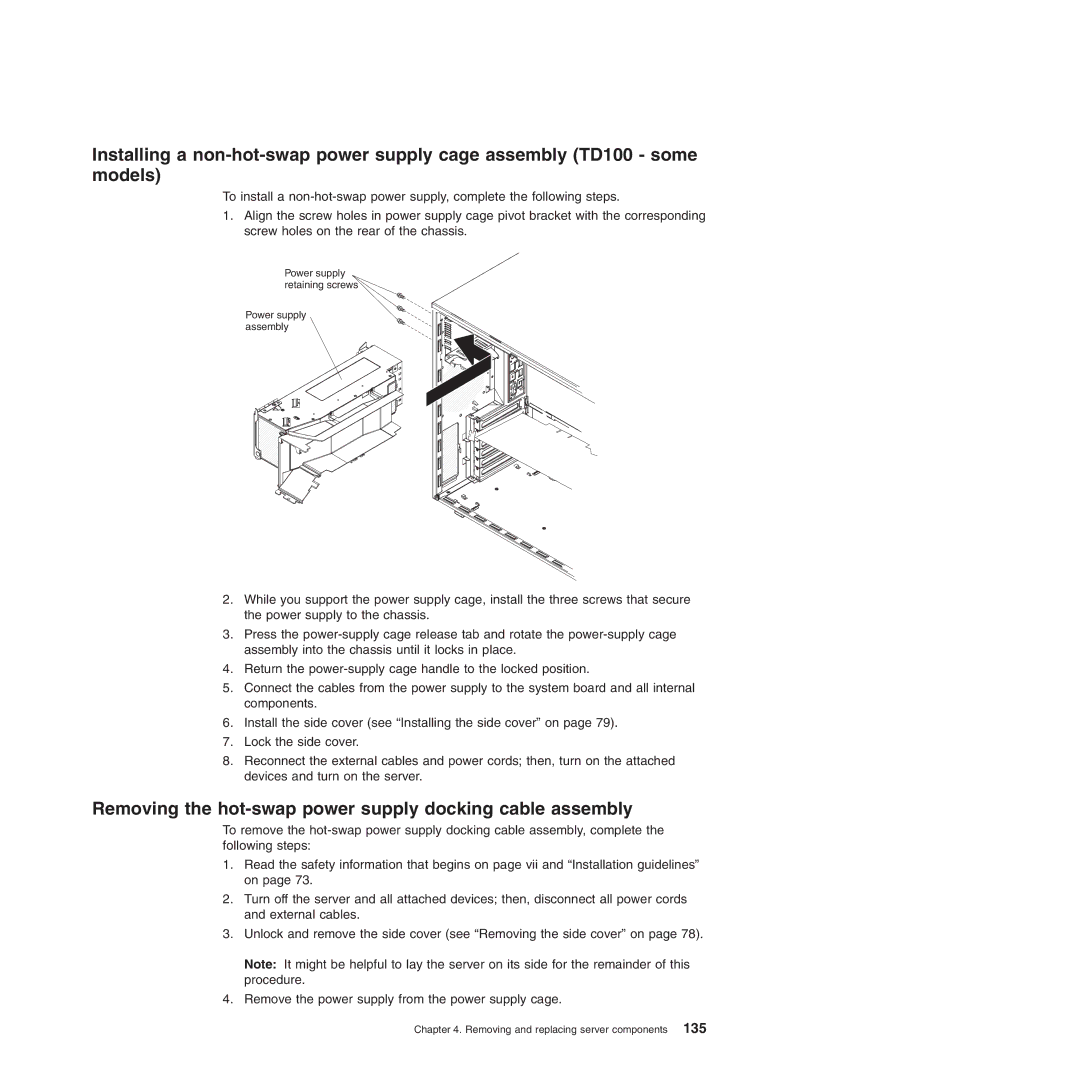
1.Align the screw holes in power supply cage pivot bracket with the corresponding screw holes on the rear of the chassis.
Power supply retaining screws
Power supply assembly
2.While you support the power supply cage, install the three screws that secure the power supply to the chassis.
3.Press the
4.Return the
5.Connect the cables from the power supply to the system board and all internal components.
6.Install the side cover (see “Installing the side cover” on page 79).
7.Lock the side cover.
8.Reconnect the external cables and power cords; then, turn on the attached devices and turn on the server.
Removing the hot-swap power supply docking cable assembly
To remove the
1.Read the safety information that begins on page vii and “Installation guidelines” on page 73.
2.Turn off the server and all attached devices; then, disconnect all power cords and external cables.
3.Unlock and remove the side cover (see “Removing the side cover” on page 78).
Note: It might be helpful to lay the server on its side for the remainder of this procedure.
4.Remove the power supply from the power supply cage.